Friday, 26 June 2020

OUAF C2M 2.7.0.3 installation on Windows64 - Part II - Download and Installation of C2M

This blog is for anyone trying to install C2M or any similar OUAF product for evaluation purposes on Windows 64 OS. 

I have noted down the steps that I had taken for doing an installation of C2M 2.7.0.3 product on Windows 64bit OS. Have tried to highlight issues that came up. Also have mentioned the exact paths where the application has been installed. You can use the same OS paths wherever possible. This will help you in following the steps. Alternatively, if you wish to install the application in your desired location, make appropriate modifications in the paths while following the steps.

Since there are many steps for complete installation, I have divided it into three blogs instead of one single blog. This is the second part - Download and Installation of C2M.

Part I - Download of Softwares and Installation of Prerequisites

This blog covers steps for downloading and installing C2M product.

Oracle C2M download

Navigate to https://edelivery.oracle.com/

Login with your oracle user login

Search with 'Customer to Meter'
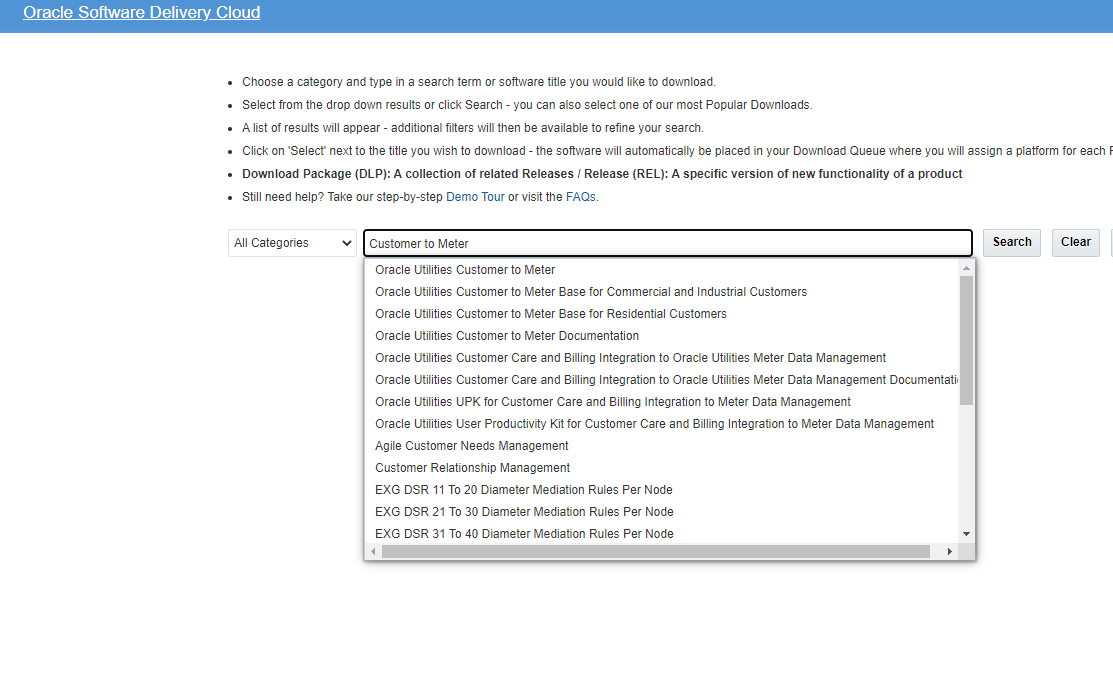
Select Oracle Utilities Customer to Meter 2.7.0.3.0

Navigate to top right corner of select downloads and click on Continue

Below screen opens up. Select Platform as Windows 64
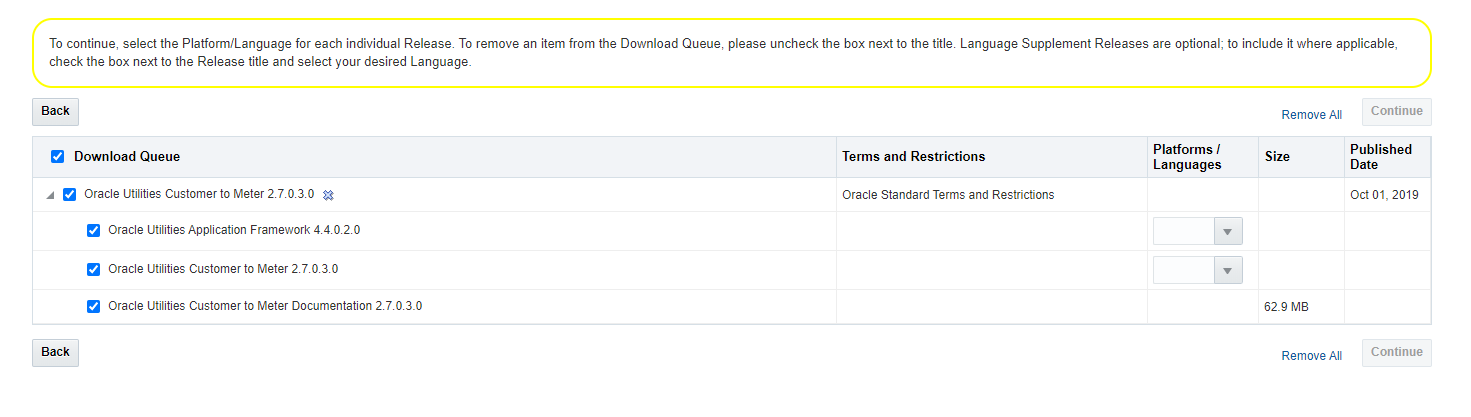
Click on Continue Button
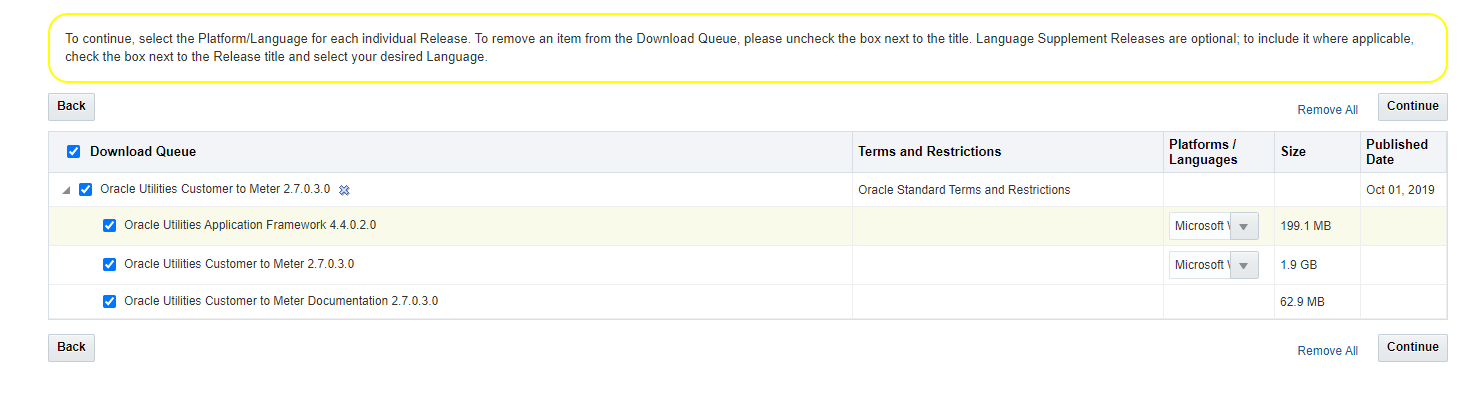
Click on Download button and download all the files


C2M Database installation

This step assumes that you have already covered the installation of database software covered in ‘software prerequisites’.

Configure Listener
Configure a Listener first before creating database.


Go to start. Go to Oracle Folder and select ‘Net Configuration Assistant’


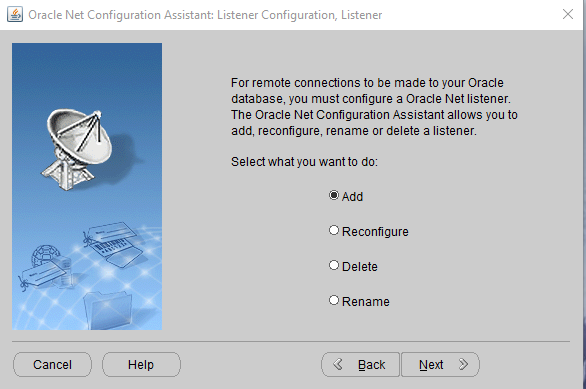
Select Listener configuration

Select Add


Give a name to Listerner. Have given ‘LISTENER’


Click on Next and save the configuration.

Verify that the listener is up and running in Services


If you don’t configure the listener before creating the database, you will have to manually take care of linking a listener to your database. If listener is already present on the system, then the product dynamically links the database service to the listener when the database is created. No separate steps are needed.

Creating database

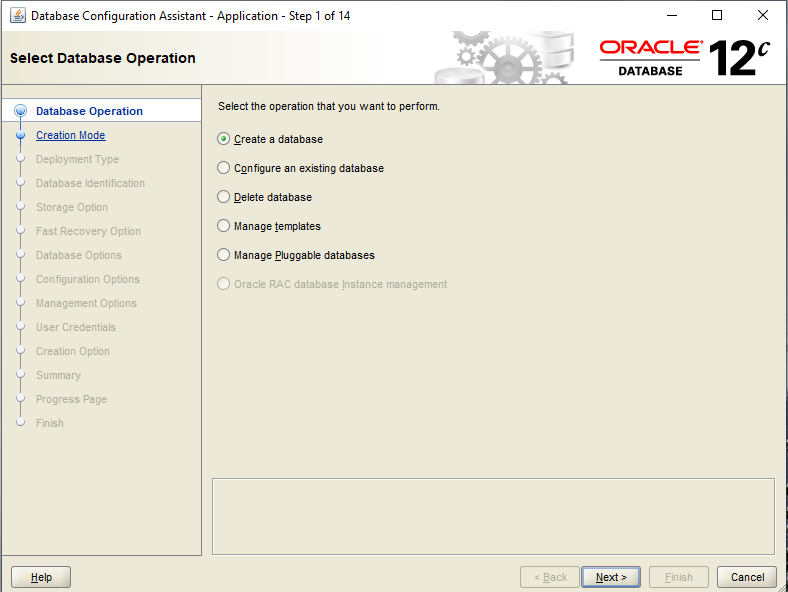
Navigate to Start -> Oracle Home -> Database Configuration Assistant

Select ‘Create a database’


Enter global database name as c2m2703

Update the database location to C:/c2m/database as shown below.


Click on Next and complete the installation

Verify that the database service is up and running in services

Next navigate to Oracle product home-> network->admin->tnsname.ora

Open tnsname.ora file

Verify that the entries for C2M2703 service is present and listener is attached to the service. 
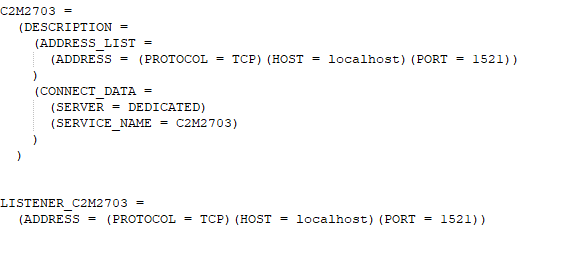
Next go to sqldeveloper and verify that you are able to connect to the database
Test with username as 'sys'
Put the password entered when creating the database
Ensure Role is set to 'SYSDBA'

Click on Test button. Status should show as Success
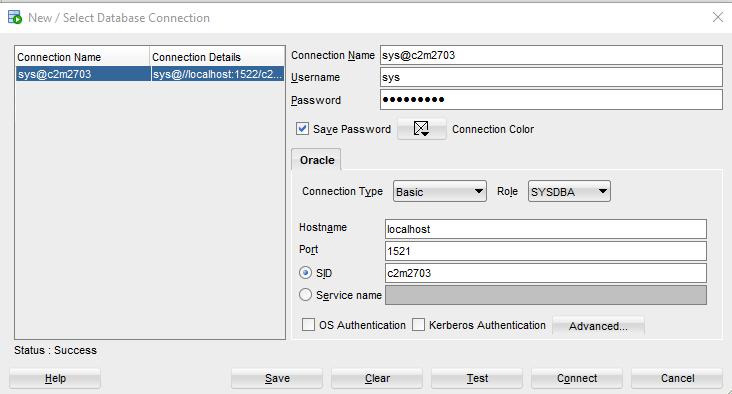
Next click on Connect and login to the database


Creating database users and granting access

Connect to the database with 'sys' user

Execute the following sqls

Modify the path in first statement as per your database installation folder

CREATE TABLESPACE CISTS_01 LOGGING DATAFILE 'C:/c2m/database/c2m2703/oradata/C2M2703/cists01.dbf' SIZE 1024M REUSE AUTOEXTEND ON NEXT 8192K MAXSIZE UNLIMITED EXTENT MANAGEMENT LOCAL UNIFORM SIZE 1M;


CREATE ROLE CIS_USER;

CREATE ROLE CIS_READ;


GRANT CREATE SYNONYM to CIS_USER;

GRANT CREATE SYNONYM to CIS_READ;


CREATE USER CISADM IDENTIFIED BY CISADM DEFAULT TABLESPACE CISTS_01 TEMPORARY TABLESPACE TEMP PROFILE DEFAULT;

GRANT UNLIMITED TABLESPACE TO CISADM WITH ADMIN OPTION;

GRANT SELECT ANY TABLE TO CISADM;

GRANT CREATE DATABASE LINK TO CISADM;


GRANT CONNECT TO CISADM;

GRANT RESOURCE TO CISADM;

GRANT DBA TO CISADM WITH ADMIN OPTION;

GRANT CREATE ANY SYNONYM TO CISADM;

GRANT SELECT ANY DICTIONARY TO CISADM;


CREATE USER CISUSER PROFILE DEFAULT IDENTIFIED BY CISUSER DEFAULT TABLESPACE CISTS_01 TEMPORARY TABLESPACE TEMP;

GRANT SELECT ANY TABLE TO CISUSER;

GRANT CIS_USER TO CISUSER;

GRANT CIS_READ TO CISUSER;

GRANT CONNECT TO CISUSER;


CREATE USER CISOPR PROFILE DEFAULT IDENTIFIED BY OPRPLUS DEFAULT TABLESPACE CISTS_01 TEMPORARY TABLESPACE TEMP;

GRANT CONNECT,RESOURCE,EXP_FULL_DATABASE TO CISOPR;


CREATE USER CISREAD IDENTIFIED BY CISREAD DEFAULT TABLESPACE CISTS_01 TEMPORARY TABLESPACE TEMP;

GRANT SELECT ANY TABLE TO CISREAD;

GRANT CIS_READ TO CISREAD;

GRANT CONNECT TO CISREAD;


Importing Demo Database

Next execute the following sql

SELECT directory_name, directory_path FROM dba_directories where directory_name = 'DATA_PUMP_DIR';

DATA_PUMP_DIR C:\app\virtual\admin\c2m2703\dpdump\


Navigate to the location in the output of the query.
Navigate to V983681-01.zip\C2M\Demo
Go to the file exp_demo.dmp.gz
Extract the file using some extract tool like 7zip

Copy the extracted file exp_demo.dmp to the DATA_PUMP_DIR location

Next open a command prompt with ‘Run as Administrator’

Run the following import command

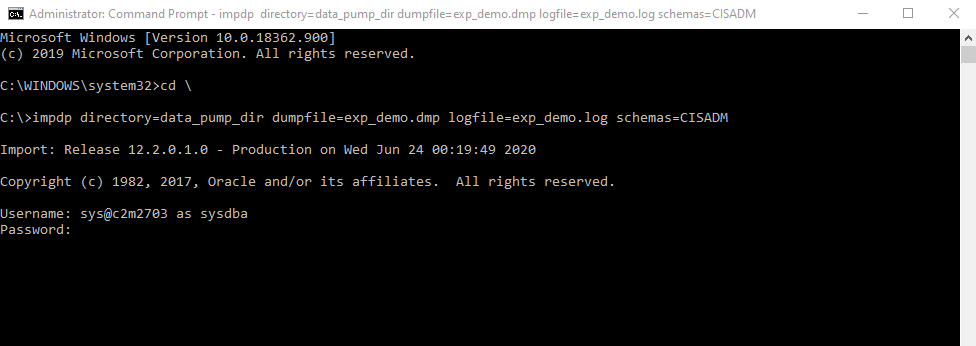
impdp directory=data_pump_dir dumpfile=exp_demo.dmp logfile=exp_demo.log schemas=CISADM

If the system variables for PATH have been configured, this will automatically call the impdp program in C:\app\virtual\product\12.2.0\dbhome_1\bin directory


The system will ask for login
Enter username as sys@c2m2703 as sysdba

Next enter the password of the database


This will import the entire demo database schema to your installed database
This operation takes around 25 min to 1 hour depending on your RAM size
Once the entire import operation is complete, verify the log output to check that no errors were present.
First error that comes saying CISADM user already present can be ignored.


Creating Synonyms for CISUSER and CISREAD

Extract the V983333-01.zip file.
Open cmd prompt with run as Administrator option
Set the classpath variable and point it to above location where the V983333-01 is present.

SET CLASSPATH=C:\myfolder\OracleDownloads\C2M_2.7.0.3\V983333-01\jarfiles\*

Ensure there is no blank space in the path location.

Next run the following command

"%JAVA_HOME%"\bin\java -Xmx1500M com.oracle.ouaf.oem.install.OraGenSec -d CISADM,CISADM,jdbc:oracle:thin:@localhost:1521/C2M2703 -u CISUSER,CISREAD -r CIS_USER,CIS_READ -a A -p CISUSER,CISREAD -l output.log


This creates the synonyms for all objects in CISADM for CISUSER and CISREAD users
Next open sql developer and verify that you are able to connect to 'CISADM' user
The password is 'CISADM' only
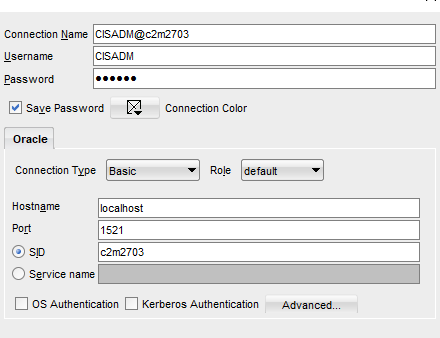

Once it is connected you can verify that all the database entities are present


You can also verify that the synonyms are created for CISUSER and CISREAD
By navigating to Other Users -> CISUSER -> Synonyms from above objects browser on sql developer

This completes the database part of C2M installation


C2M Application installation

Framework installation

Copy the file V983334-01.zip/FW-V4.4.0.2.0-MultiPlatform.jar
To a temporary folder C:/temp
Open a command prompt with ‘Run as Administrator’ option

Navigate to the temporary folder
cd C:/temp
jar -xvf FW-V4.4.0.2.0-MultiPlatform.jar

Note* - Ensure you don't extract the jar file at the same location where you extracted 
V983334-01.zip. Create a directory (C:/temp) directly under root directory (C:) and use that. If you do it from same location as zip file, it might increase the time taken by your installation process. Also there can be errors due to windows filepath size being too long.

A sub-directory named “FW-V4.4.0.2.0” is created
Navigate to this directory

cd FW-V4.4.0.2.0
run install.cmd

Update below installation options using below values. Modify the values accordingly if your system paths are different

************************************

* Environment Installation Options *

************************************


 1. Environment ID, Roles, Third Party Software Configuration

       Environment ID:                                    47707504 (autogenerated)

       Server Roles:                                      batch,online

       Oracle Client Home Directory:                      C:\app\virtual\product\12.2.0\dbhome_1

       Web Java Home Directory:                           C:\c2m\java\jdk

       Hibernate JAR Directory:                           C:\c2m\hibernate

       ONS JAR Directory:

       Web Application Server Home Directory:             C:\c2m\Oracle\Middleware\Oracle_Home\wlserver

       Additional JAR Directory:


 2. Keystore Options

       Import Keystore Directory:


50. Environment Installation Options

       Environment Mount Point:                           C:/c2m/ouaf

       Log Files Mount Point:                             C:/c2m/ouaf/sploutput

       Environment Name:                                  C2M2703

       Install Application Viewer Module:                 true

       Install Sample CM Source Code:                     true


Ensure you use ‘/’ instead of ‘\’ in file path highlighted above. This causes issue later.

Enter P

Below environment configuration will open up. Using the option numbers, update the values as given below. Ensure you use localhost instead of the autopopulated machine name. This is needed for native installation of application in weblogic later.

Note*: Below highlighted config value for JNDI password has to be same when you enter the password for system user during native weblogic configuration (Covered in Part 3 of this blog series).
Also set Deploy application viewer to false in case you don't need it. This reduces the ear build time during installation. You can set it to true later if you need it.

*************************************

* Environment Configuration C2M2703 *

*************************************


 1. Environment Description

       Environment Description:                           c2m2703


 2. Business Application Server Configuration

       Business Server Host:                              localhost

       Business Server Application Name:                  SPLService

       MPL Admin Port Number:                             6502

       MPL Automatic startup:                             false


 3. Web Application Server Configuration

       Web Server Host:                                   localhost

       WebLogic SSL Port Number:                          6501

       WebLogic Console Port Number:                      6500

       Web Context Root:                                  ouaf

       WebLogic JNDI User ID:                             system

       WebLogic JNDI Password:                            ouafadmin

       WebLogic Server Name:                              c2m2703server

       Web Server Application Name:                       SPLWeb

       Deploy Application Viewer Module:                  true

       Enable The Unsecured Health Check Service:         false

       MDB RunAs User ID:                                 SYSUSER

       Super User Ids:


 4. Database Configuration

       Application Server Database User ID:               CISADM

       Application Server Database Password:              CISADM

       MPL Database User ID:                              CISADM

       MPL Database Password:                             CISADM

       XAI Database User ID:                              CISADM

       XAI Database Password:                             CISADM

       Batch Database User ID:                            CISADM

       Batch Database Password:                           CISADM

       Web JDBC DataSource Name:

       Database Name:                                     C2M2703

       Database Server:                                   localhost

       Database Port:                                     1521

       ONS Server Configuration:

       Database Override Connection String:

       Character Based Database:                          false

       Oracle Client Character Set NLS_LANG:              AMERICAN_AMERICA.AL32UTF8


 5. General Configuration Options

       Batch RMI Port:                                    6540

       RMI Port number for JMX Business:                  6550

       RMI Port number for JMX Web:                       6570

       JMX Enablement System User ID:                     system

       JMX Enablement System Password:                    ouafadmin

       Coherence Cluster Name:                            mycluster

       Coherence Cluster Address:                         localhost

       Coherence Cluster Port:                            6901

       Coherence Cluster Mode:                            dev


 6. OUAF TrustStore Options

       Import TrustStore Directory:


Each item in the above list should be configured for a successful install.


Choose option (1,2,3,4,5,6, <P> Process, <X> Exit): P


Enter P and complete installation

Verify that the installation completes without any errors.

Configuring OUAF keystore

Next part is setting configuring OUAF keystore

Verify that the keystore files .ouaf_keystore and .ouaf_storepass are present at the following location C:\c2m\ouaf\C2M2703\ks (%SPLEBASE\ks%)

If they are not present you can regenerate then using the following command

initialSetup.cmd –k

After that next, run configureEnv.cmd

Reenter the passwords for all configuration values
This encrypts the password with the keystore
You might face some error saying keystore file is not present, in that case verify the error logs, it might be due to incorrect keystore file path.

This is because ‘\’ is used instead of ‘/’ in some paths
To correct this error, do the following

  • Navigate to C:\c2m\ouaf\C2M2703\splapp\standalone\config (%SPLEBASE\splapp\standalone\config %)

  • Open spl.properties file and update the following paths

    • com.oracle.ouaf.file.tempStorage.dir=C:/c2m/ouaf/sploutput/C2M2703/tmp

    • com.oracle.ouaf.system.keystore.file=C:/c2m/ouaf/C2M2703/ks/.ouaf_keystore

    • com.oracle.ouaf.system.keystore.passwordFileName=C:/c2m/ouaf/C2M2703/ks/.ouaf_storepass

    • com.oracle.ouaf.system.truststore.file=C:/c2m/ouaf/C2M2703/ks/.ouaf_truststore

    • com.oracle.ouaf.system.truststore.passwordFileName=C:/c2m/ouaf/C2M2703/ks/.ouaf_truststore_pass

  • Replace ‘\’ with ‘/’ wherever present in above path

  • Rerun configureEnv.cmd


Next run initialSetup.cmd

If you had updated spl.properties earlier then again update the paths after initialSetup completes.

Next navigate to %SPLEBASE%/bin folder

Run splenviron.cmd -e C2M2703

Navigate back to bin folder
Run following commands

perl run_java_standalone.plx com.splwg.shared.common.ResetCryptographyKey

invokeDBUpdatePatch.cmd

Verify that both commands ran successfully.
This completes the configuration of OUAF keystore part of the installation

CCB installation

Navigate to V983674-01.zip
Copy the file CCB-V2.7.0.3.0-MultiPlatform.jar to a temporary directory (C:/temp)
Open a command prompt with ‘Run as administrator option’
Next navigate to %SPLEBASE%/bin folder
Run splenviron.cmd -e C2M2703


Navigate to the temporary folder (C:/temp)
Run the following command jar –xvf CCB-V2.7.0.3.0-MultiPlatform.jar

A sub-directory named “CCB.V2.7.0.3.0” is created
Navigate to the folder “CCB.V2.7.0.3.0” (C:\temp\CCB.V2.7.0.3.0)

Run the command install.cmd

Options will come up. Enter ‘P’ and click on enter.
Wait for the installation to complete. This will take some time (around 1 hour). After installation is complete verify that there were no errors.

Note* - Ensure you don't extract the jar file at the same location where you extracted V983674-01.zip. Create a directory (C:/temp) directly under root directory (C:) and use that. If you do it from same location as zip file, it might increase the time taken by your installation process. Also there can be errors due to windows filepath size being too long.

MDM installation

Navigate to the V983676-01.zip
Copy the file MDM_V2.3.0.2.0.zip to C:\
Rename it to t.zip
Extract the folder to C:\
“MDM.V2.3.0.2.0” folder should be created in C:\
Open a command prompt with ‘Run as administrator option’
Next navigate to %SPLEBASE%/bin folder

Run splenviron.cmd -e C2M2703

Navigate to the folder MDM.V2.3.0.2.0 (C:\MDM.V2.3.0.2.0)

Run the command install.cmd
Installation options should come up.

Modifications not needed in most of the option.

Just update the hostname to localhost wherever your computer name is present


Enter ‘P’ and complete the installation.

WAM installation

Navigate to V983678-01.zip
Copy the file WAM-V2.2.0.6.0-Multiplatform.jar to temporary directory (C:/temp)
Open a command prompt with ‘Run as administrator option’
Next navigate to %SPLEBASE%/bin folder
Run splenviron.cmd -e C2M2703


Navigate to the temporary folder (C:/temp)
Run the following command jar –xvf WAM-V2.2.0.6.0-Multiplatform.jar

A sub-directory named “W1.V2.2.0.6.0” is created
Navigate to the folder “W1.V2.2.0.6.0” (C:\temp\W1.V2.2.0.6.0)

Run the command install.cmd

Options will come up. Enter ‘P’ and click on enter.

Note* - Ensure you don't extract the jar file at the same location where you extracted V983678-01.zip. Create a directory (C:/temp) directly under root directory (C:) and use that. If you do it from same location as zip file, it might increase the time taken by your installation process. Also there can be errors due to windows filepath size being too long.

Installing Oracle Utilities Application Framework V4.4.0.2.0 Prerequisite Single Fixes

Navigate to V983672-01.zip
Copy the file C2M-V27030-FW-PREREQ-MultiPlatform.jar to temporary directory (C:/temp)
Open a command prompt with ‘Run as administrator option’
Next navigate to %SPLEBASE%/bin folder

Run splenviron.cmd -e C2M2703

Navigate to the temporary folder (C:/temp)
Run the following command jar –xvf C2M-V27030-FW-PREREQ-MultiPlatform.jar

A sub-directory named “FW-V4.4.0.2.0-Rollup” is created
Navigate to the folder “FW-V4.4.0.2.0-Rollup\Application” (C:\temp\FW-V4.4.0.2.0-Rollup\Application)

Run the command installSFgroup.cmd

Wait for the command execution to complete. Verify that no errors occurred.

Note* - Ensure you don't extract the jar file at the same location where you extracted V983672-01.zip. Create a directory (C:/temp) directly under root directory (C:) and use that. If you do it from same location as zip file, it might increase the time taken by your installation process. Also there can be errors due to windows filepath size being too long.

Installing Oracle Utilities Customer to Meter

Navigate to V983680-01.zip
Copy the file C2M-V2.7.0.3.0-MultiPlatform.jar to temporary directory (C:/temp)
Open a command prompt with ‘Run as administrator option’
Next navigate to %SPLEBASE%/bin folder

Run splenviron.cmd -e C2M2703


Navigate to the temporary folder (C:/temp)
Run the following command jar –xvf C2M-V2.7.0.3.0-MultiPlatform.jar

A sub-directory named “C2M.V2.7.0.3.0” is created
Navigate to the folder “C2M.V2.7.0.3.0” (C:\temp\C2M.V2.7.0.3.0)

Run the command install.cmd

Options will come up. Enter ‘P’ and click on enter.

This completes application installation of Oracle C2M (this included installation of OUAF framework, CCB, MDM, WAM, C2M)

Note* - Ensure you don't extract the jar file at the same location where you extracted V983680-01.zip. Create a directory (C:/temp) directly under root directory (C:) and use that. If you do it from same location as zip file, it might increase the time taken by your installation process. Also there can be errors due to windows filepath size being too long.

Generating Application Viewer

This is an optional installation of Application viewer

For doing this, open a command prompt with ‘Run as administrator option’

Next navigate to %SPLEBASE%/bin folder

Run splenviron.cmd -e C2M2703

Navigate back to bin folder
Run genappvieweritems.cmd command

Once the command completes, verify that there are no errors.


This concludes part II, click on below link to go to next part


OUAF C2M 2.7.0.3 installation on Windows64 - Part I - Download and Installation of Prerequisite Softwares

This blog is for anyone trying to install C2M or any similar OUAF product for evaluation purposes on Windows 64 OS. 

I have noted down the steps that I had taken for doing an installation of C2M 2.7.0.3 product on Windows 64bit OS. Have tried to highlight issues that came up. Also have mentioned the exact paths where the application has been installed. You can use the same OS paths wherever possible. This will help you in following the steps. Alternatively, if you wish to install the application in your desired location, make appropriate modifications in the paths while following the steps.
Since there are many steps for complete installation, I have divided it into three blogs instead of one single blog.

Part I - Download of Softwares and Installation of Prerequisites

This blog covers steps for downloading necessary softwares and the steps for installing prerequisite software(Java, Weblogic, Oracle Database, Hibernate).

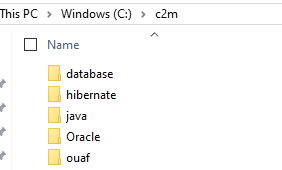
Below is how the folder structure looks after installation. Recommend you to follow this structure for ease in following installation steps and avoiding any confusion on the paths. 


Following are the steps of installation:
  • Downloading and installing prerequisites
  • Setting System variables
  • Downloading C2M product
  • Installing C2M database (Demo Install)
  • Installing C2M product
  • Native installation on Weblogic
  • IWS deployment

Downloading and installing prerequisites

Java
Download

Above link might change. Search and check for jdk 8 downloads and download appropriate version.
Supported Versions: Oracle Java SE Development Kit 1.8.0_x

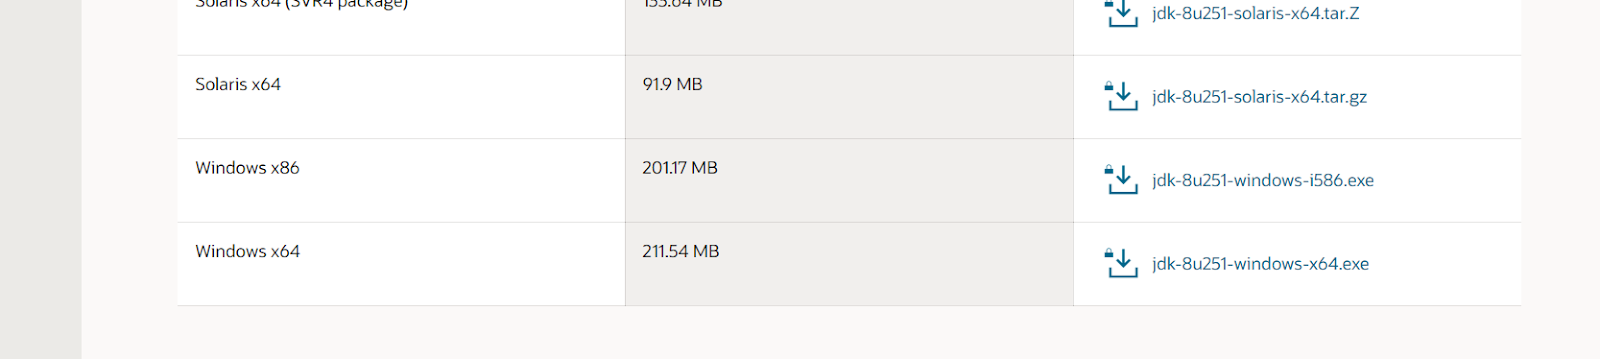
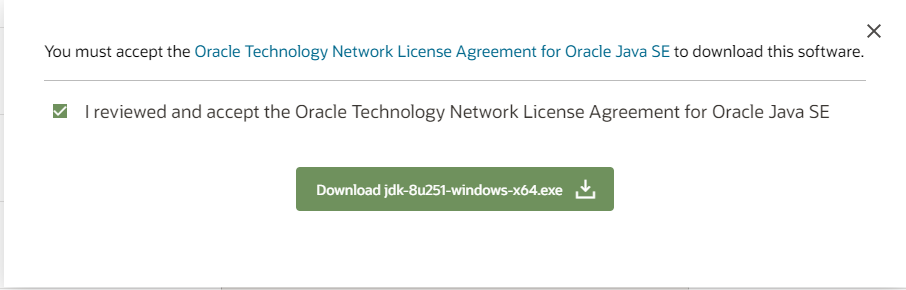
Download windows 64 option
Save the java setup file.
Installation

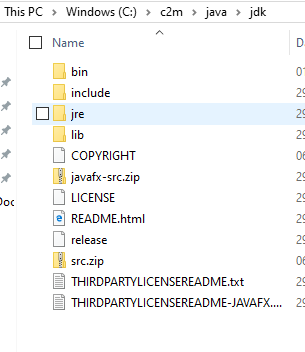
Once downloaded. Run the installer and install the jdk at following location
C:\c2m\java\jdk
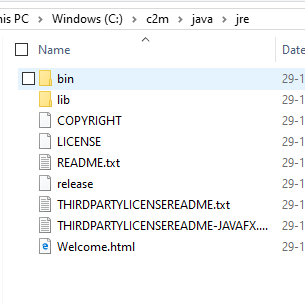
Install the jre at following location
C:\c2m\java\jre
Weblogic Server
Supported Versions: Oracle WebLogic Server 12c Release 2 (12.2.1.+) 64-bit
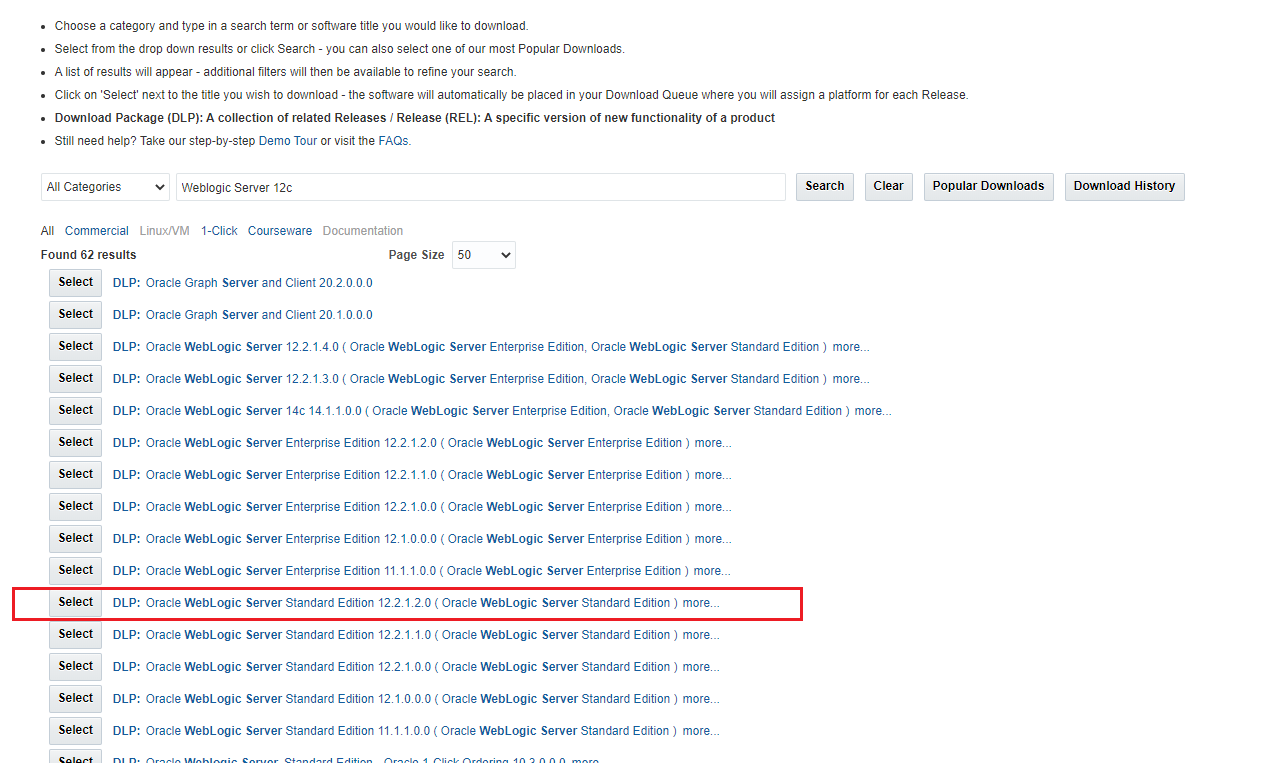
Download
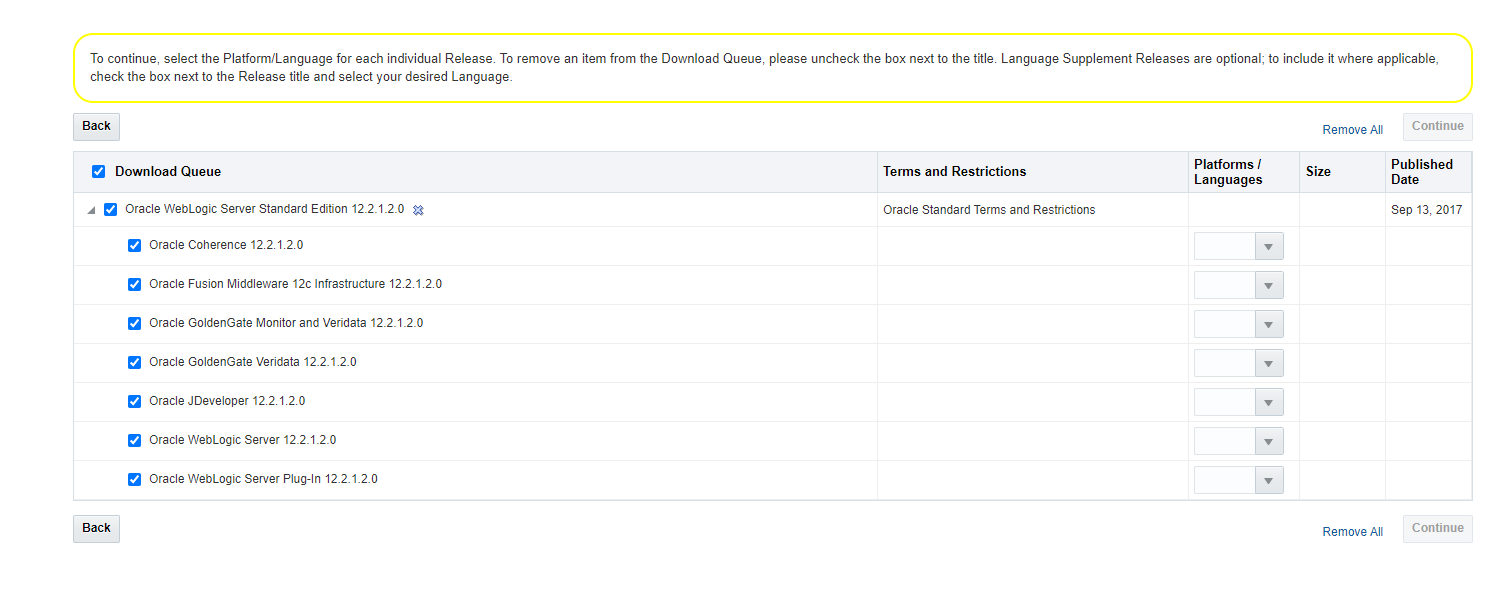
Go to top right corner of page and click on Continue


Select platform as windows 64

V779122-01.zip is needed for installation. Rest are optional for download.
Download all the files

Installation
Extract the files in V779122-01.zip
Open command prompt in administrator mode
Navigate to the extracted folder 

Run the command java –jar fmw_12.2.1.2.0_infrastructure.jar 

You might have to give full path of java pointing to the installed jdk
C:\c2m\java\jdk\bin\java –jar fmw_12.2.1.2.0_infrastructure.jar

Installer screen opens up


Click on next

Click on next 

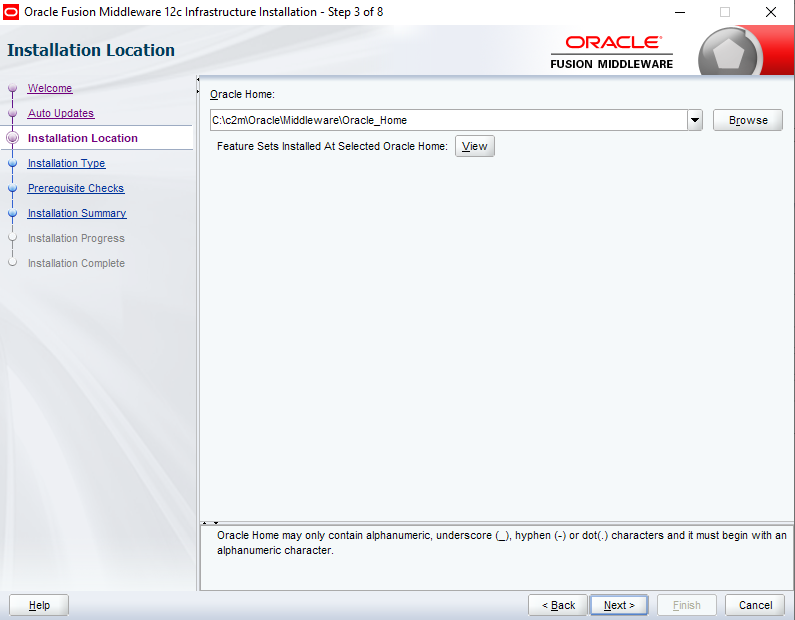
Enter C:\c2m\Oracle\Middleware\Oracle_Home in the Oracle home field. You can modify the name/path if you have an existing Oracle Home. 
 
Select Fusion Middleware Infrastructure


Click on Next

Click on Next


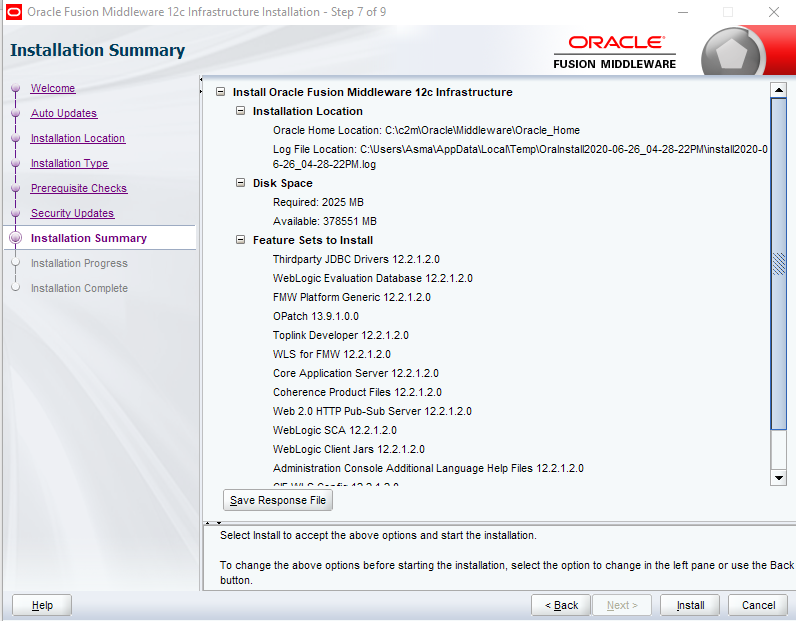
Installation summary screen comes up. Click on install. This will do the installation. After it is done. Click on finish to complete the installation. 


Oracle Database
Oracle Database Server supported versions: 12.1.0.2.+, 12.2.0.1.+, 18c, 19c

Download
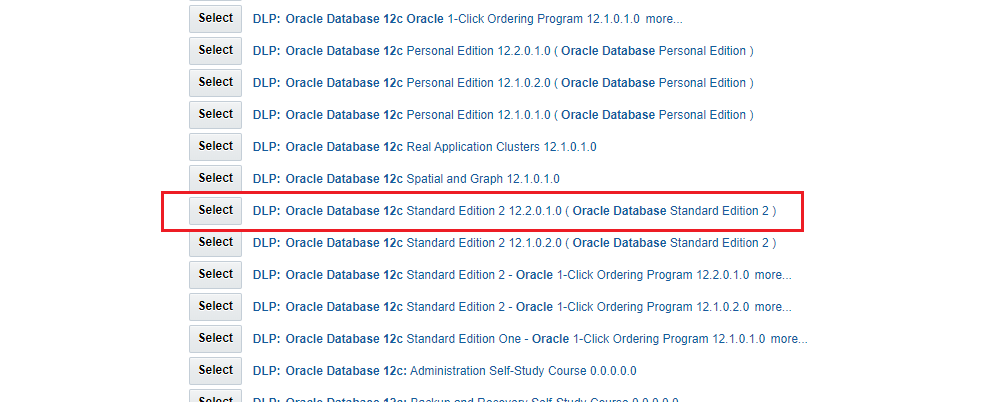
Go to Oracle Edelivery site. After logging in below screen is visible. Enter Oracle database 12c in search field. Select Oracle Database 12c Standard Edition 2 12.2.0.1.0


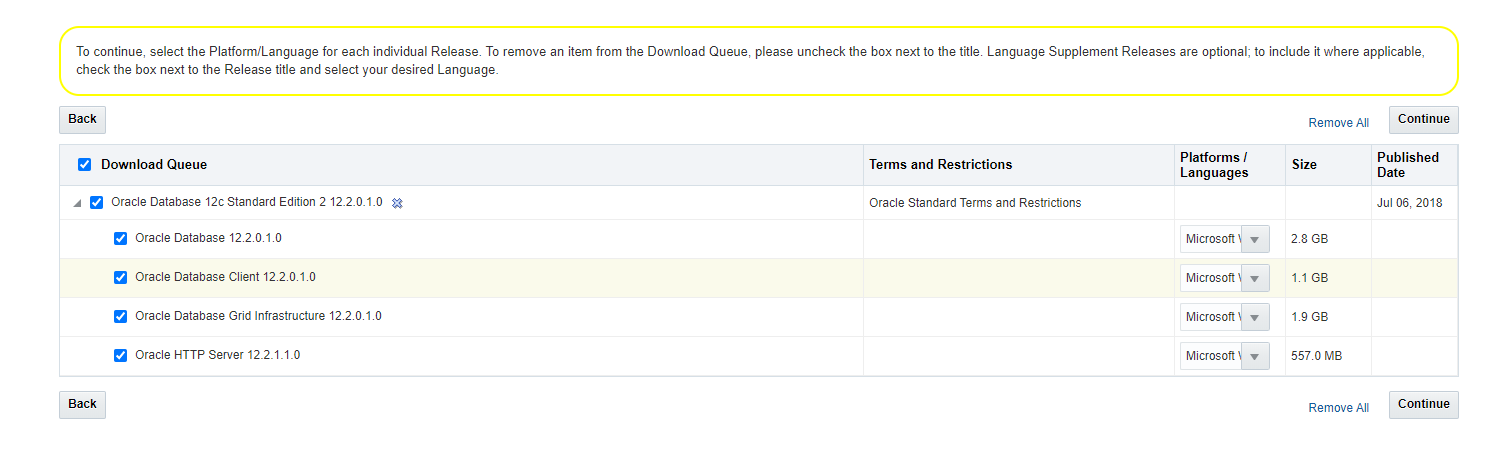
Go to top right corner of page and click on Continue

Select Operating system as Windows 64

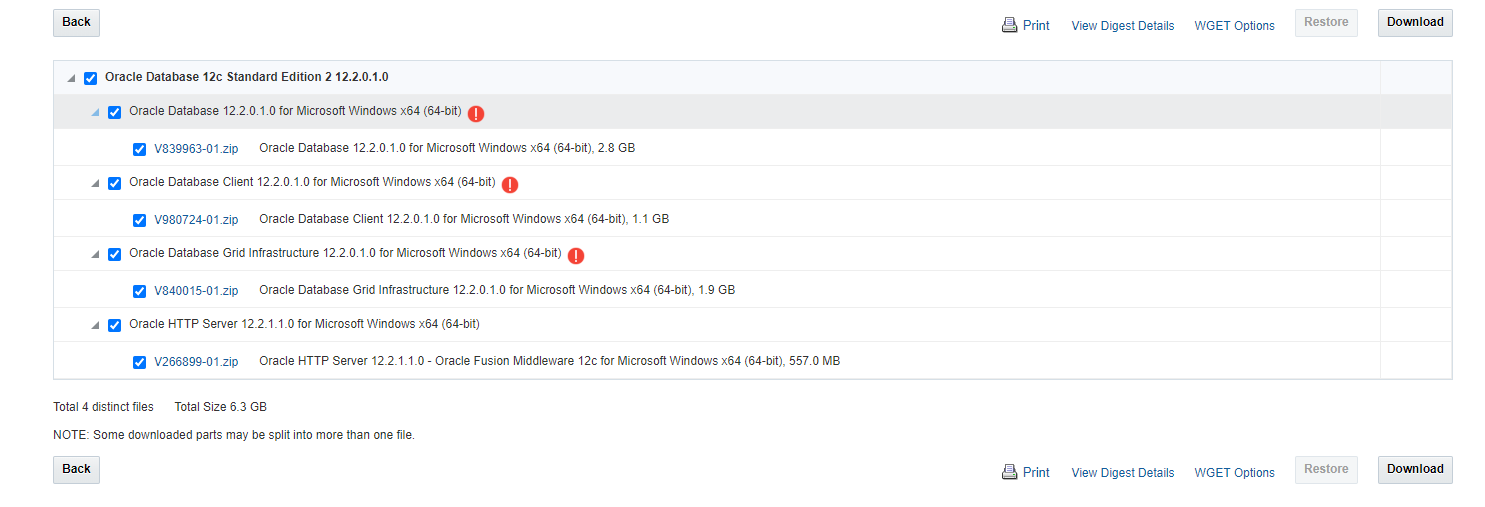
Following page opens up. Download the softwares using Oracle Download manager
Only V839963-01.zip file is needed. Rest are not needed. You can download other files as per your wish.

Installation
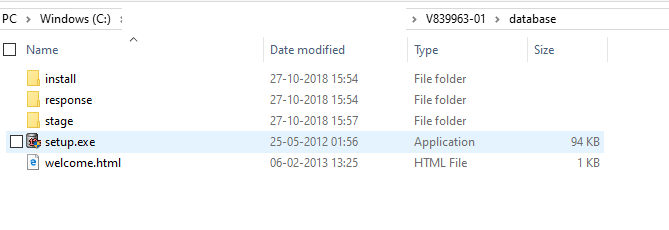
Extract the file V839963-01.zip 

Navigate to the folder

 
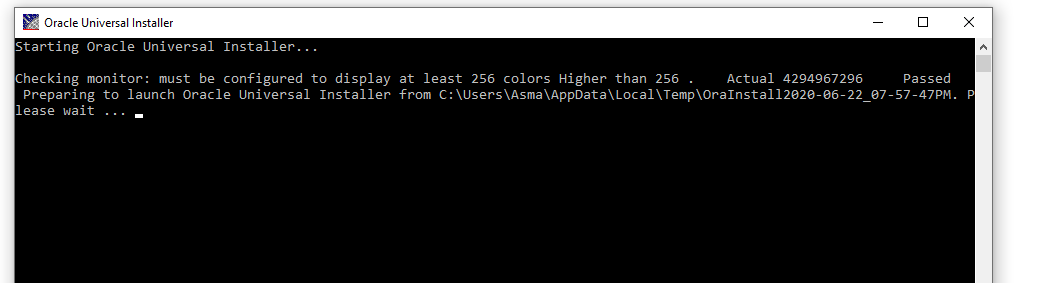
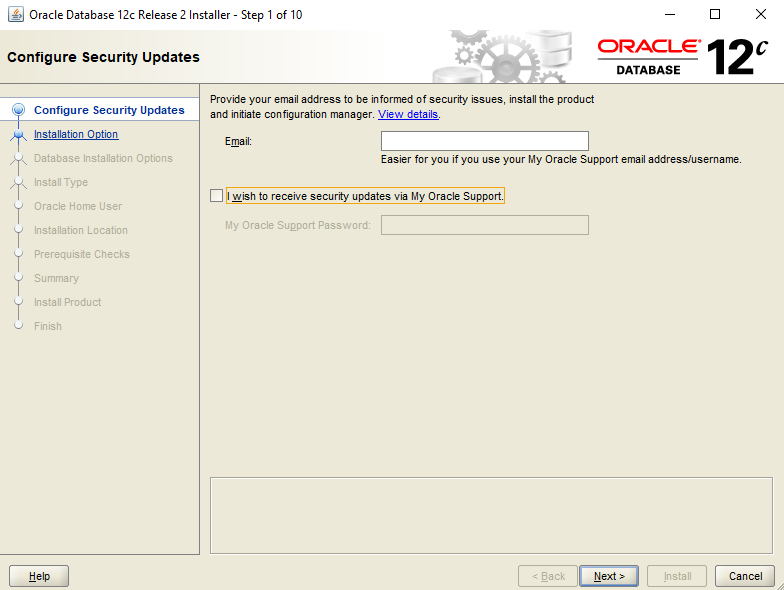
Right click on setup.exe and ‘Run as Administrator’

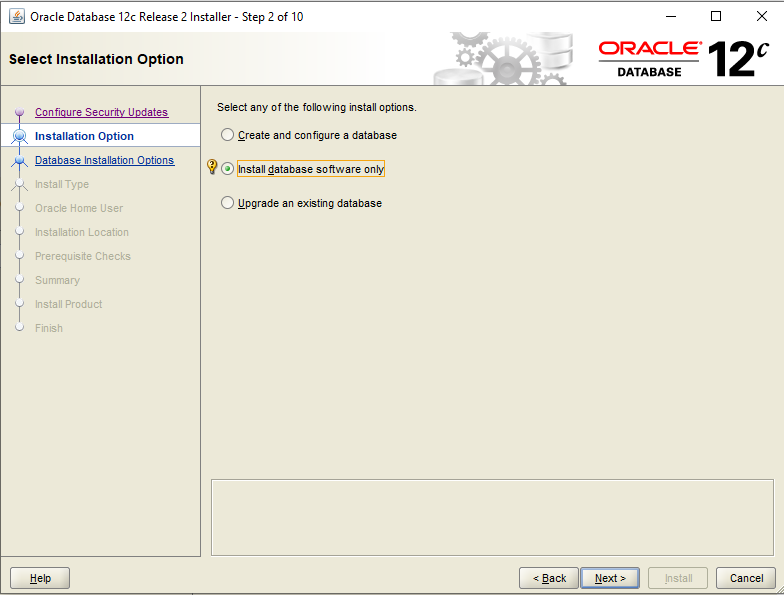
Select Install database software only

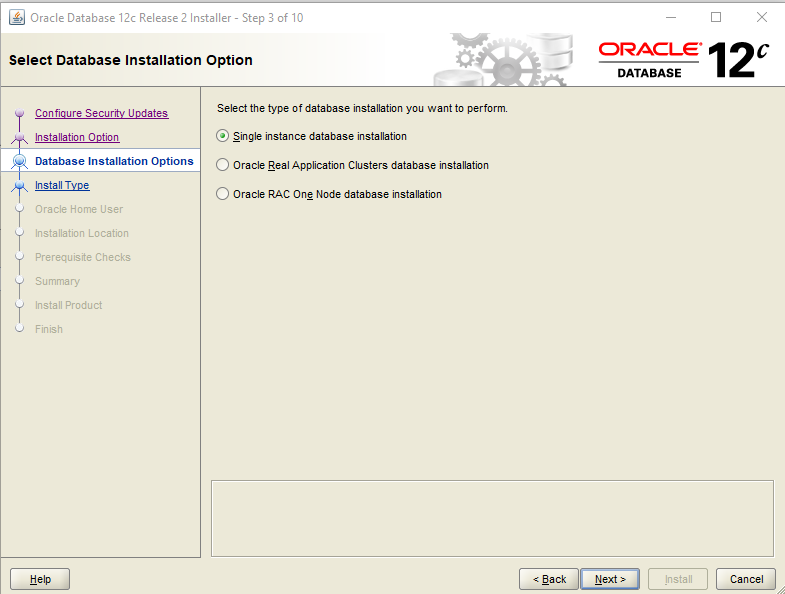
Select single instance database installation


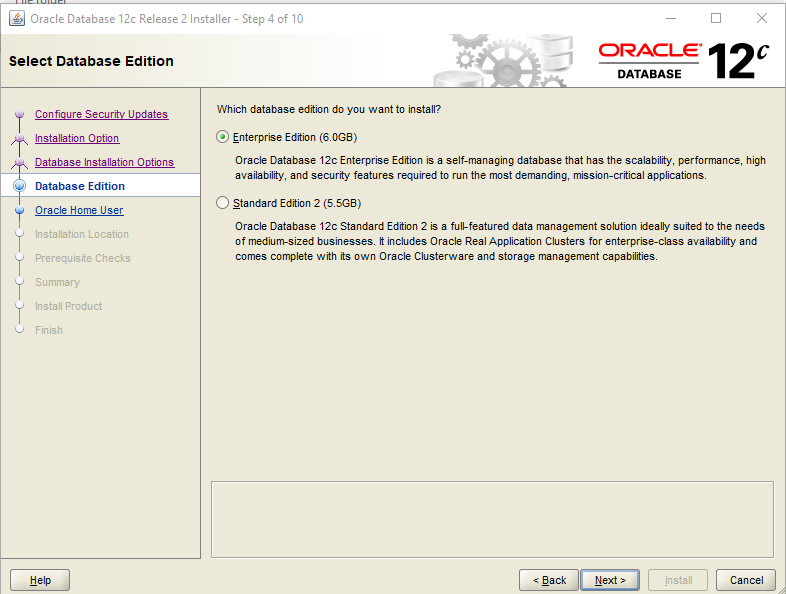
Ensure you select Enterprise Edition. If you use Standard Edition, you will face errors in Database import due to missing Features during product database import.

 
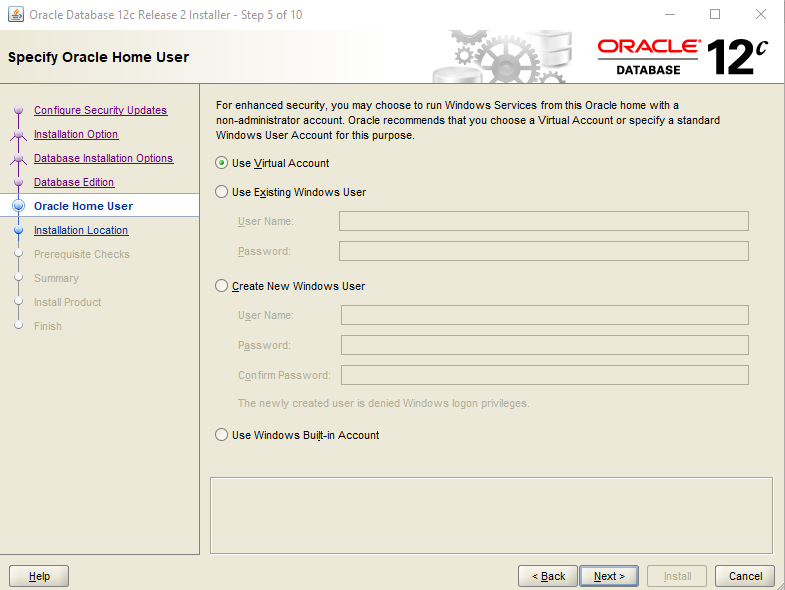
Select Use Virtual account
Please not that the software location would be dbhome_1, dbhome_2 in below screenshot is to be ignored.

Continue with Next option on further steps and complete the installation.

Creating hibernate folder
Create ‘hibernate’ folder in 'C:/c2m' folder. Copy the below jar files to this location. Not specifying the location for downloading these files as they are generic files available for download. Download from your desired location. Just ensure that the version numbers match. 
  • ehcache-core-2.4.3.jar
  • hibernate-commons-annotations-4.0.1.Final.jar
  • hibernate-core-4.1.0.Final.jar
  • hibernate-ehcache-4.1.0.Final.jar
  • hibernate-jpa-2.0-api-1.0.1.Final.jar
  • javassist-3.15.0-GA.jar
  • jboss-logging-3.3.0.Final.jar
  • jboss-transaction-api_1.1_spec-1.0.0.Final.jar


Setting System variables
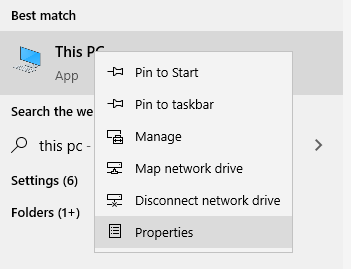
Right Click on This PC and open properties 


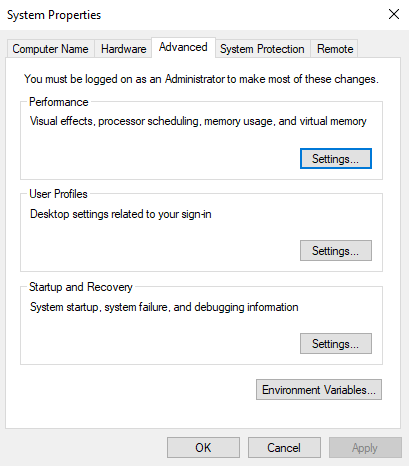
Go to Advanced system settings

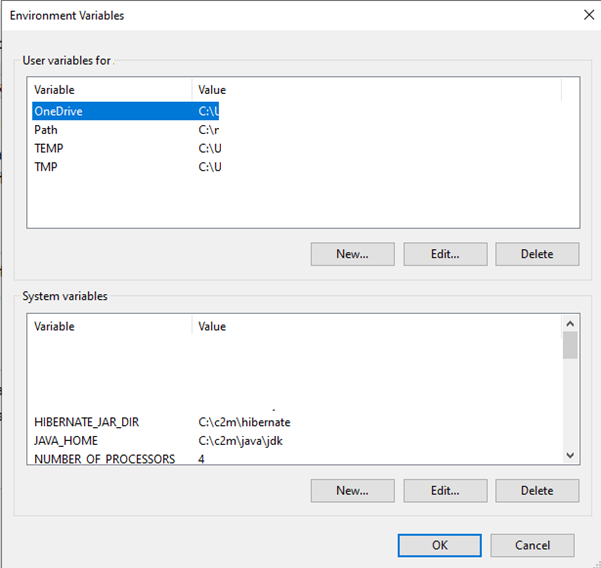
Click on Environment Variables

Create the following System variables
  • HIBERNATE_JAR_DIR - C:\c2m\hibernate
  • JAVA_HOME - C:\c2m\java\jdk
  • ORACLE_CLIENT_HOME - C:\app\virtual\product\12.2.0\dbhome_1

Append the following paths to the existing PATH system variable
C:\c2m\java\jdk\bin;C:\c2m\java\jdk\lib;C:\app\virtual\product\12.2.0\dbhome_1\bin;%ORACLE_CLIENT_HOME%\perl\bin 

This completes the first part of C2M installation. All necessary prerequisite softwares have been downloaded and installed.

Click on below link to go to next part


OUAF C2M 25.4 installation on Windows64

This blog is for anyone looking to installing Oracle C2M 25.4 on windows. Main changes observed in this installation compared to earlier ins...