This blog is for anyone looking to install Oracle C2M 2.8.0.0.
In this blog I have mainly tried to highlight the areas where there are differences between the installation steps for C2M 2.8 and C2M 2.7. For more detailed steps for installation refer my earlier blog for C2M 2.7.0.3 installation.
http://myouafworld.blogspot.com/2020/06/ouaf-c2m-2703-installation-on-windows64.html
Database installation steps:
For C2M 2.8.0.0, use Oracle 19c database. Please check that the database version is different from the one used in C2m 2.7.0.3.
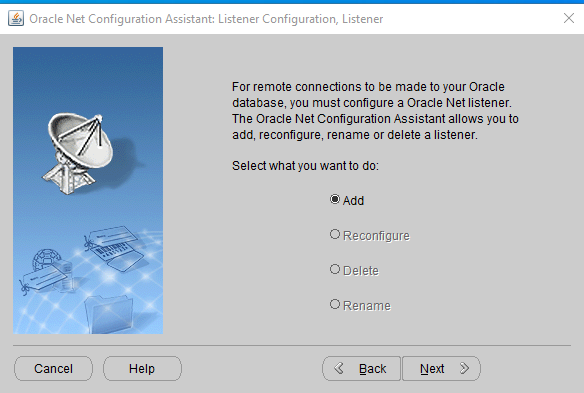
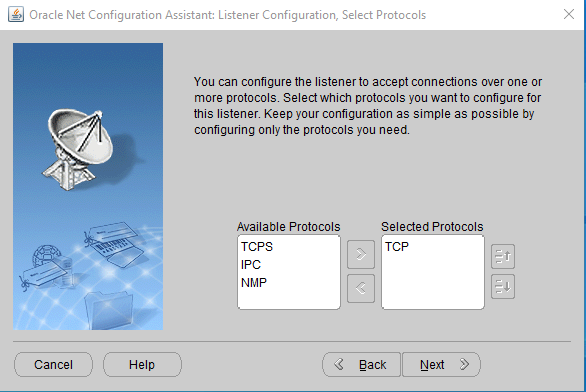
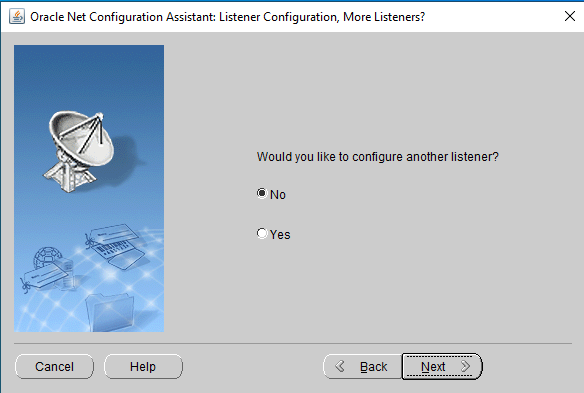
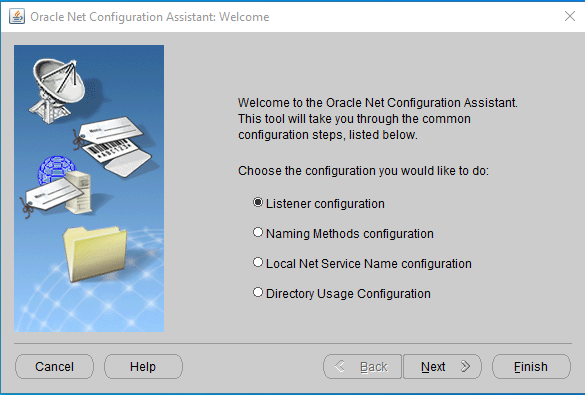
Add Listener:


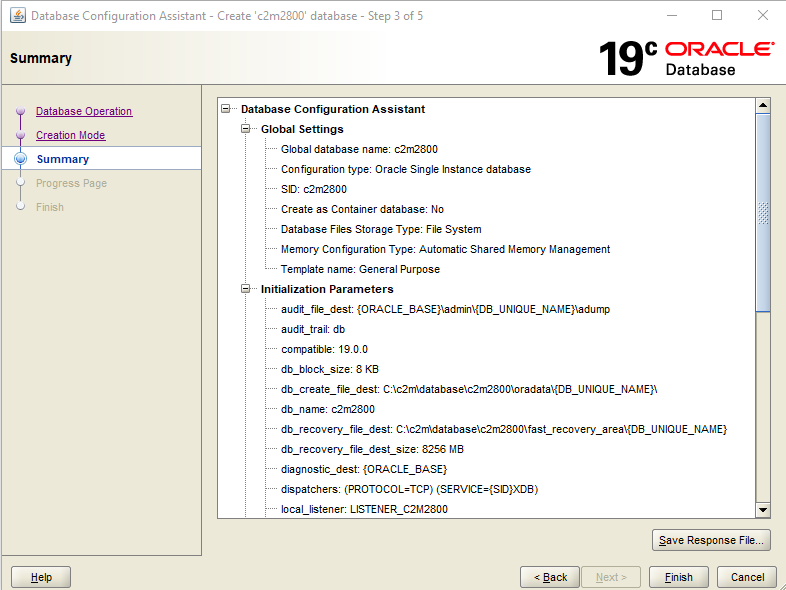
Create Database:


Login to database as sys as SYSDBA
Run below db statements.
Extending String Size:
This is the first change for C2M 2.8, the database needs to be updated for extending the string size for VarChar. Refer below steps for doing the same.
SHOW PARAMETER max_string_size;
NAME TYPE VALUE
--------------- ------ --------
max_string_size string STANDARD
Refer below oracle link for more details:
Increasing the Maximum Size of VARCHAR2, NVARCHAR2, and RAW Columns in a Non-CDB
To increase the maximum size of VARCHAR2, NVARCHAR2, and RAW columns in a non-CDB:
Shut down the database.
Restart the database in UPGRADE mode.
Change the setting of MAX_STRING_SIZE to EXTENDED.
Run the rdbms/admin/utl32k.sql script. You must be connected AS SYSDBA to run the script.
Restart the database in NORMAL mode.
Note:
The utl32k.sql script increases the maximum size of the VARCHAR2, NVARCHAR2, and RAW columns for the views where this is required. The script does not increase the maximum size of the VARCHAR2, NVARCHAR2, and RAW columns in some views because of the way the SQL for those views is written.
Run the rdbms/admin/utlrp.sql script to recompile invalid objects. You must be connected AS SYSDBA to run the script.
Import Demo Database:
Check datapump dir location:
SELECT directory_name, directory_path FROM dba_directories where directory_name = 'DATA_PUMP_DIR';
DATA_PUMP_DIR C:\c2m\dbadmin\app\admin\c2m2800\dpdump/
Extract dmp file and place it in data pump directory


Before running import statement,
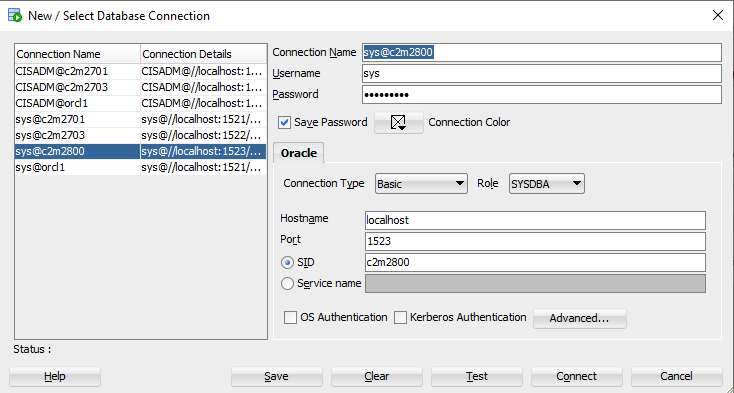
Login to sql developer with sys as sysdba and run below statement.
grant execute on dbms_rls to CISADM with grant option;
impdp directory=data_pump_dir dumpfile=exp_demo.dmp logfile=exp_demo.log schemas=CISADM


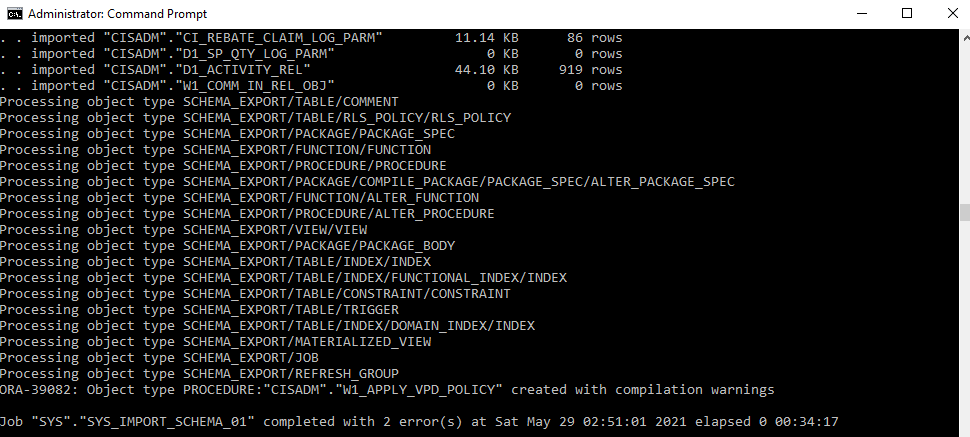
If you didn’t run the access statement for dbms_rls earlier before import, you will see that the Procedure W1_APPLY_VPD_POLICY has compilation errors as seen above. To resolve, do below steps,
Login to sql developer with sys as sysdba and run below statement.
grant execute on dbms_rls to CISADM with grant option;
Recompile the Procedure W1_APPLY_VPD_POLICY in error.
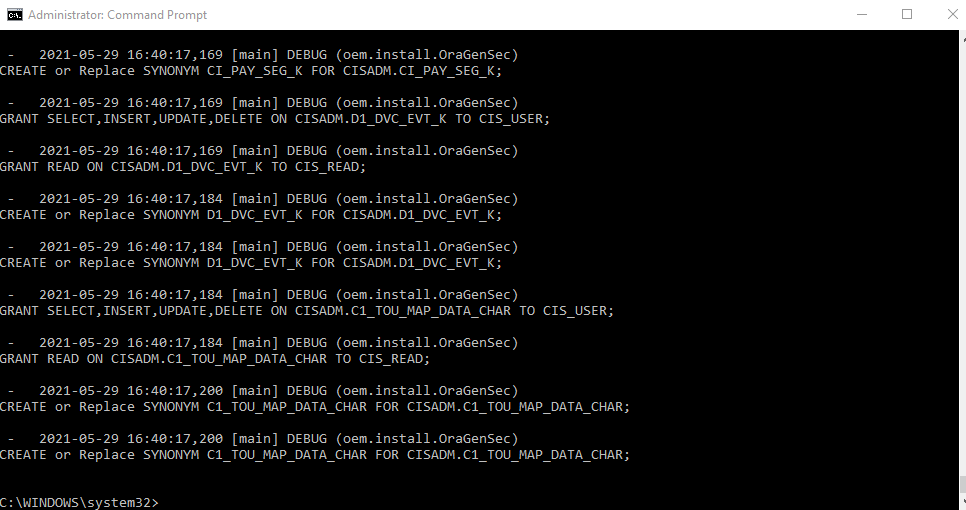
Creating Synonyms for CISUSER and CISREAD:
Extract the files in V1006660-01
C:\myfolder\OracleDownloads\C2M_2.8.0.0\V1006660-01\jarfiles
SET CLASSPATH=C:\myfolder\OracleDownloads\C2M_2.8.0.0\V1006660-01\jarfiles\*
"%JAVA_HOME%"\bin\java -Xmx1500M com.oracle.ouaf.oem.install.OraGenSec -d CISADM,CISADM,jdbc:oracle:thin:@localhost:1523/C2M2800 -u CISUSER,CISREAD -r CIS_USER,CIS_READ -a A -p CISUSER,CISREAD -l output.log
Weblogic Installation:
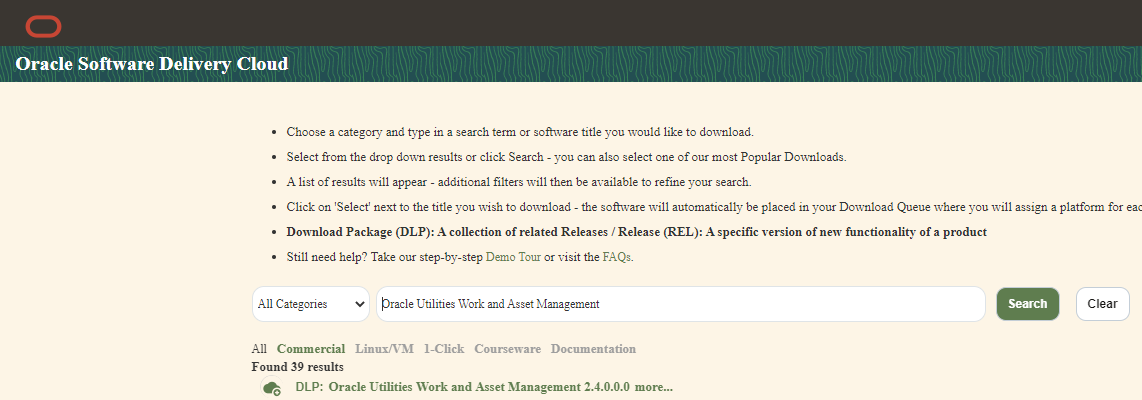
Download steps:
Ensure you download version 12.2.1.4 or above of weblogic

Only below file ‘V983368-01.zip’ is needed for installation.

Installation steps:

Open command prompt, navigate to above location
Run below command
C:\c2m\java\jdk\bin\java –jar fmw_12.2.1.4.0_infrastructure.jar
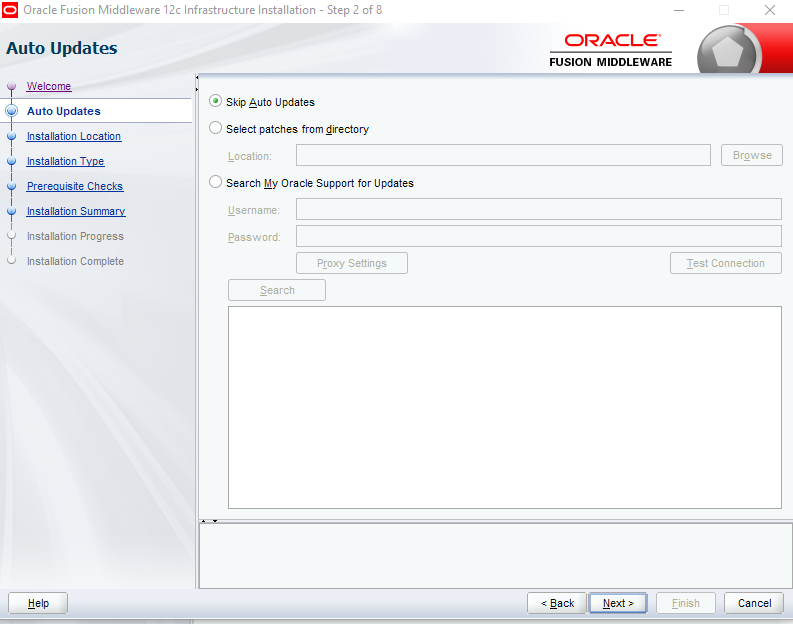
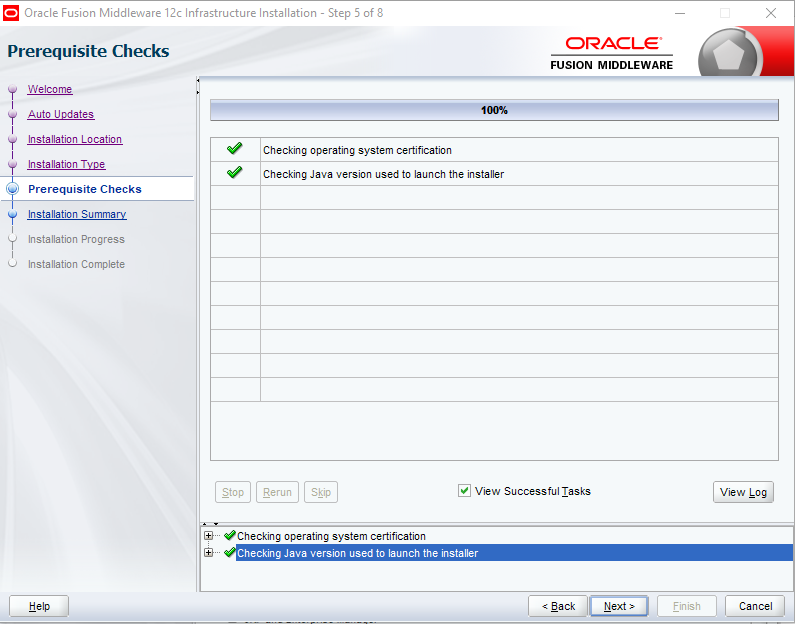
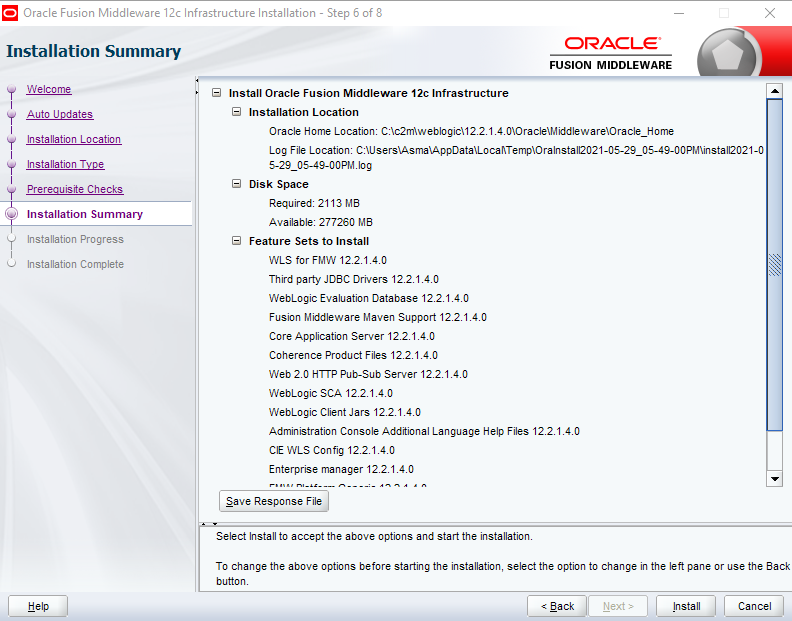
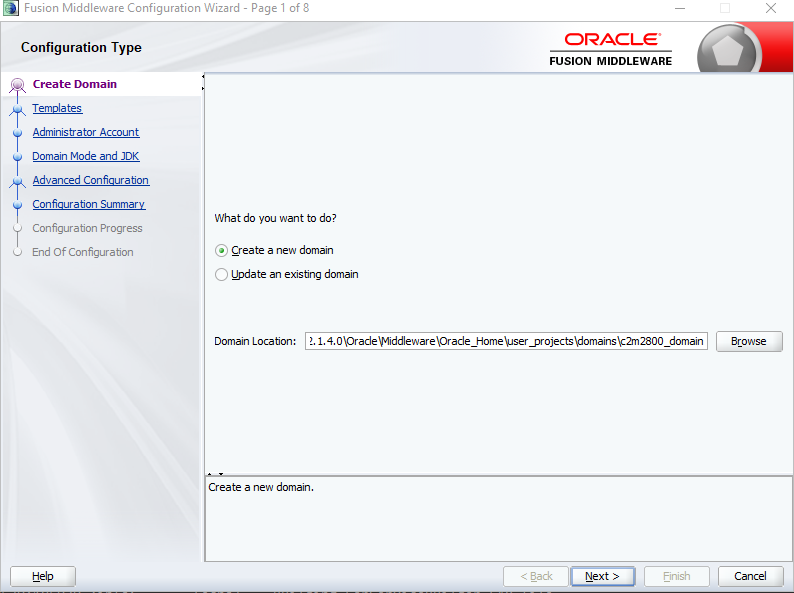
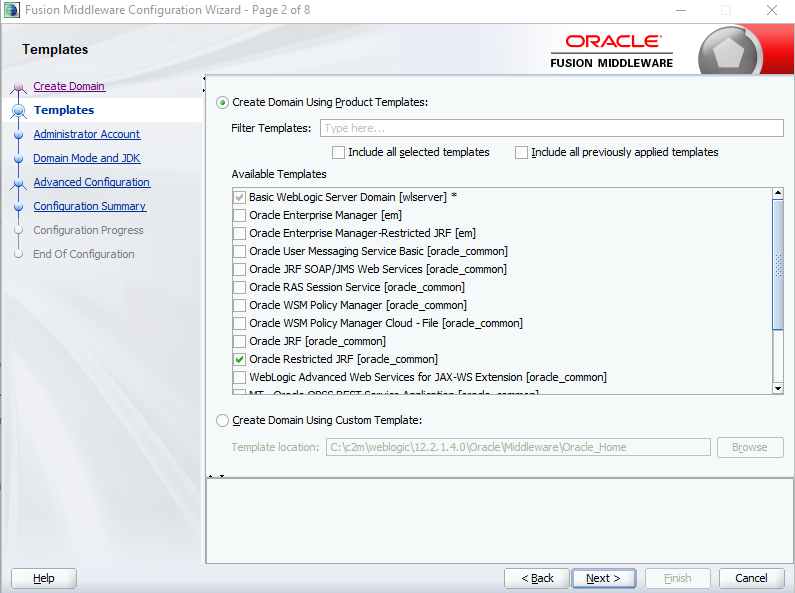
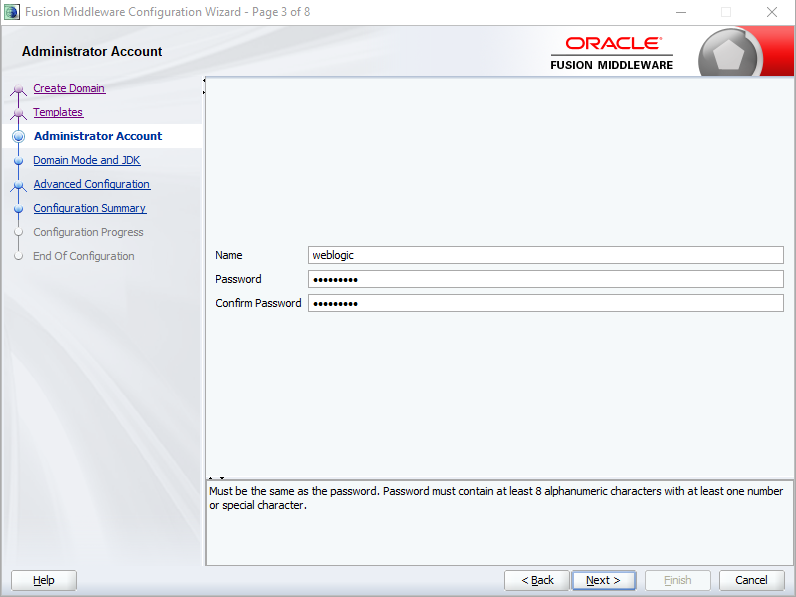
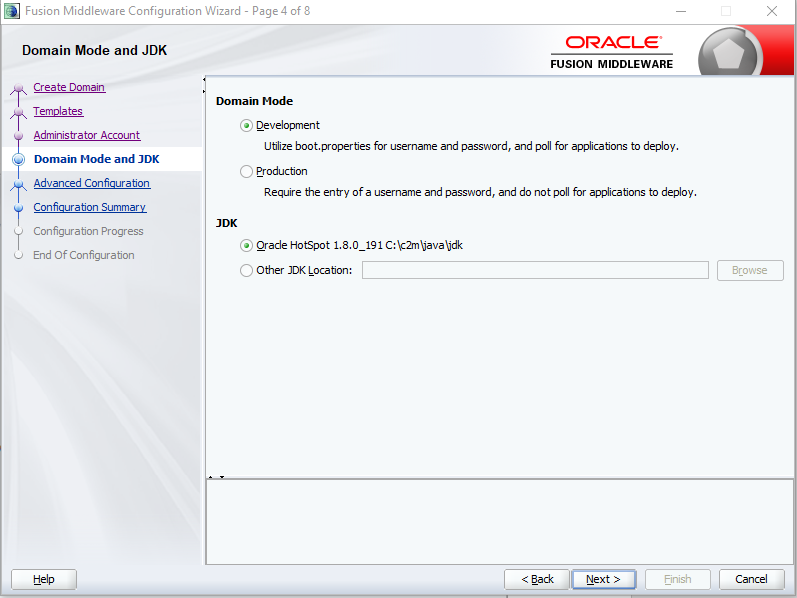
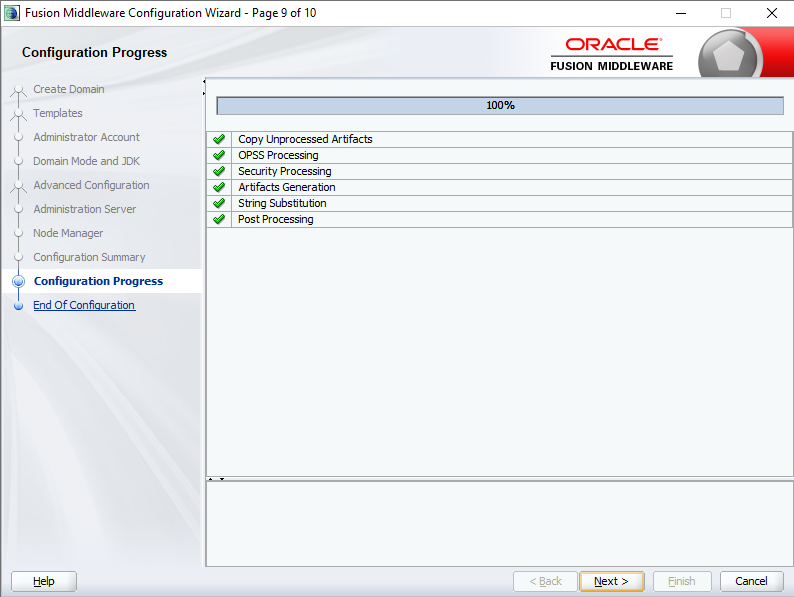
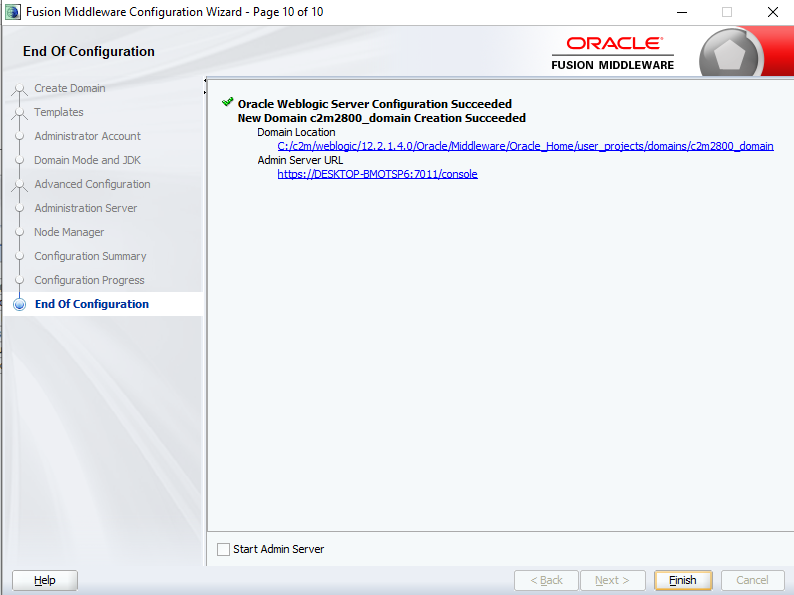
Below screen opens up, follow the steps shown below.
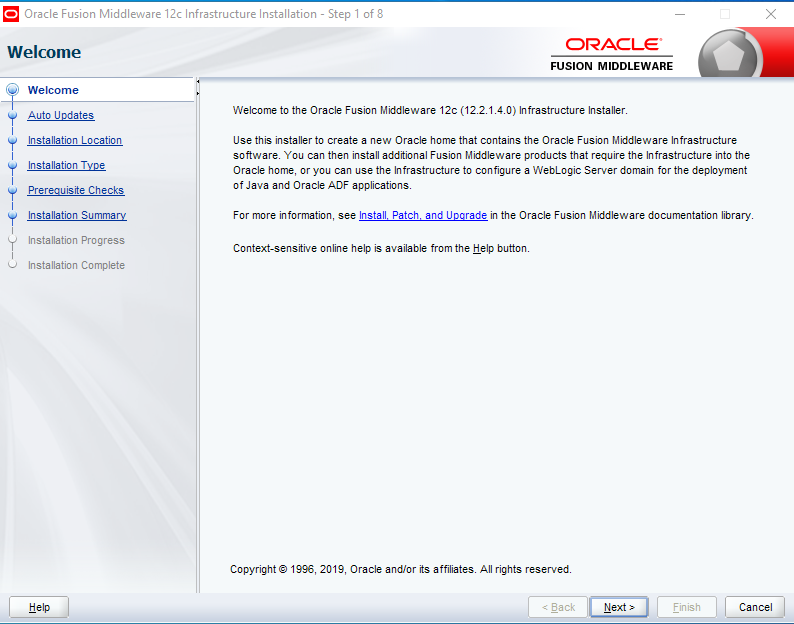


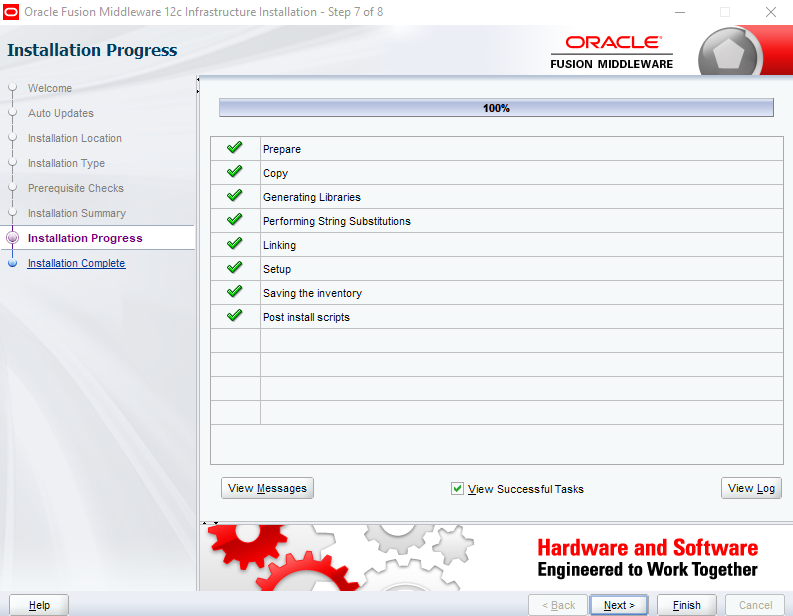
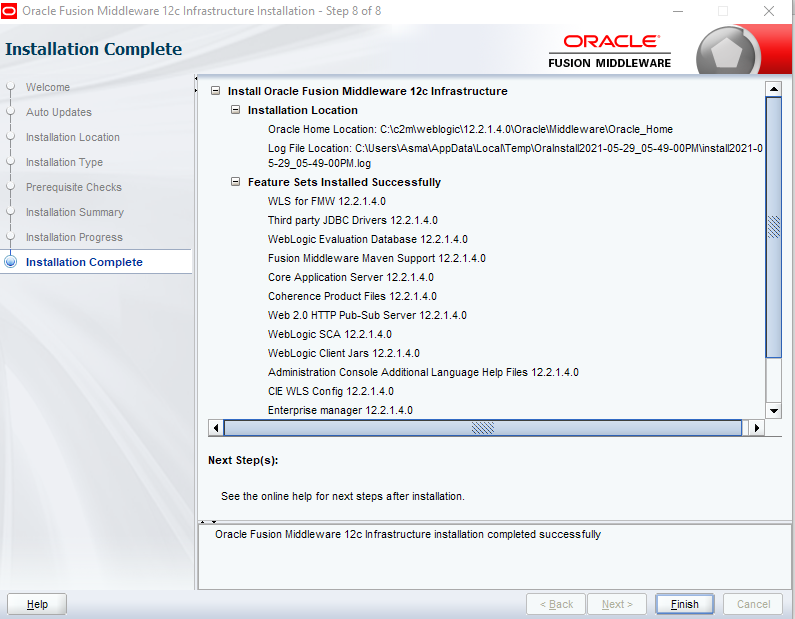
Weblogic Installation completed.
Application Installation:
Below are the steps for C2M Application installation:
- Install Oracle Utilities Application Framework V4.4.0.3.0
- Update Keystore
- Install Oracle Utilities Application Framework V4.4.0.3.0 Prerequisite Single Fixes
- Install Oracle Utilities Customer Care and Billing V2.8.0.0.0
- Install Oracle Utilities Customer Care and Billing V2.8.0.0.0 Post-release Patches
- Install Oracle Utilities Meter Data Management V2.4.0.0.0
- Install Oracle Utilities Operational Device Management V2.3.0.0.0
- Install Oracle Utilities Customer To Meter V2.8.0.0.0
- Install Oracle Utilities Customer To Meter V2.8.0.0.0 Post-release Patches
Framework installation:
C:\myfolder\OracleDownloads\C2M_2.8.0.0\V1006661-01.zip
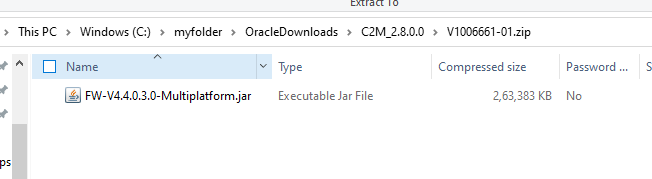
Copy the file FW-V4.4.0.3.0-MultiPlatform.jar from the delivered package to the
<TEMPDIR>
cd <TEMPDIR>
jar -xvf FW-V4.4.0.3.0-MultiPlatform.jar
Update the configuration values as shown below. You can modify the port number as needed.
Please Note*: Below highlighted config value for JNDI password has to be same when you enter the password for system user in native weblogic configuration.
Also set Deploy application viewer to false in case you don't need it. This reduces the ear build time during installation. You can set it to true later if you need it.
Updating keystore:
Verify keystore files are present under ks folder

1. Using configureEnv.cmd, re-enter the menu passwords to encrypt the data.
2. Run initialSetup.cmd to update property files with the encrypted data.
Next navigate to %SPLEBASE%/bin folder
Run splenviron.cmd -e C2M2703
Navigate back to bin folder
Run following commands
perl run_java_standalone.plx com.splwg.shared.common.ResetCryptographyKey
invokeDBUpdatePatch.cmd
Verify that both commands ran successfully.
This completes the configuration of OUAF keystore part of the installation
Installing Oracle Utilities Application Framework V4.4.0.3.0 Prerequisite Single Fixes:
C:\myfolder\OracleDownloads\C2M_2.8.0.0\V1008706-01.zip
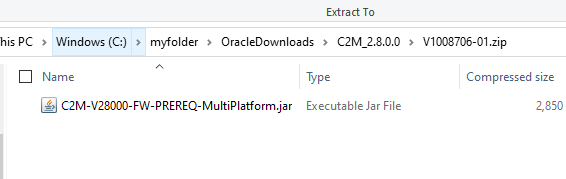
Copy the file to temporary location
jar -xvf C2M-V28000-FW-PREREQ-MultiPlatform.jar
$SPLEBASE\bin\splenviron.cmd -e %SPLENVIRON%
Navigate to the <temp location>/FW-V4.4.0.3.0-Rollup/Application folder.
installSFgroup.cmd
Installing the Oracle Utilities Customer Care and Billing Application Component:
C:\myfolder\OracleDownloads\C2M_2.8.0.0\V1008715-01.zip

Copy the file CCB-V2.8.0.0.0-MultiPlatform.jar in the delivered package to a <TEMPDIR>.
cd <TEMPDIR>
jar -xvf CCB-V2.8.0.0.0-MultiPlatform.jar
$SPLEBASE\bin\splenviron.cmd -e %SPLENVIRON%
Change to the <TEMPDIR>/CCB.V2.8.0.0.0 directory.
install.cmd
Options will come up. Enter ‘P’ and click on enter.
Installing Oracle Utilities Customer Care and Billing V2.8.0.0.0 Post-release Patches:
C:\myfolder\OracleDownloads\C2M_2.8.0.0\V1008718-01.zip
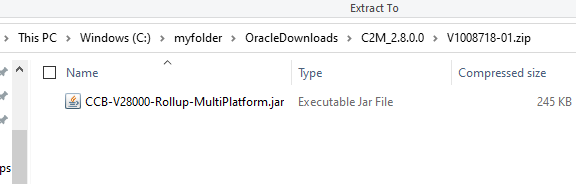
Copy the CCB-V28000-Rollup-MultiPlatform.jar file in the delivered package to a <TEMPDIR>.
2. Unjar the file.
jar -xvf CCB-V28080-Rollup-MultiPlatform.jar
$SPLEBASE\bin\splenviron.cmd -e %SPLENVIRON%
Navigate to the <temp location>/CCB-V2.8.0.0.0-Rollup/Application folder.
installSFgroup.cmd
Installing Oracle Utilities Meter Data Management V2.4.0.0.0:
C:\myfolder\OracleDownloads\C2M_2.8.0.0\V1008725-01.zip
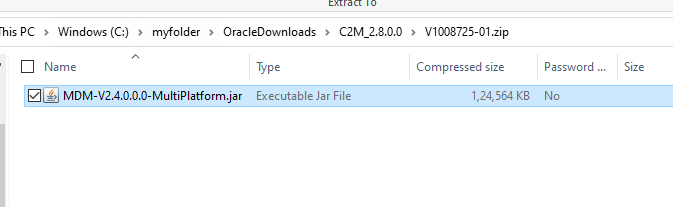
Copy the MDM-V2.4.0.0.0-MultiPlatform.jar file in the delivered package to a <TEMPDIR>.
2. Unjar the file.
jar -xvf MDM-V2.4.0.0.0-MultiPlatform.jar
$SPLEBASE\bin\splenviron.cmd -e <ENV NAME>
Navigate to the <temp location>/MDM.V2.4.0.0.0 folder.
install.cmd
Choose option P to proceed with the installation.
Installing Oracle Utilities Operational Device Management V2.3.0.0.0:
C:\myfolder\OracleDownloads\C2M_2.8.0.0\V1008727-01.zip
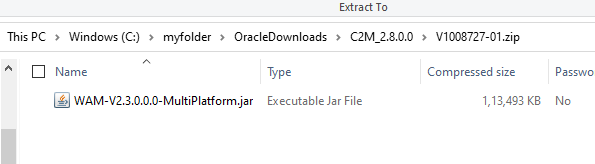
Copy the WAM-V2.3.0.0.0-Multiplatform.jar file in the delivered package to a
<TEMPDIR> on your host server.
cd <TEMPDIR>
jar -xvf WAM-V2.3.0.0.0-Multiplatform.jar
splenviron.cmd -e <ENV NAME>
4. Change to the <TEMPDIR>/W1.V2.3.0.0.0 directory
splenviron.cmd -e <ENV NAME>
install.cmd
Choose option P to proceed with the installation.
Installing Oracle Utilities Customer To Meter V2.8.0.0.0:
C:\myfolder\OracleDownloads\C2M_2.8.0.0\V1008730-01.zip
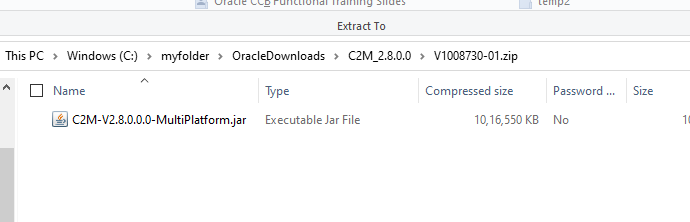
Copy the C2M.V2.8.0.0.0-MultiPlatform.jar file in the delivered package to a
<TEMPDIR> on your application server
cd <TEMPDIR>
jar -xvf C2M-V2.8.0.0.0-MultiPlatform.jar
splenviron.cmd -e <ENV NAME>
Change to the <TEMPDIR>/C2M.V2.8.0.0.0 directory.
install.cmd
Installing Oracle Utilities Customer To Meter V2.8.0.0.0 Post-release Patches:
C:\myfolder\OracleDownloads\C2M_2.8.0.0\V1008732-01.zip
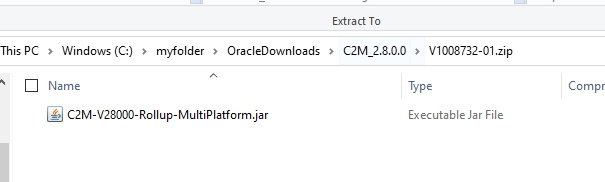
Copy the C2M-V28000-Rollup-MultiPlatform.jar file in the delivered package to a
<TEMPDIR>.
Navigate to C:\temp2\C2M-V2.8.0.0.0-Rollup\Application
2. Unjar the file.
jar -xvf C2M-V28080-Rollup-MultiPlatform.jar
$SPLEBASE\bin\splenviron.cmd -e %SPLENVIRON%
Navigate to the <temp location>/C2M-V2.8.0.0.0-Rollup/Application folder.
installSFgroup.cmd
This completes the installation of C2M application.
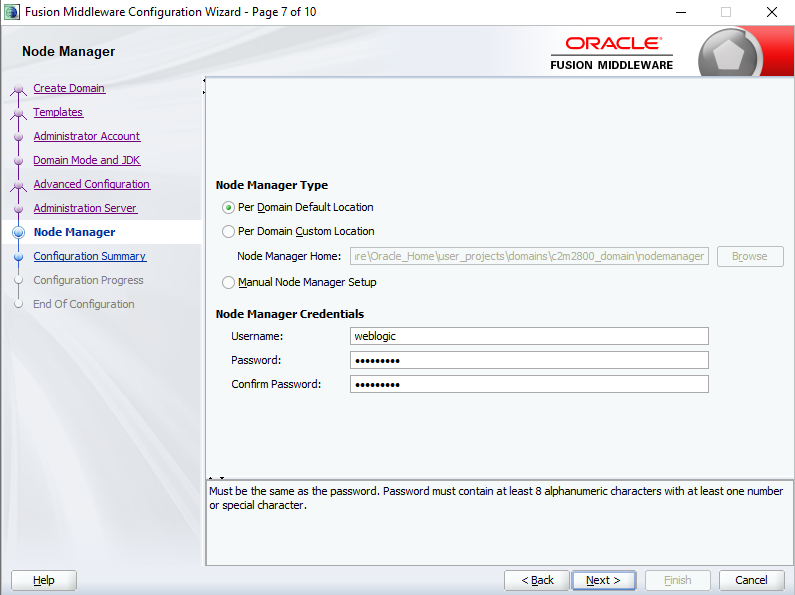
Native installation of C2M 2.8.0.0 on Weblogic:
(Kindly also refer my latest blog for using WLST to do native installation on weblogic. It helps to reduce the time taken as well as reduces any errors. Link to blog: Native installation using WLST)
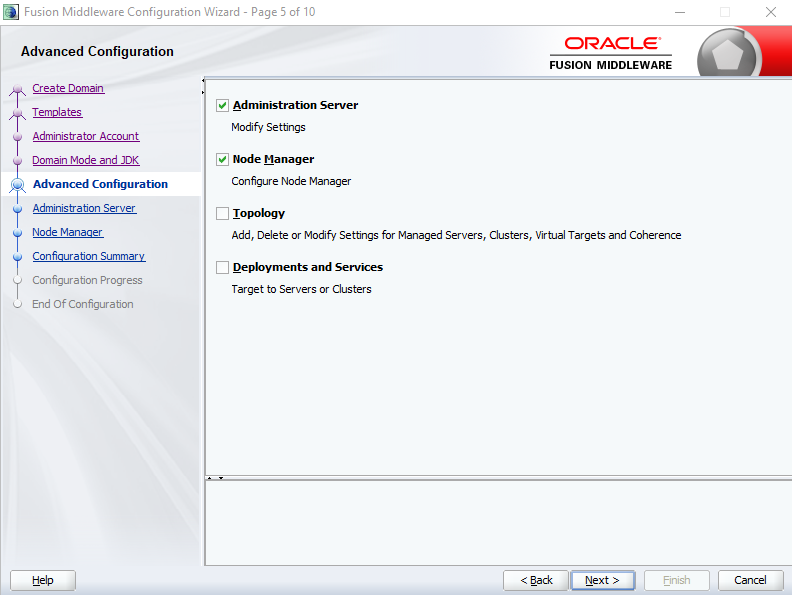
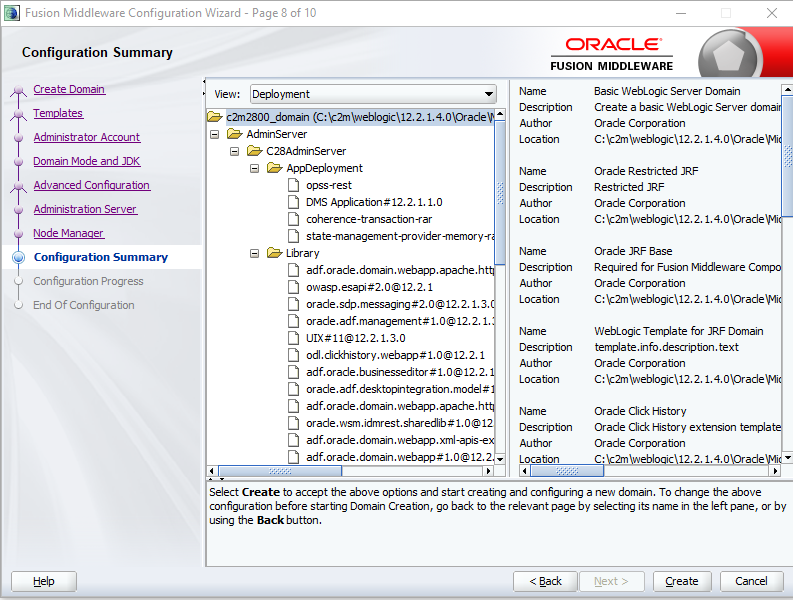
Refer below steps for deploying the C2M application on Weblogic in native mode
Ensure Oracle Restricted JRF is selected. This is need for help link to work on application.
For deploying the application on weblogic, refer the steps in my earlier blog for deploying SPLService, SPLWeb and ohelp ear files. Below is blog link for reference.
http://myouafworld.blogspot.com/2020/06/ouaf-c2m-2703-installation-on-windows64_5.html
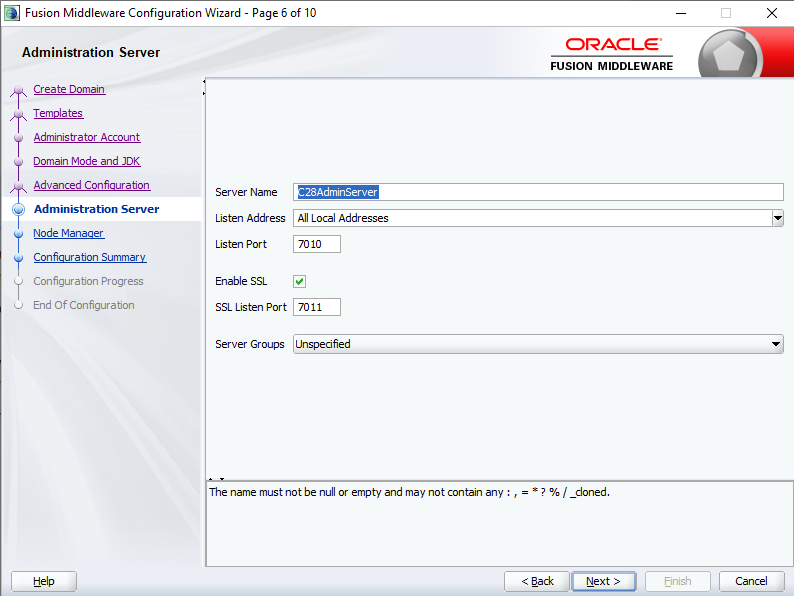
One difference for the class path on 'Server Start' tab of c2m2800 server in weblogic admin fron end:
C:\c2m\ouaf\C2M2800\splapp\standalone\lib\antlr-2.7.7.jar;C:\c2m\weblogic\12.2.1.4.0\Oracle\Middleware\Oracle_Home\wlserver\server\lib\weblogic_sp.jar;C:\c2m\weblogic\12.2.1.4.0\Oracle\Middleware\Oracle_Home\wlserver\server\lib\weblogic.jar
Before deployment of ear files, ensure you do the below changes, the size of deployment files has increased in V2.8.0.0. Some configuration changes are needed before proceeding with deployment of SPLService and SPLWeb.
Navigate to 'C:\c2m\weblogic\12.2.1.4.0\Oracle\Middleware\Oracle_Home\user_projects\domains\c2m2800_domain\bin'
Open below file
startWebLogic.cmd
Add below line in file. Refer screenshot below for location to update.
set JAVA_OPTIONS=%JAVA_OPTIONS% -Dweblogic.deploy.MaxPostSize="2000000000"
(Max value allowed in this option is 21474836480 or 2GB)

Also increase the heap size to 3 GB in same file.
set USER_MEM_ARGS=-Xms3072m -Xmx3072m -XX:PermSize=512m
After initial installation, you can move the heap size setting to setUserOverrides.cmd file. This is so that the heap size is applied only on the C2M server and not the weblogic admin server.
Below is step for it.
Add this file ‘setUserOverrides.cmd’ in “C:\c2m\weblogic\12.2.1.4.0\Oracle\Middleware\Oracle_Home\user_projects\domains\c2m2800_domain\bin” location.
The sample file for ‘setUserOverrides.cmd’ is available in following location “C:\c2m\ouaf\C2M2800\tools\examples\bin”
IWS Deployment
Added the steps for IWS deployment in weblogic native mode
Admin server and C2M server should be up and running.
In below command, 7010 port number is weblogic admin port number. Update the port number in the command with the port number configured in your system.
Connect to oracle database
Login as SYS user.
2. On the SQL prompt, run:
@?/rdbms/admin/userlock.sql
3. Grant permission.
grant execute on USER_LOCK to public;
Go to command prompt
Go to $WeblogicHome\oracle_common\common\bin
Run below commands
wlst.cmd
connect("weblogicuser","password","t3://localhost:weblogicAdminconsoleport")
storeUserConfig('$SPLBASE/etc/.wlsuserconfig',' $SPLBASE/etc/.wlsuserkey')
connect("weblogic","password","t3://localhost:7010")
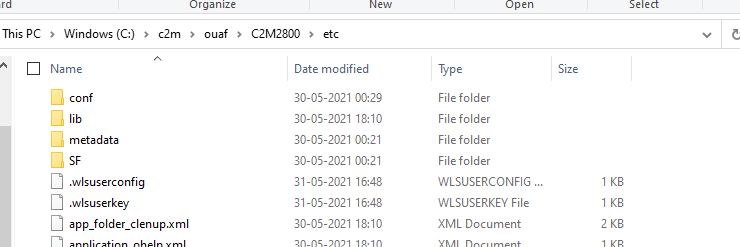
storeUserConfig('C:/c2m/ouaf/C2M2800/etc/.wlsuserconfig','C:/c2m/ouaf/C2M2800/etc/.wlsuserkey')
Navigate to etc folder as shown below, you can see that the .wlsuserconfg and .wlsuserkey files have got created.
Navigate to “C:\c2m\ouaf\C2M2800\splapp\iws” and update below file
iws-build-WLS.xml
<property name="web.admin.url" value="t3://localhost:7010" />
Navigate to below file and do the highlighted updates for Heap size
iws-build-common.xml
splenviron.cmd -e <ENV NAME>
Execute the following command in %SPLEBASE%\bin. Make sure the application
server is up and running.
iwsdeploy.cmd
Command should run successfully without any errors.
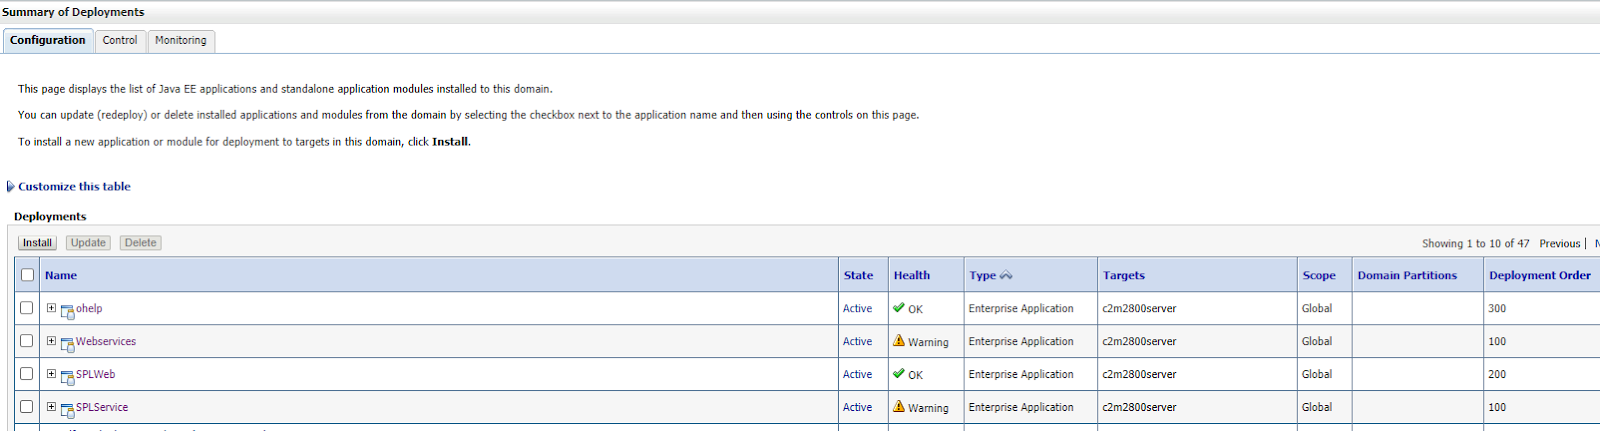
Next login to weblogic admin and go to deployments, you should see Webservice.ear fiel deployed and Active.
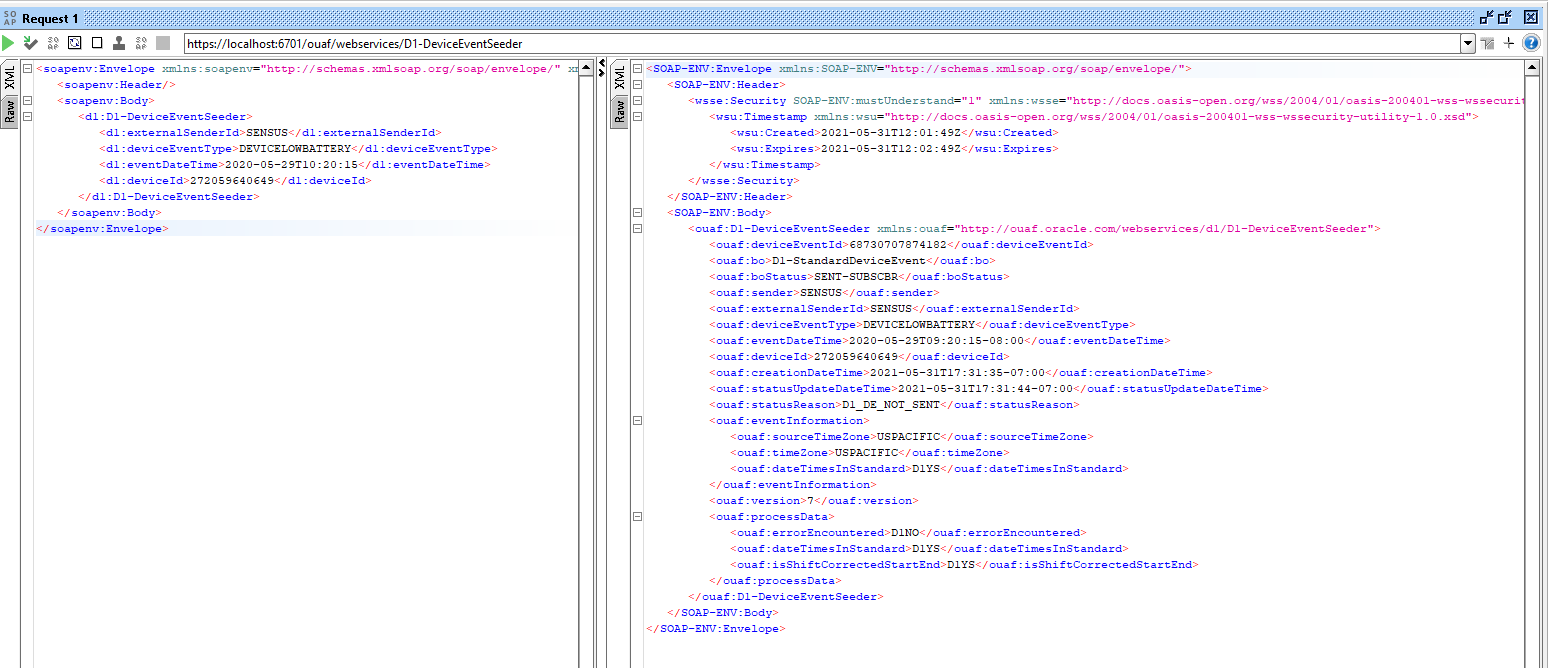
Testing Webservice with SOAPUI.
Refer below steps for testing webservice is working after deployment
Open below OOB webservice and open its wsdl
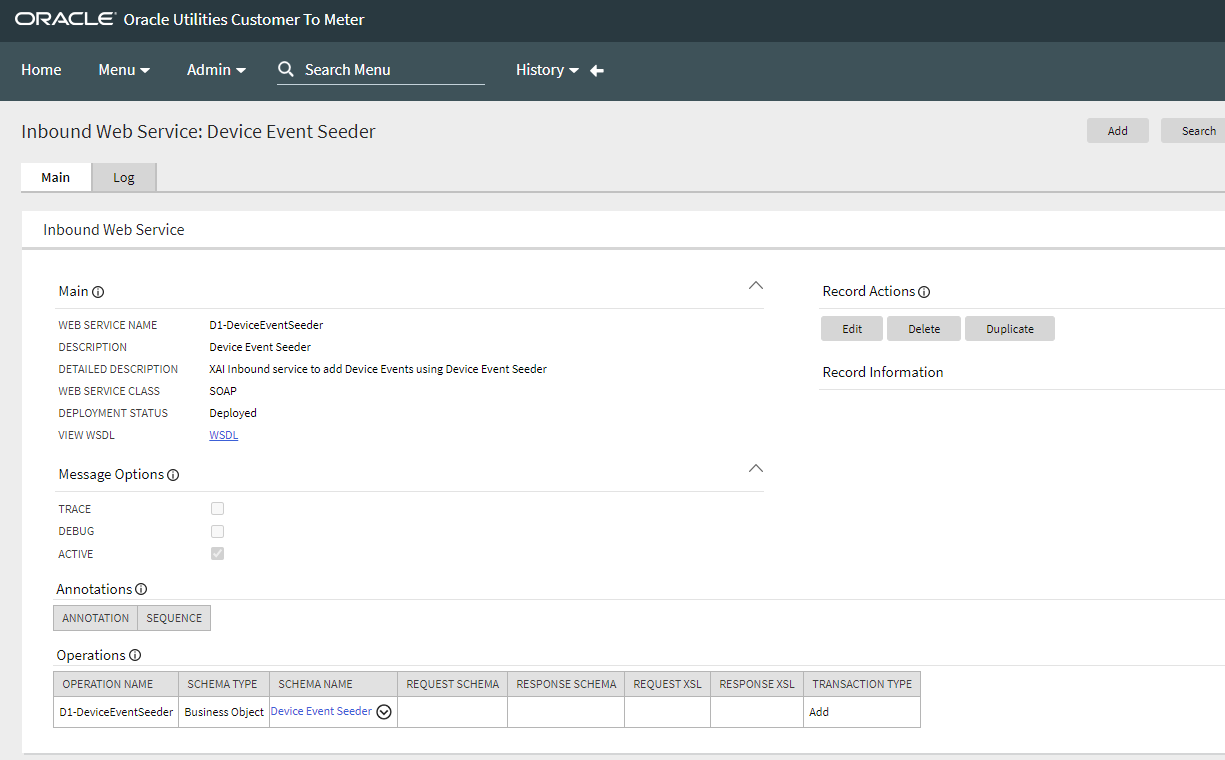
Click on the WSDL link and open below WSDL. Copy the WSDL url
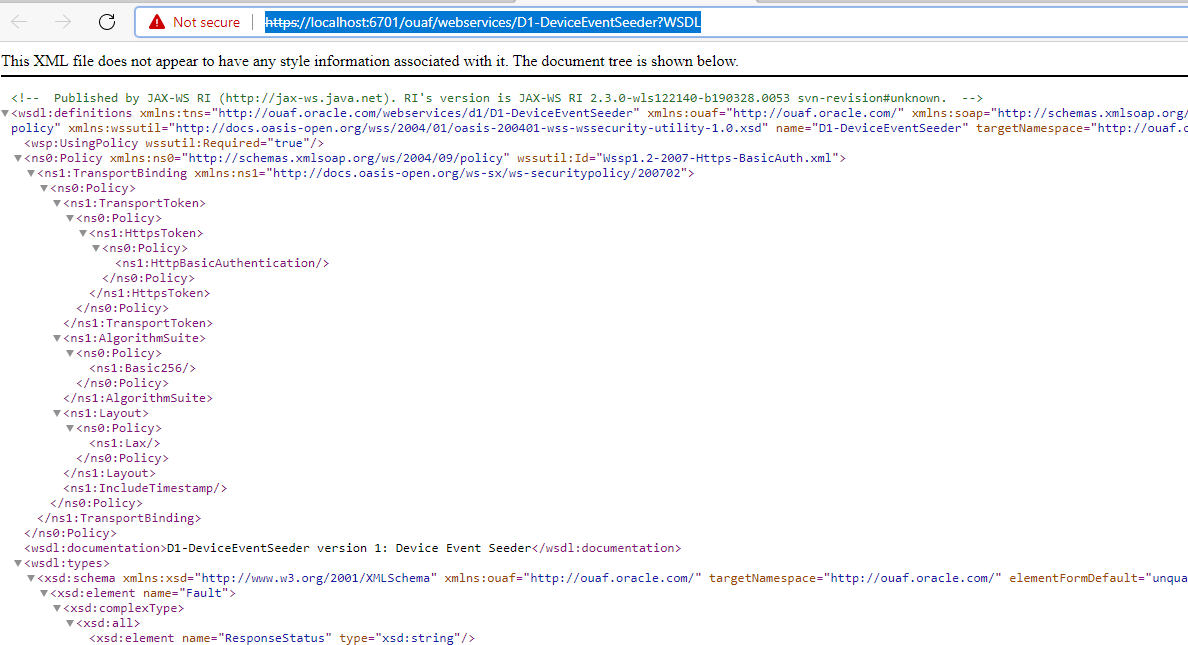
https://localhost:6701/ouaf/webservices/D1-DeviceEventSeeder?WSDL
Open SOAP UI, open new SOAP project. Copy the WSDL url here.

Navigate to Request 1

Update the Request1 with below request xml

Sample xml below for reference
Update the username and password in the request properties. Set WSS-Password Type to ‘PasswordText’ and set WSS TimeToLive to ‘72’

Now run the request, if the webservice deployment is proper, you should see a successful response as seen below.