This blog is for anyone looking to install Oracle C2M 2.9.0.0.
In this blog I have mainly tried to highlight the areas where there are differences between the installation steps for C2M 2.9 and C2M 2.7. For more detailed steps for installation refer my earlier blog for C2M 2.7.0.3 installation.
http://myouafworld.blogspot.com/2020/06/ouaf-c2m-2703-installation-on-windows64.htmlDatabase installation steps:
For C2M 2.9.0.0, use Oracle 19c database.
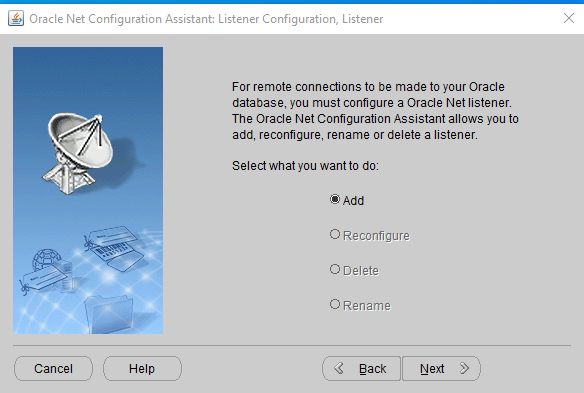
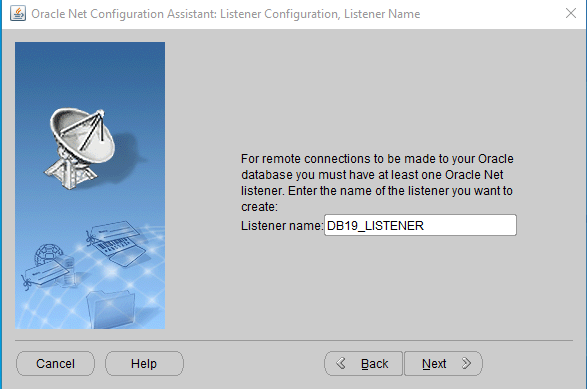
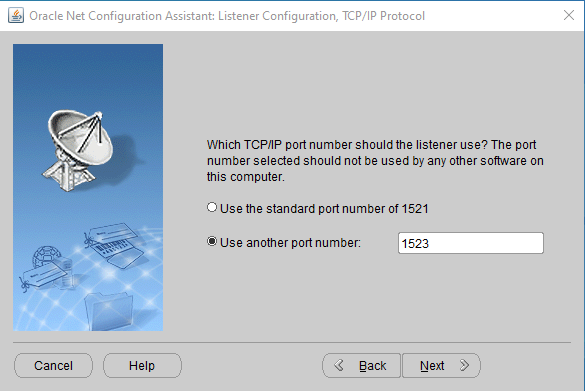
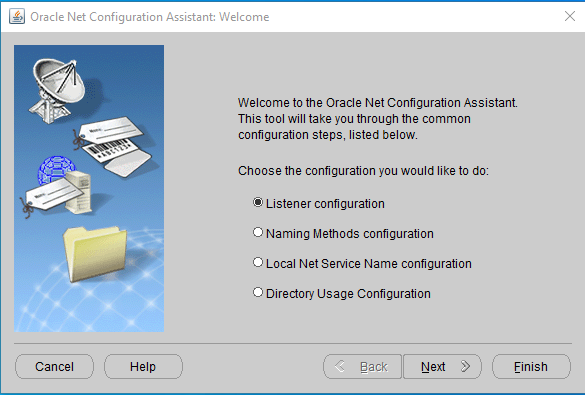
Add Listener:


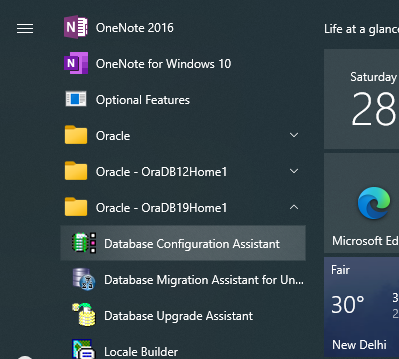
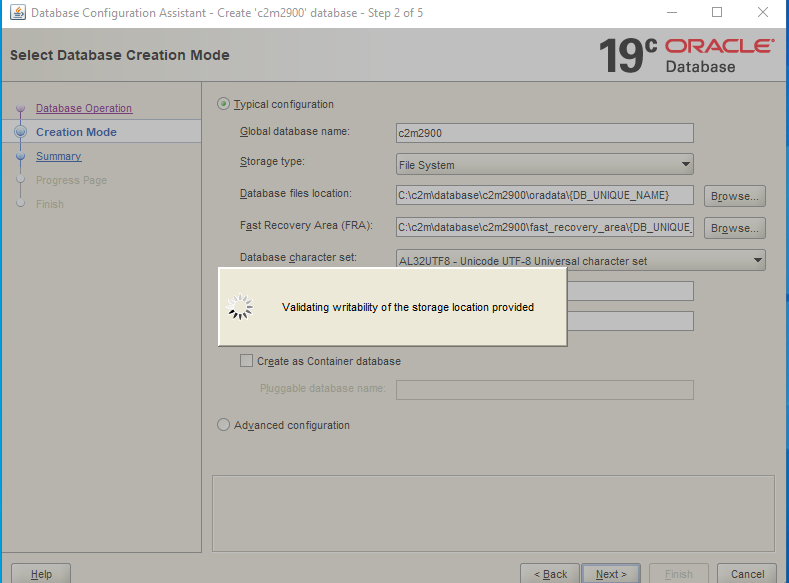
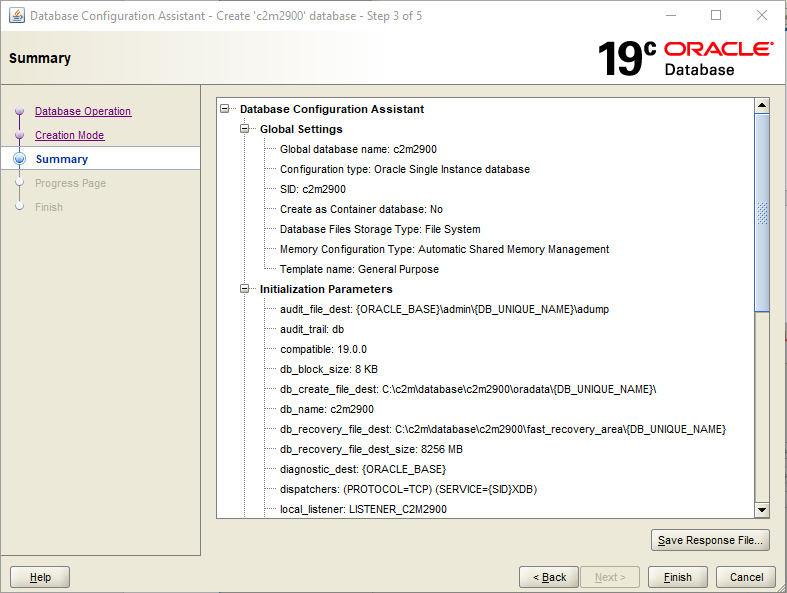
Create Database:

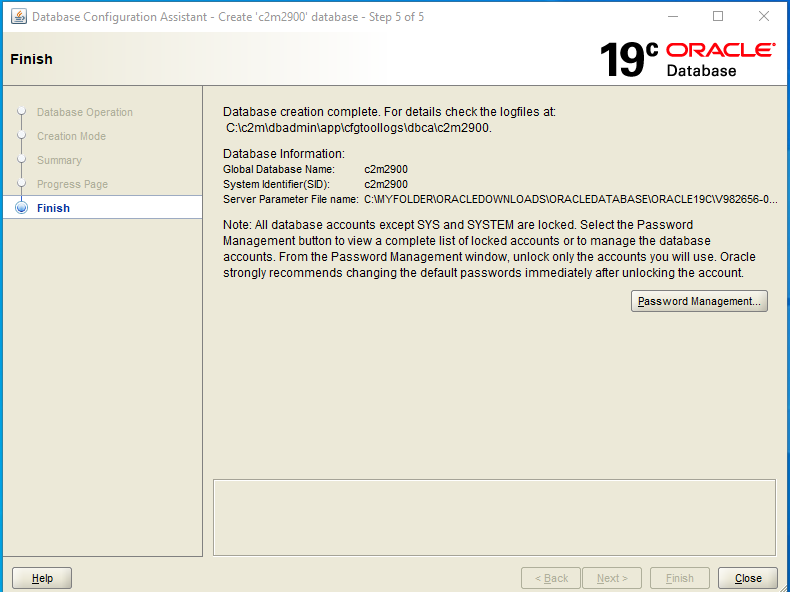
Login to database as sys as SYSDBA and verify that you are able to connect.

If you have multiple database services on the same listener use below method to join, else you can used sys as SYSDBA to connect. Also if there are multiple databases linked to same listener, ensure you stop the databases other than the one for C2M2900.
This is the first change for C2M 2.9, the database needs to be updated for extending the string size for VarChar. Refer below steps for doing the same.
Use below command for logging in if you have multiple databases linked to same listener
sqlplus sys/password@localhost:1523/C2M2900 as SYSDBA
Login to database as sys as SYSDBA.
Run below db statements.
Import Demo Database:
Check datapump dir location:
SELECT directory_name, directory_path FROM dba_directories where directory_name = 'DATA_PUMP_DIR';
DATA_PUMP_DIR C:\c2m\dbadmin\app\admin\c2m2800\dpdump/
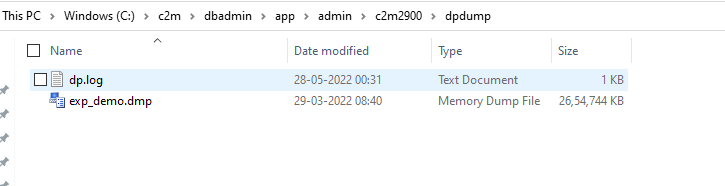
Extract dmp file and place it in data pump directory
Get the dump file from below location.
C:\myfolder\OracleDownloads\C2M_2.9.0.0\V1020108-01.zip\C2M\Demo

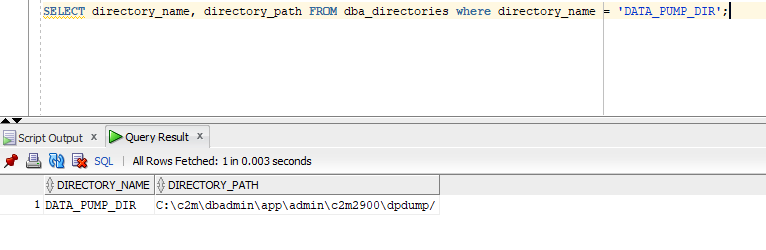
DATA_PUMP_DIR C:\c2m\dbadmin\app\admin\c2m2900\dpdump/
Extract the .gz file and place the exp_demo.dmp file at the data pump dir location
Run below import command on command prompt
impdp directory=data_pump_dir dumpfile=exp_demo.dmp logfile=exp_demo.log schemas=CISADM
Login with username as sys@C2M2900 as SYSDBA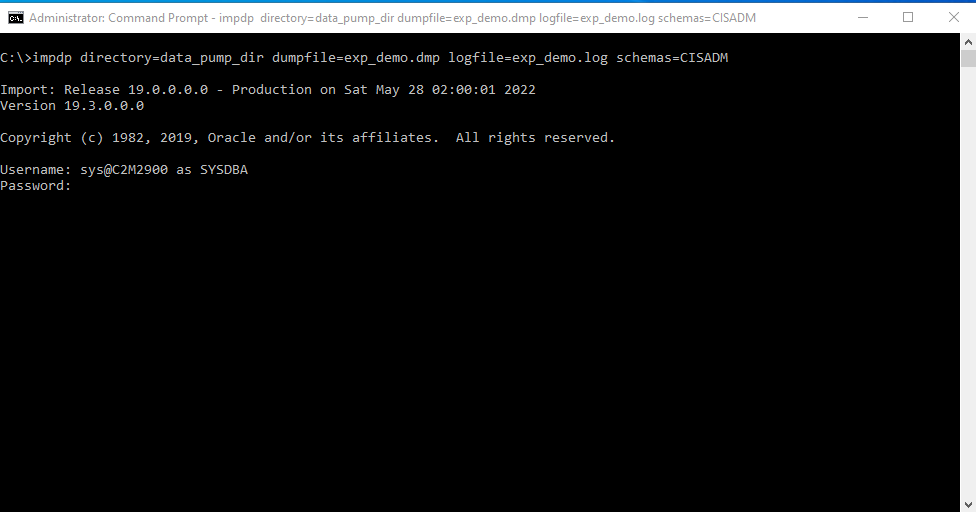


Login with sys user and run below sql.
grant execute on dbms_crypto to CISADM;
Creating Synonyms for CISUSER and CISREAD:
Extract the files in V1020069-01
C:\myfolder\OracleDownloads\C2M_2.9.0.0\V1020069-01\jarfiles
SET CLASSPATH=C:\myfolder\OracleDownloads\C2M_2.9.0.0\V1020069-01\jarfiles\*
"%JAVA_HOME%"\bin\java -Xmx1500M com.oracle.ouaf.oem.install.OraGenSec -d CISADM,CISADM,jdbc:oracle:thin:@localhost:1523/C2M2900 -u CISUSER,CISREAD -r CIS_USER,CIS_READ -a A -p CISUSER,CISREAD -l output.log
Verify that all synonyms are created properly and there are no errors.
Weblogic Installation:
Download steps:
Ensure you download version 12.2.1.4 or above of weblogic

Only below file ‘V983368-01.zip’ is needed for installation.

Installation steps:
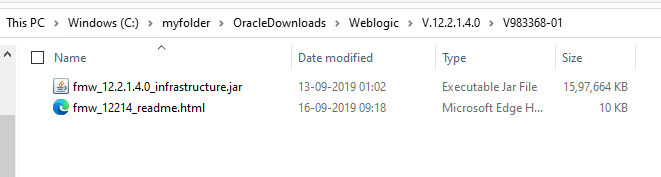
Open command prompt, navigate to above location
Run below command
C:\c2m\java\jdk\bin\java –jar fmw_12.2.1.4.0_infrastructure.jar
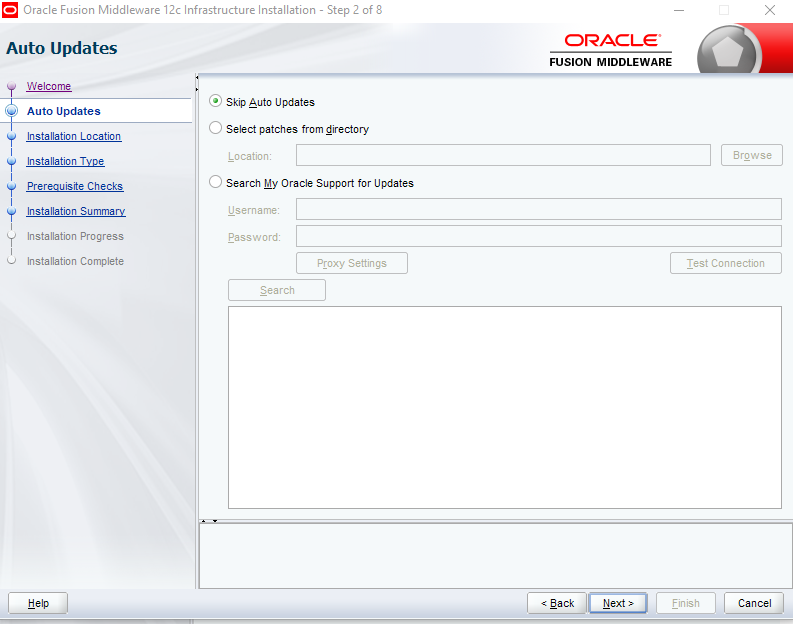
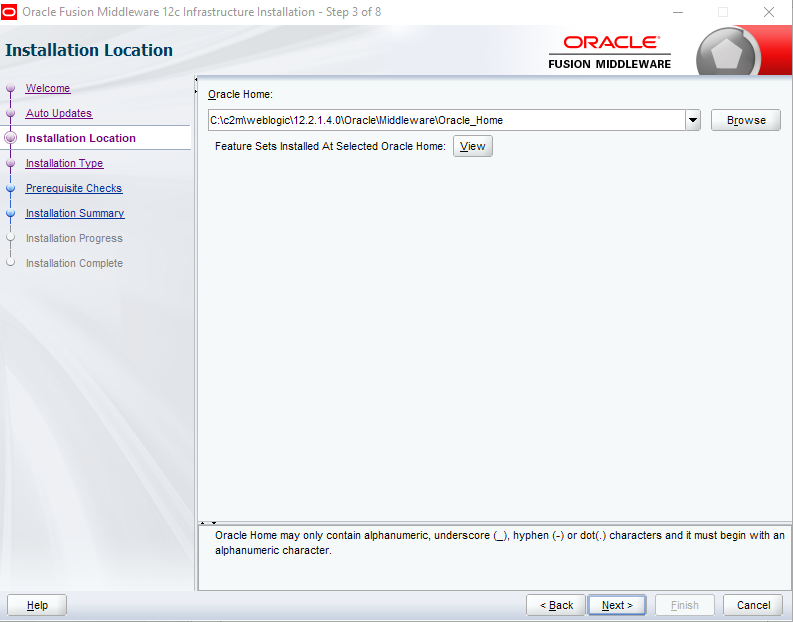
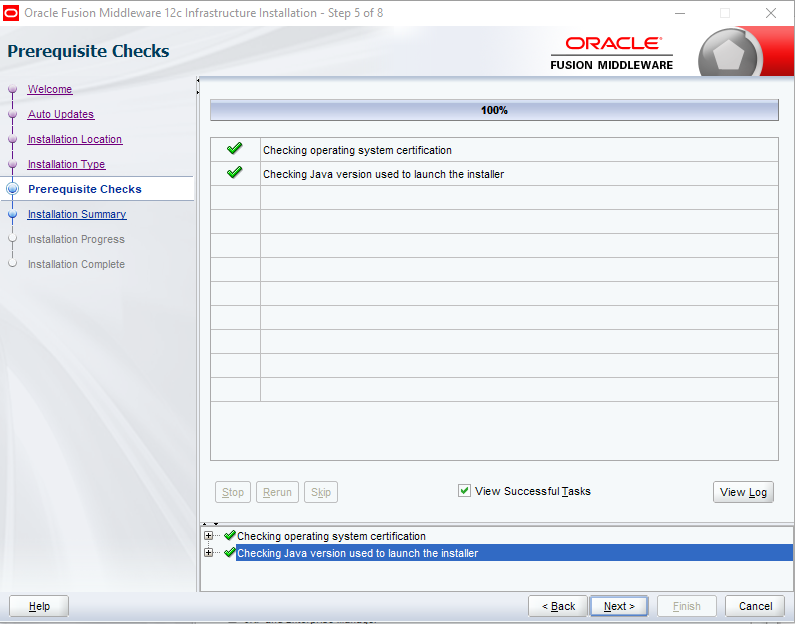
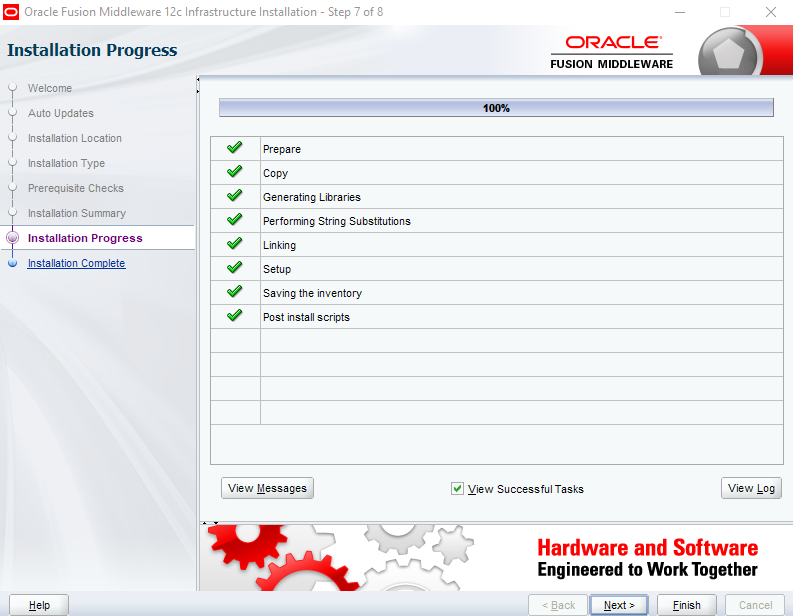
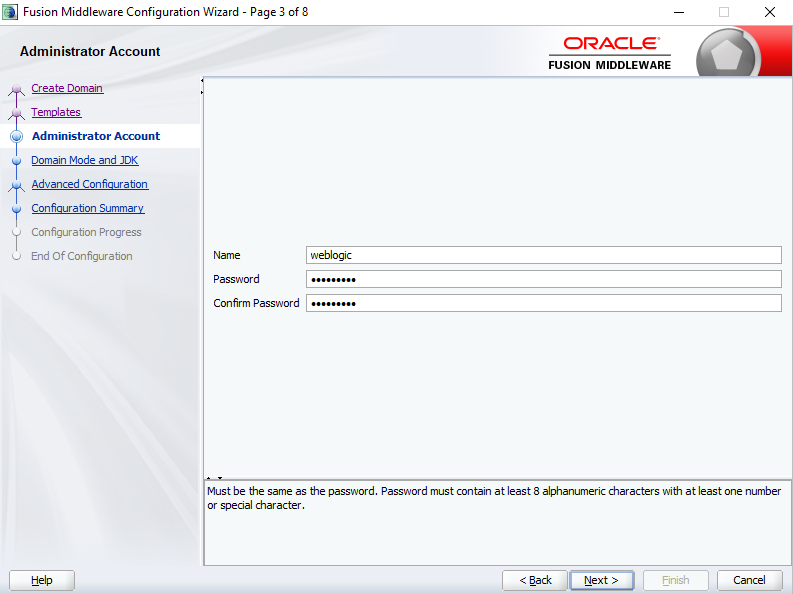
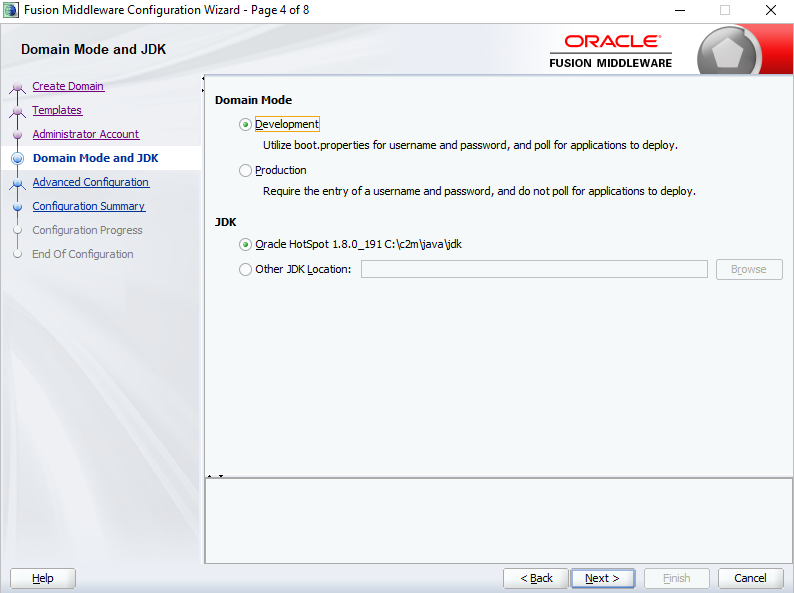
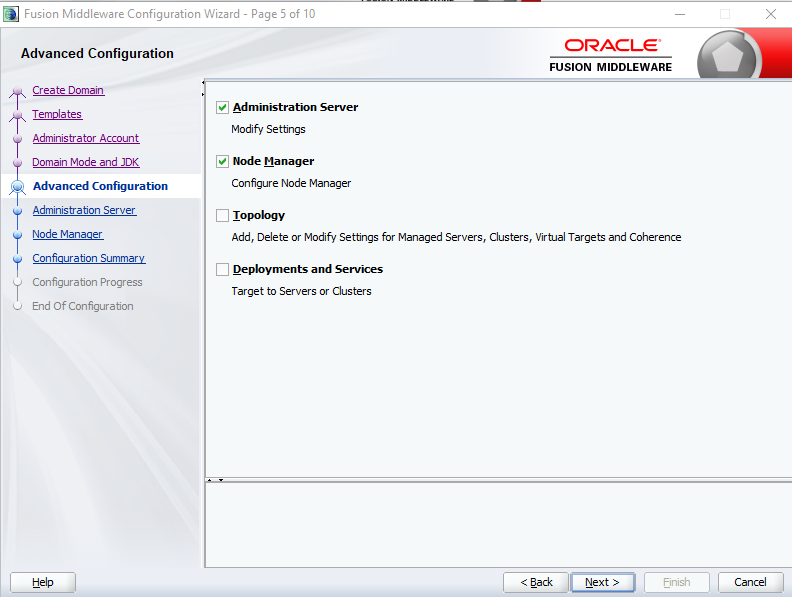
Below screen opens up, follow the steps shown below.
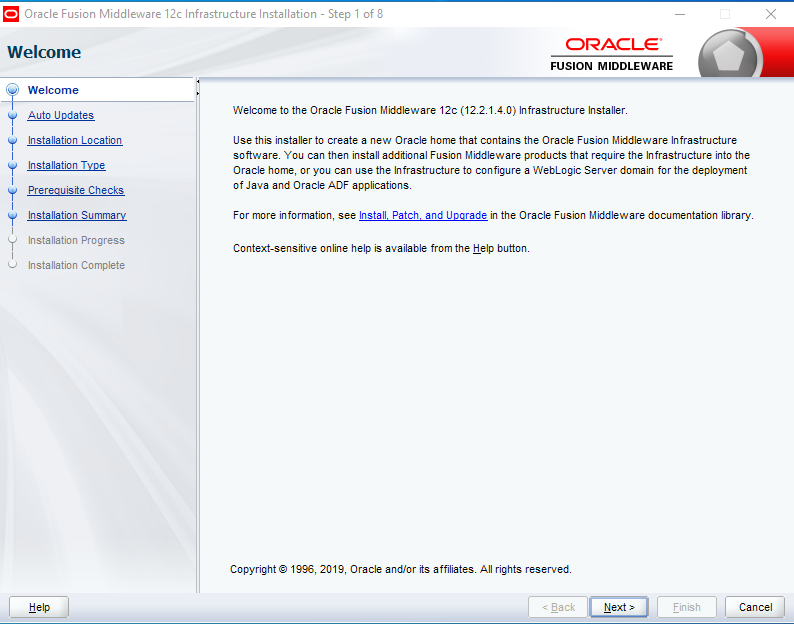


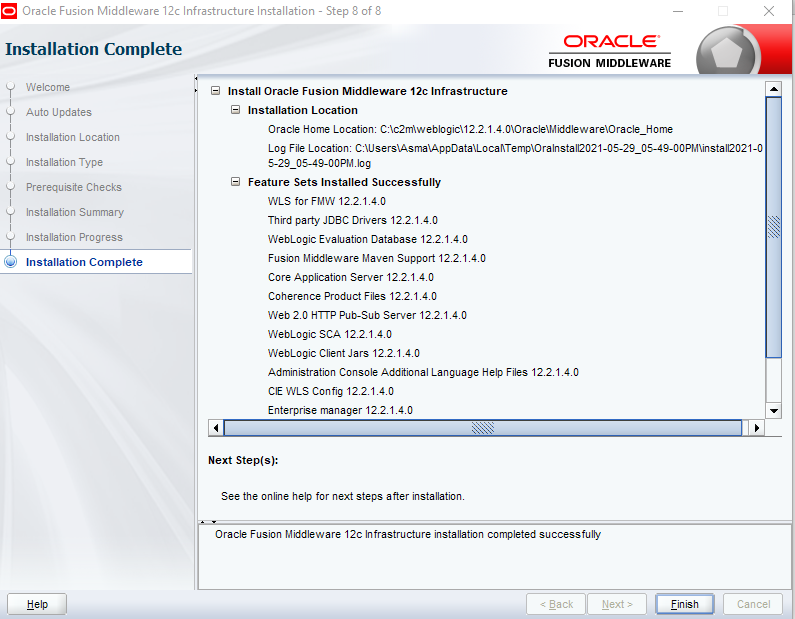
Weblogic Installation completed.
Application Installation:
Extract all the jar files for CCB, MDM, WAM, C2M and place it in a temporary location.
I have placed them in C:/t location

Use 7-Zip and extract all the jar files. Alternatively you can also use jar -xvf command in command prompt for extracting the files if you don't have 7-Zip application.

All folders are extracted as seen below.
The Framework component (FW) is not available currently in jar format. It is in zip format. Extract the same also and place here.

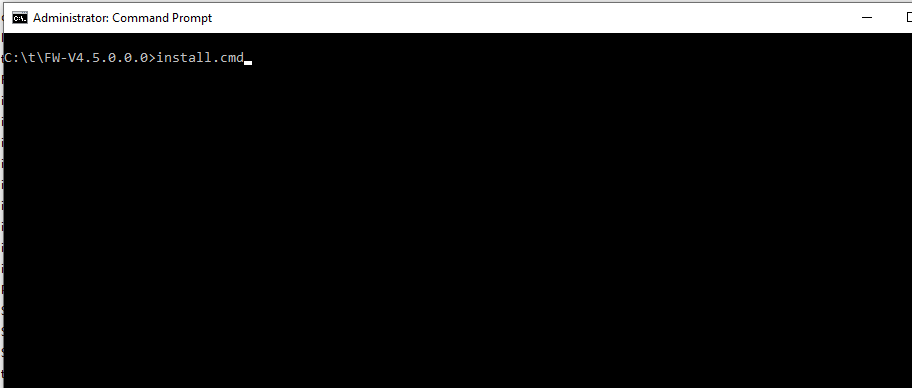
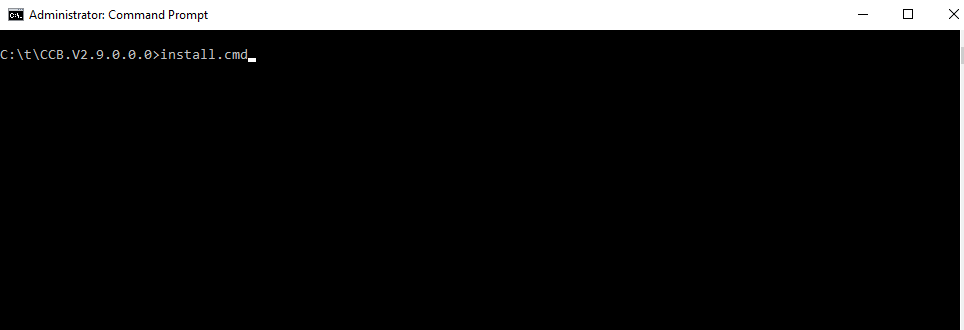
Navigate to C:\t\FW-V4.5.0.0.0 folder and run install.cmd file

Navigate to FW-V4.5.0.0.0 folder on command prompt and run install.cmd file
Enter values for the menu options as specified below
Enter P and process it
Below menu opens up. Enter the values as shown below.
After entering all values, enter P and process it.
Updating keystore:
Verify keystore files are present under ks folder

1. Using configureEnv.cmd, re-enter the menu passwords to encrypt the data.
2. Run initialSetup.cmd to update property files with the encrypted data.
Next navigate to %SPLEBASE%/bin folder
Run splenviron.cmd -e C2M2900
Navigate back to bin folder
Run following commands
perl run_java_standalone.plx com.splwg.shared.common.ResetCryptographyKey
invokeDBUpdatePatch.cmd
Verify that both commands ran successfully.
This completes the configuration of OUAF keystore part of the installation
Installing the Oracle Utilities Customer Care and Billing Application Component:
In case of no errors, proceed further with installing CCB, MDM, WAM and C2M module in that order.
Navigate to the corresponding folder in command prompt and execute the install.cmd file in each.
No need to change any values in the menu for these modules. Just enter P and process it.
Refer below steps for deploying the C2M application on Weblogic in native mode
Navigate to C:\c2m\weblogic\12.2.1.4.0\Oracle\Middleware\Oracle_Home\oracle_common\common\bin
Run config.cmd with ‘Run as administrator’ option
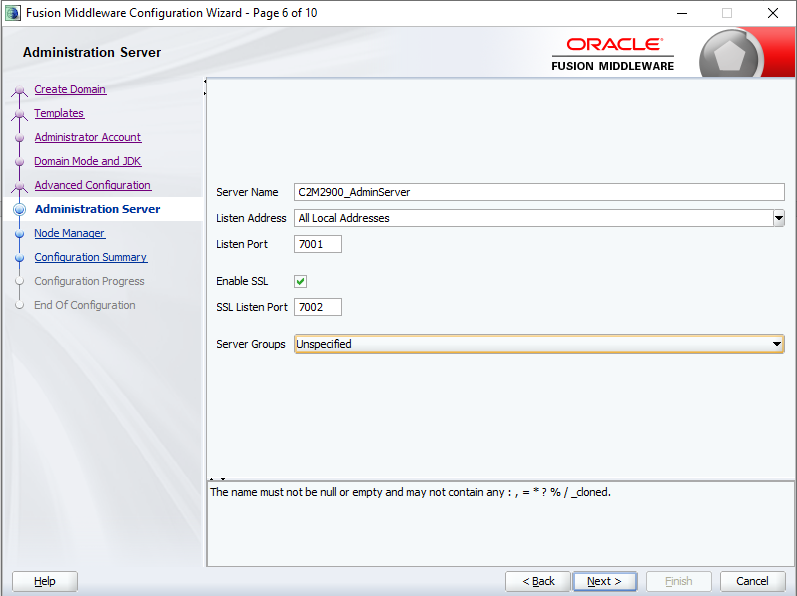
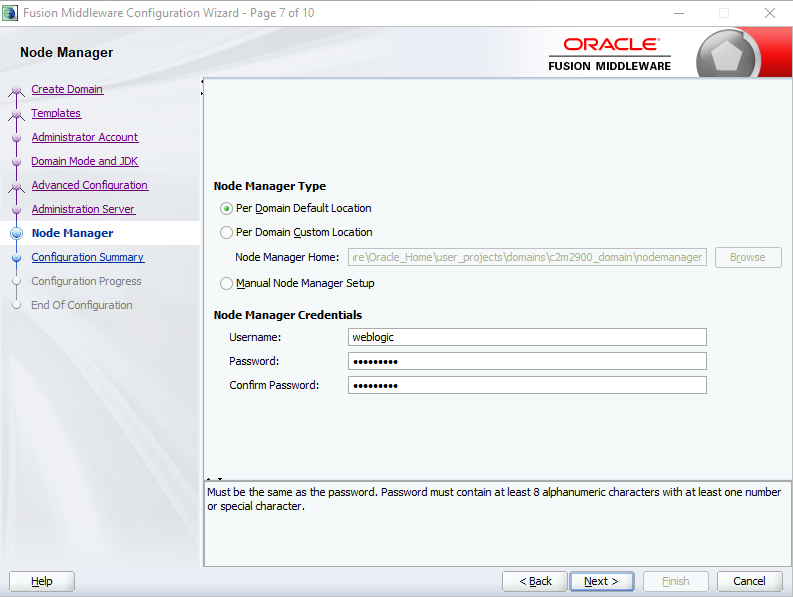
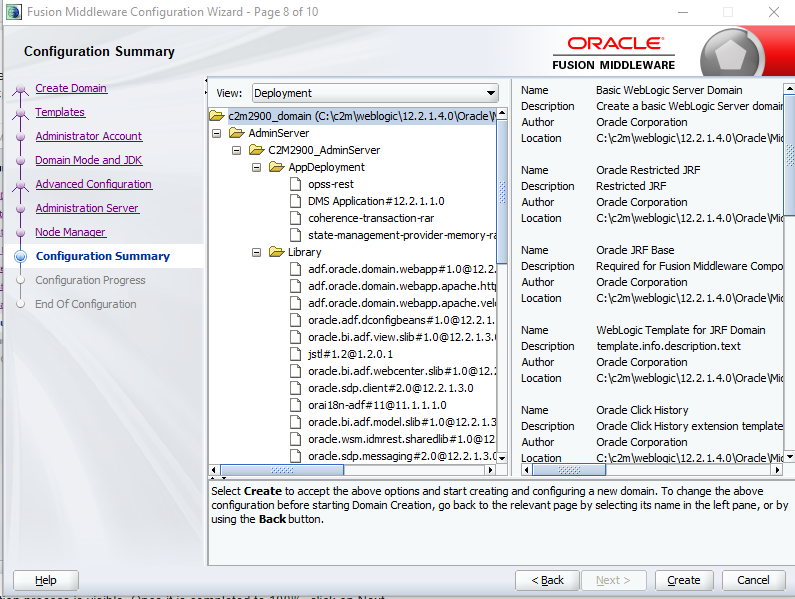
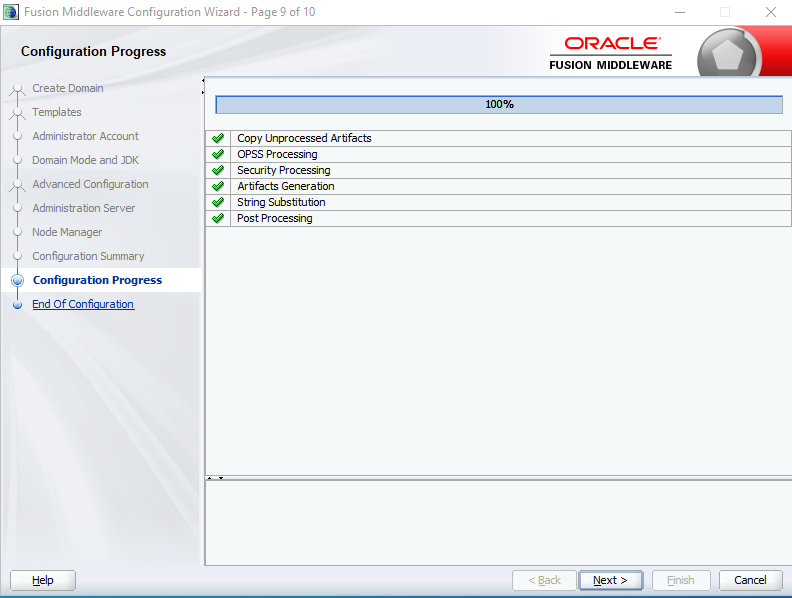
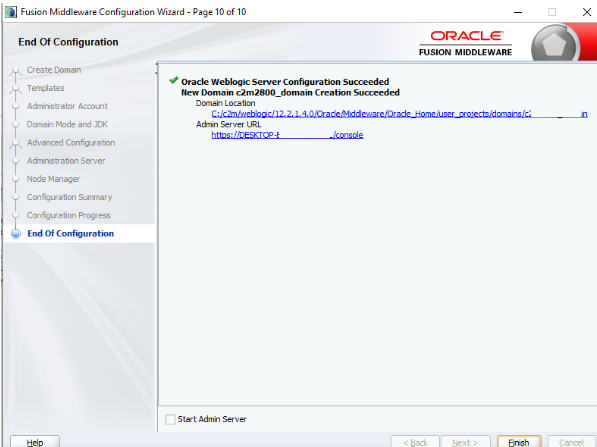
Below configuration Wizard screen opens up.
Select Create a new domain
Update the domain location. Instead of base_domain, update it to c2m2900_domain

Select Oracle Restricted JRF option

For deploying the application on weblogic, refer the steps in my earlier blog for deploying SPLService, SPLWeb and ohelp ear files. Before deployment ensure you do the below changes, the size of deployment files has increased in V2.9.0.0. Some configuration changes are needed before proceeding with deployment of SPLService and SPLWeb.
Navigate to C:\c2m\weblogic\12.2.1.4.0\Oracle\Middleware\Oracle_Home\user_projects\domains\c2m2900_domain\bin
startWebLogic.cmd
Add below line in file. Refer screenshot below for location to update.
set JAVA_OPTIONS=%JAVA_OPTIONS% -Dweblogic.deploy.MaxPostSize="2000000000"
(Max value allowed in this option is 21474836480 or 2GB)
Refer to my earlier blog for steps for native installation. I have put in the screenshots for this installation for quick reference.
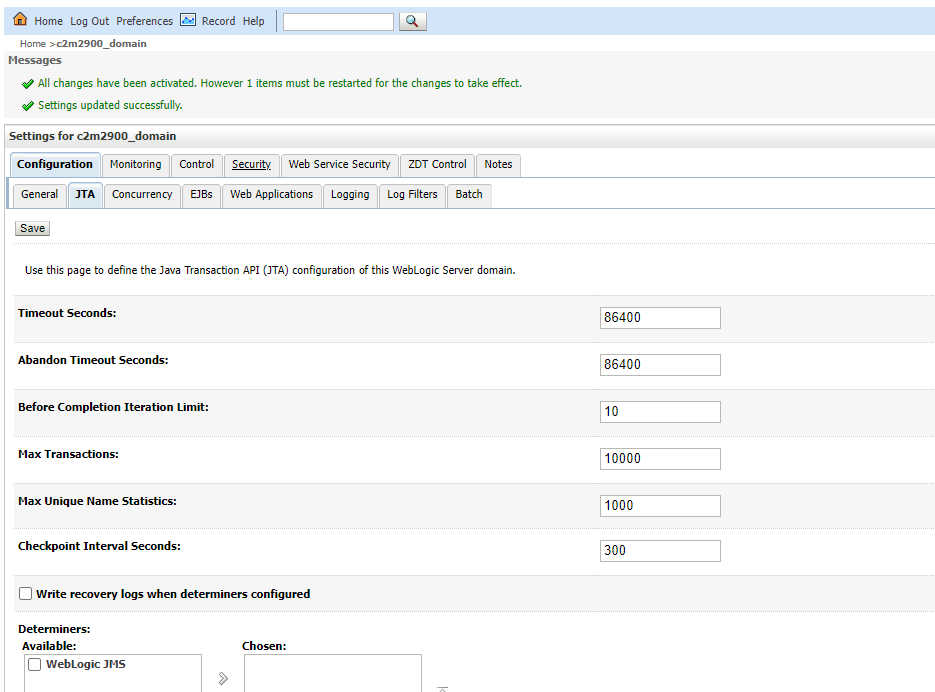
Set Timeout seconds to 86400 on home -> c2m200_domain
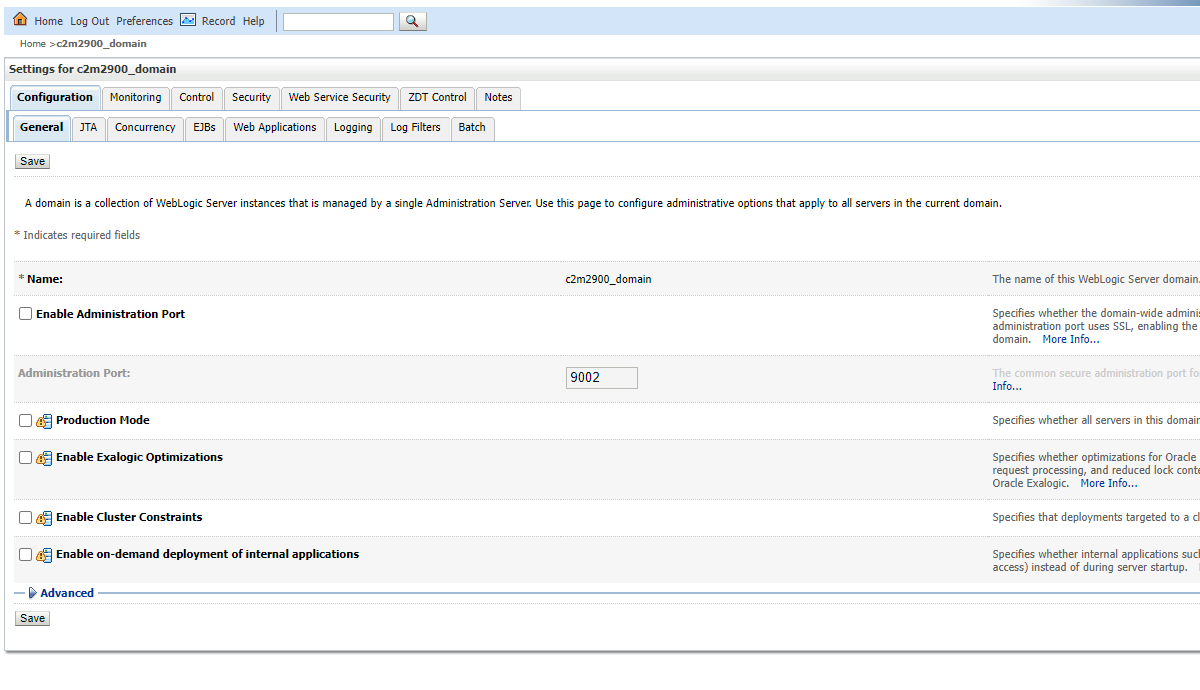
Uncheck on-demand deployment of internal applications on domain. This is only for loading the weblogic admin immediately and does not impact anything else.
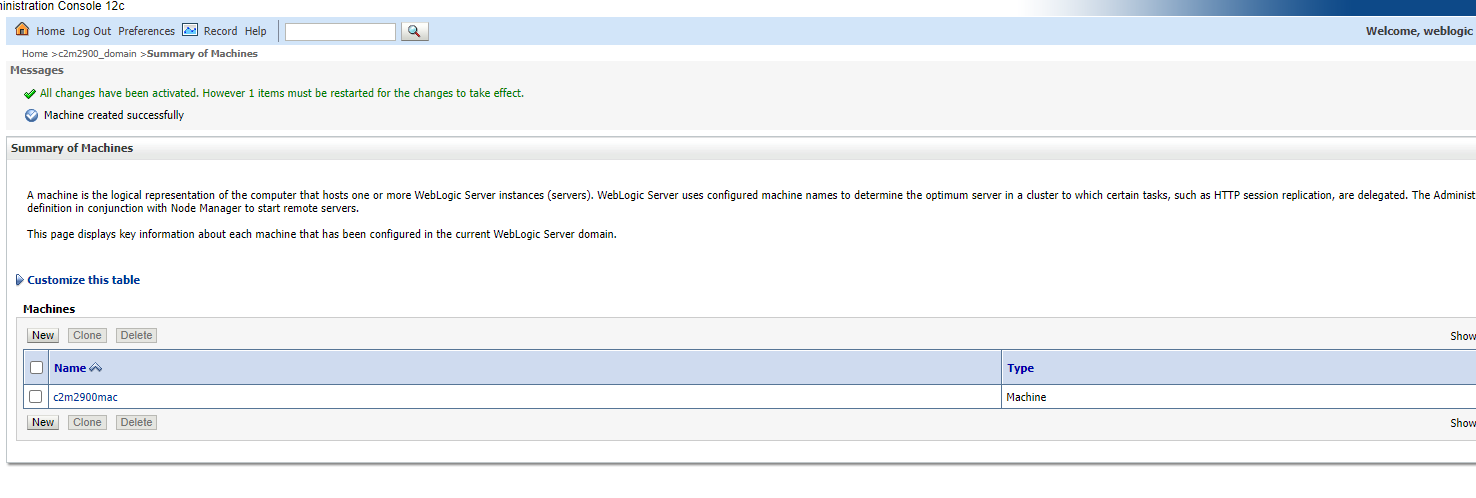
Add new machine ‘c2m2900mac’ and set the nodemanager port here

Add new server c2m2900server
Set port to 6500

Set SSL port to 6501 and select machine as c2m2900mac
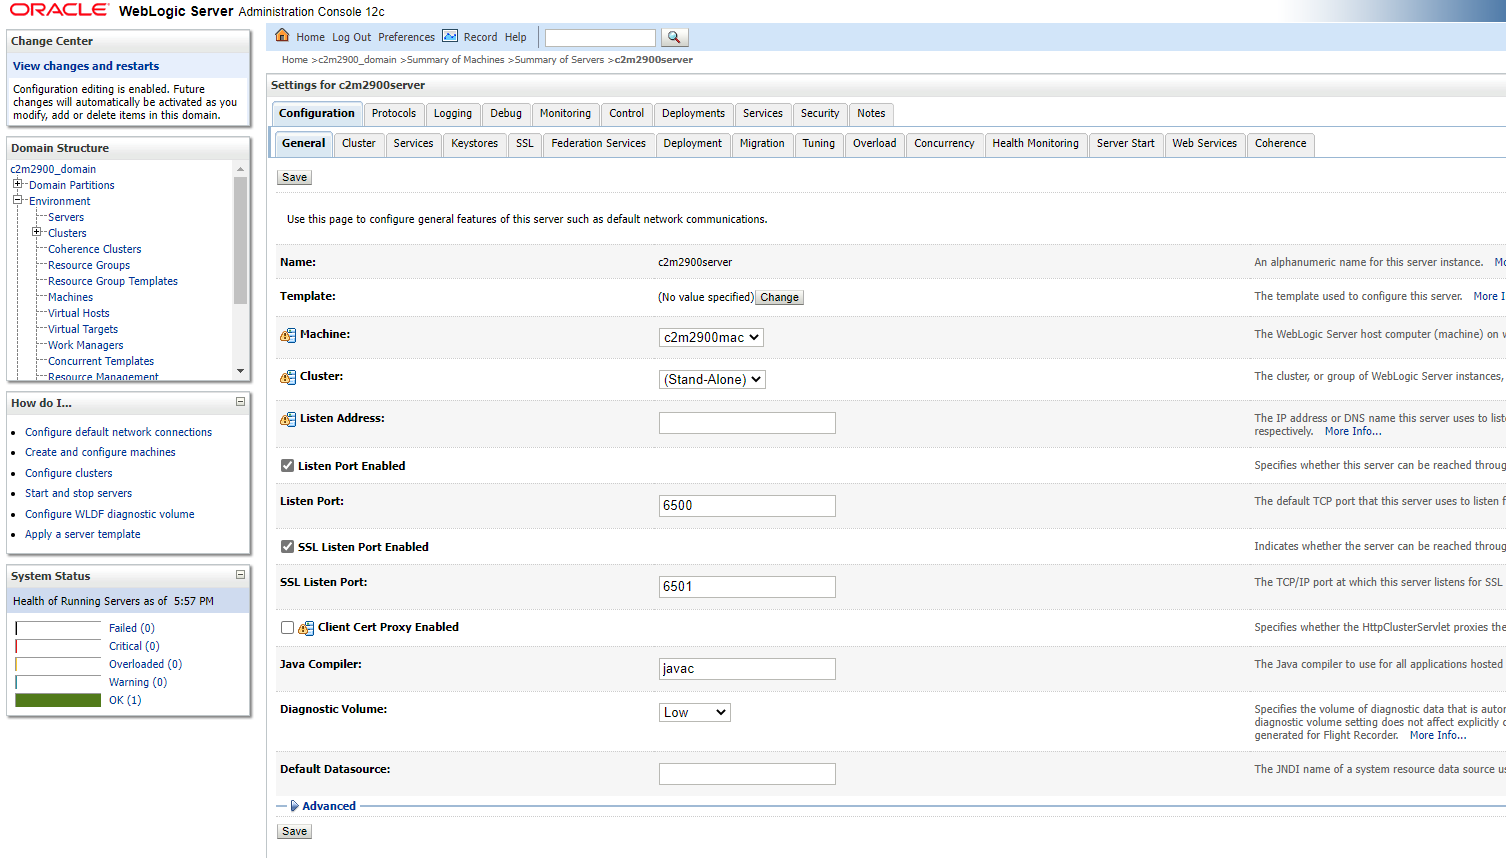
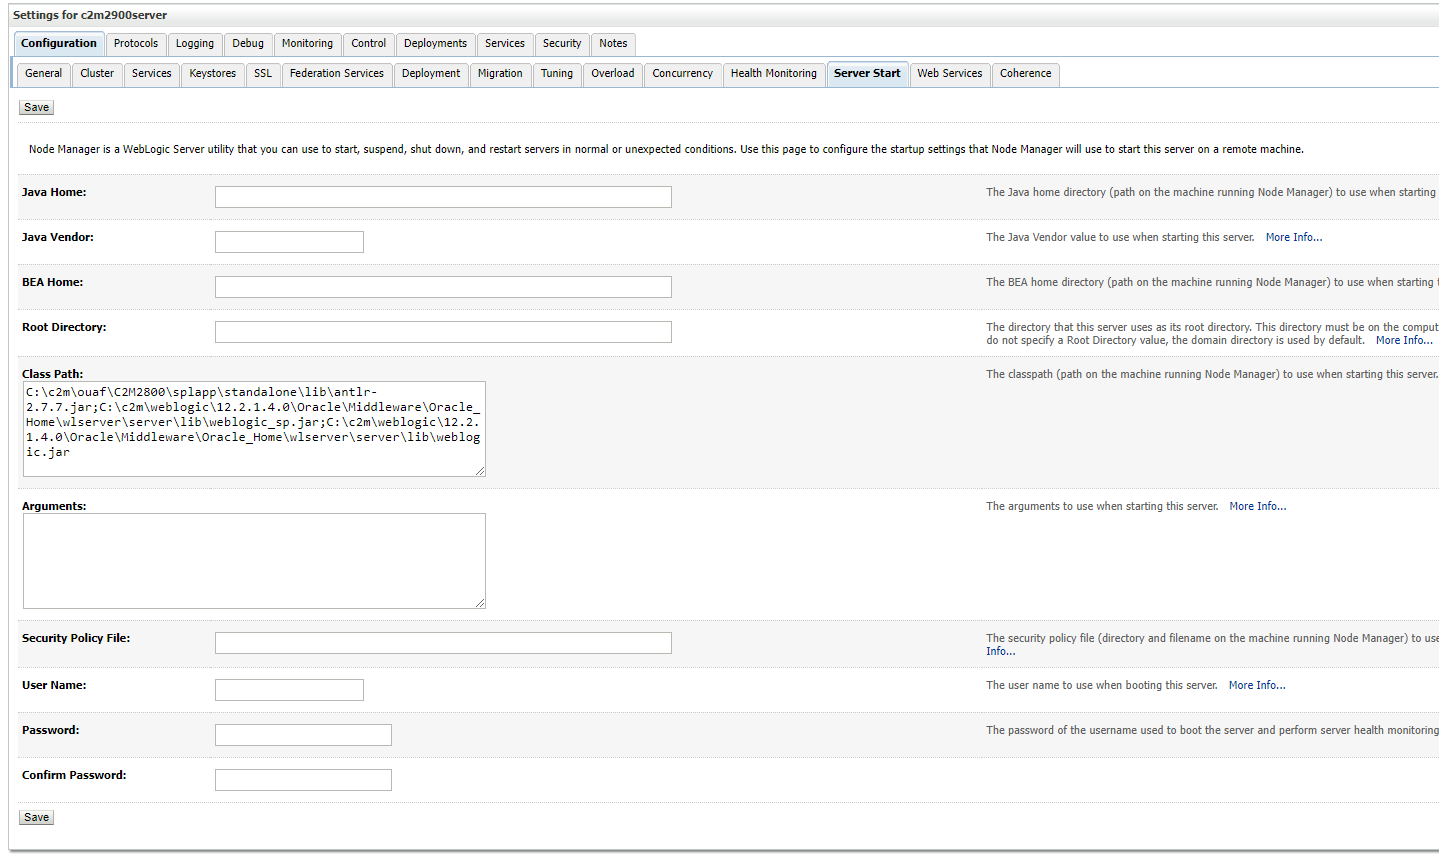
Set classpath to C:\c2m\ouaf\C2M2900\splapp\standalone\lib\antlr-2.7.7.jar;C:\c2m\weblogic\12.2.1.4.0\Oracle\Middleware\Oracle_Home\wlserver\server\lib\weblogic_sp.jar;C:\c2m\weblogic\12.2.1.4.0\Oracle\Middleware\Oracle_Home\wlserver\server\lib\weblogic.jar
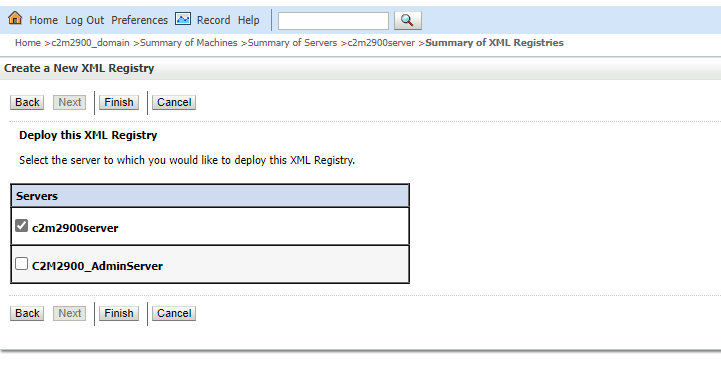
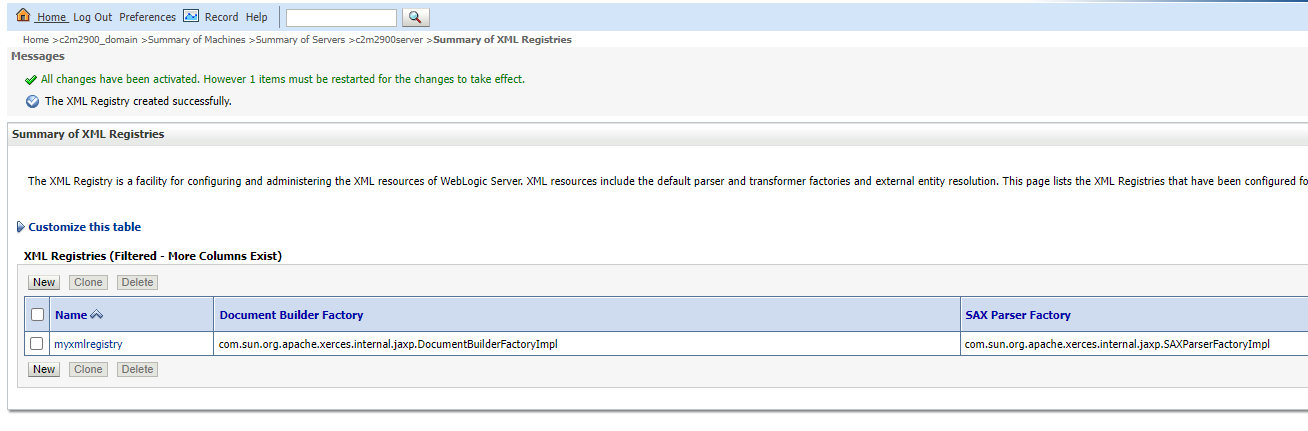
Create new XML Registry
Update the below parameters as defined below. Other values remain same.
Set name as 'myxmlregistry'

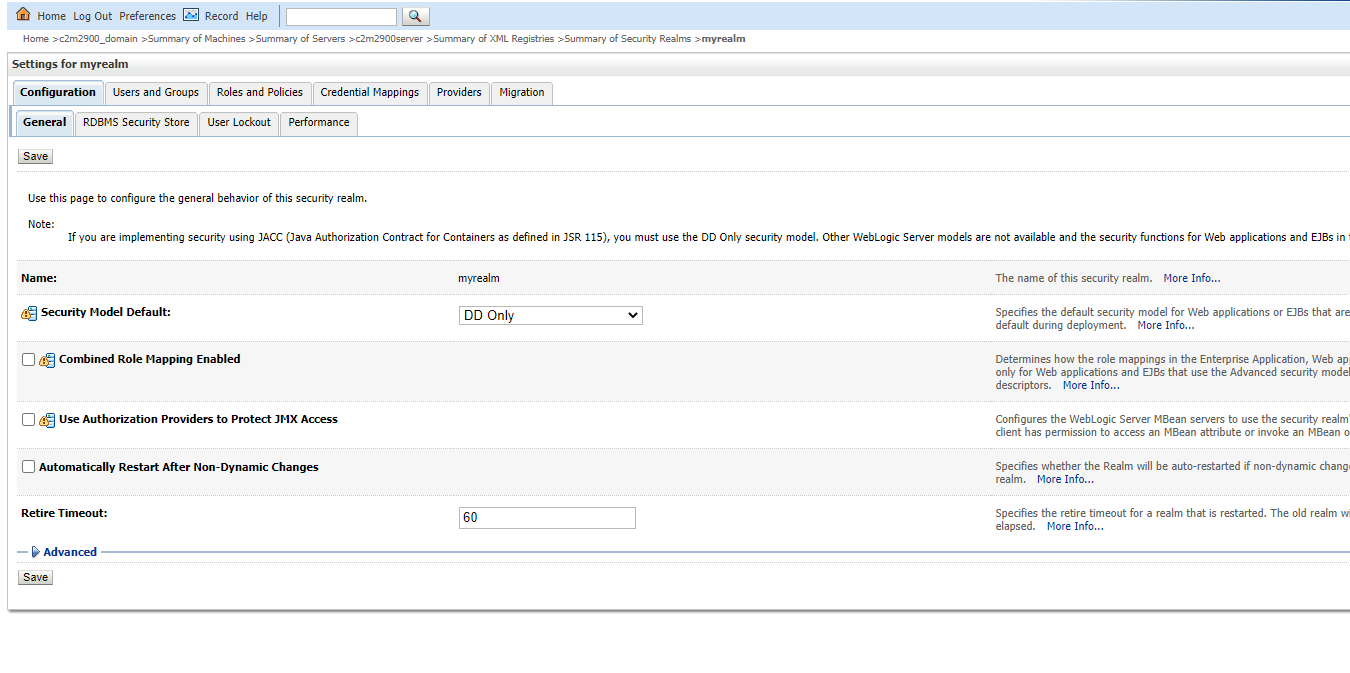
Navigate to Security Realms and open ‘myrealm’

Uncheck combined role mapping check box
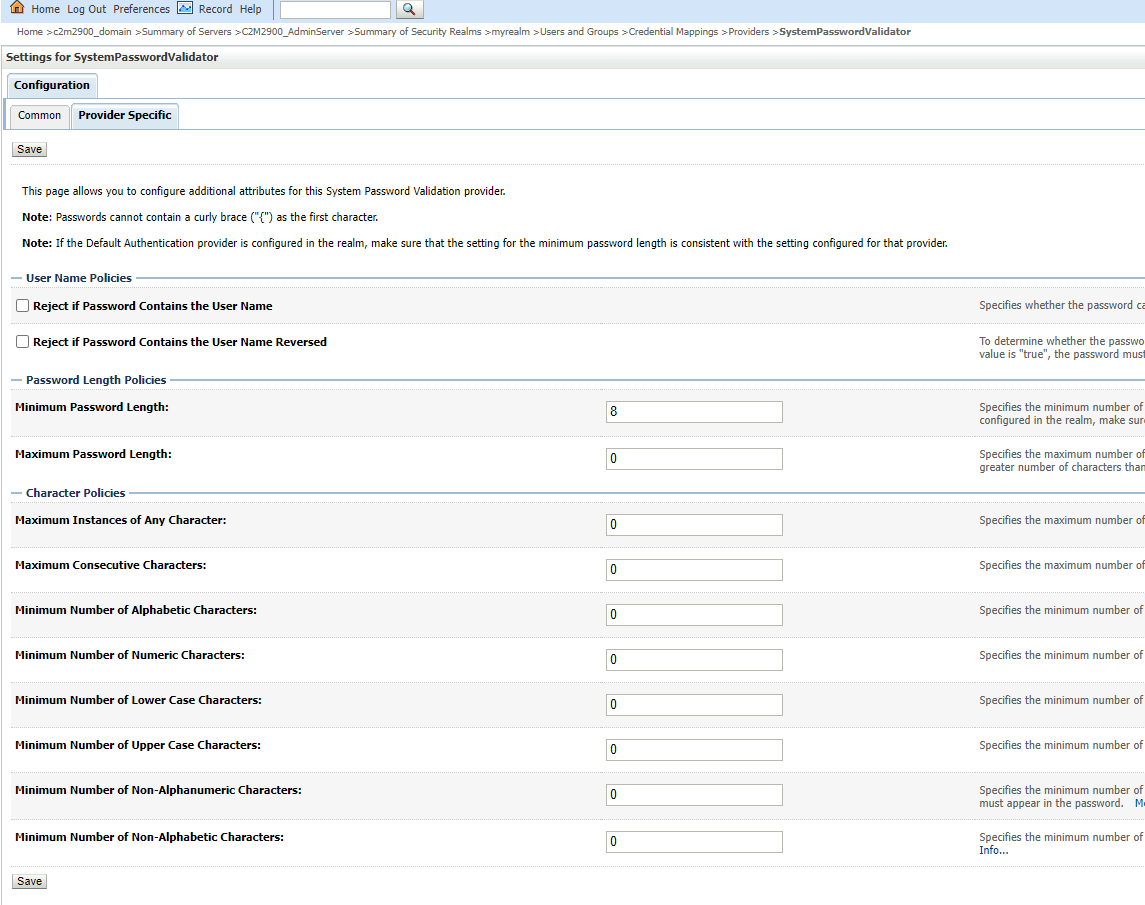
Navigate to Credential Mappings -> Providers -> SystemPasswordValidator
Update minimum number of non-Alphabetic characters to 0
Navigate to Users and Groups and create new Group ‘cisusers’
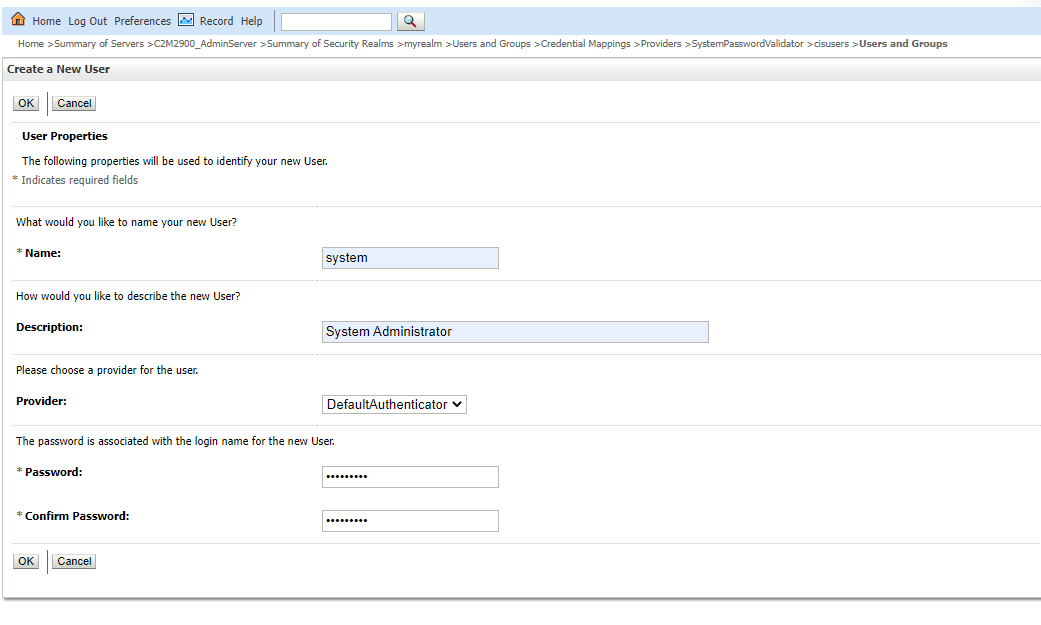
Next create new User ‘system’
Ensure that the password for system user is the same as set in application installation for ‘Weblogic JNDI User id’
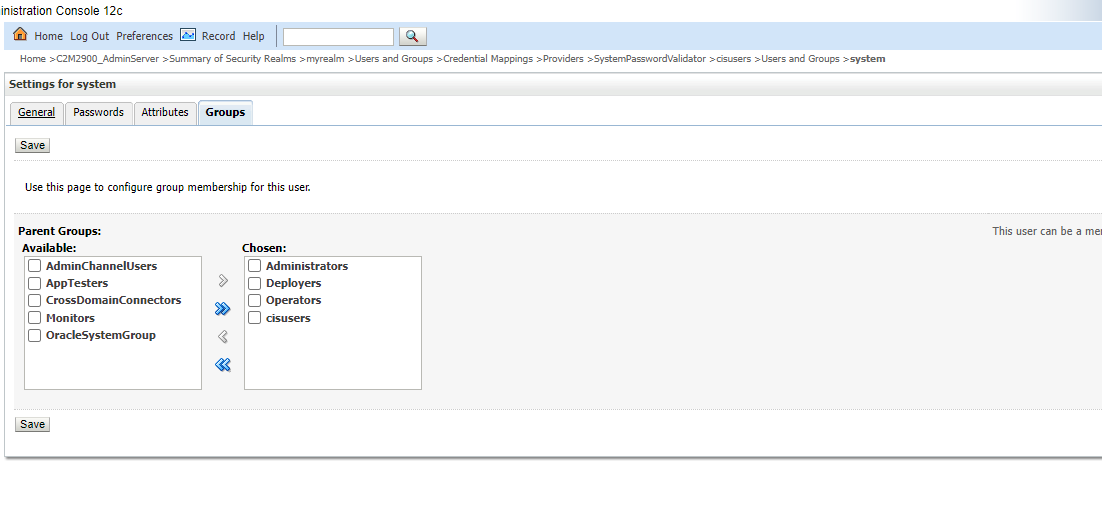
Add below groups to ‘system’
Add new user ‘SYSUSER’
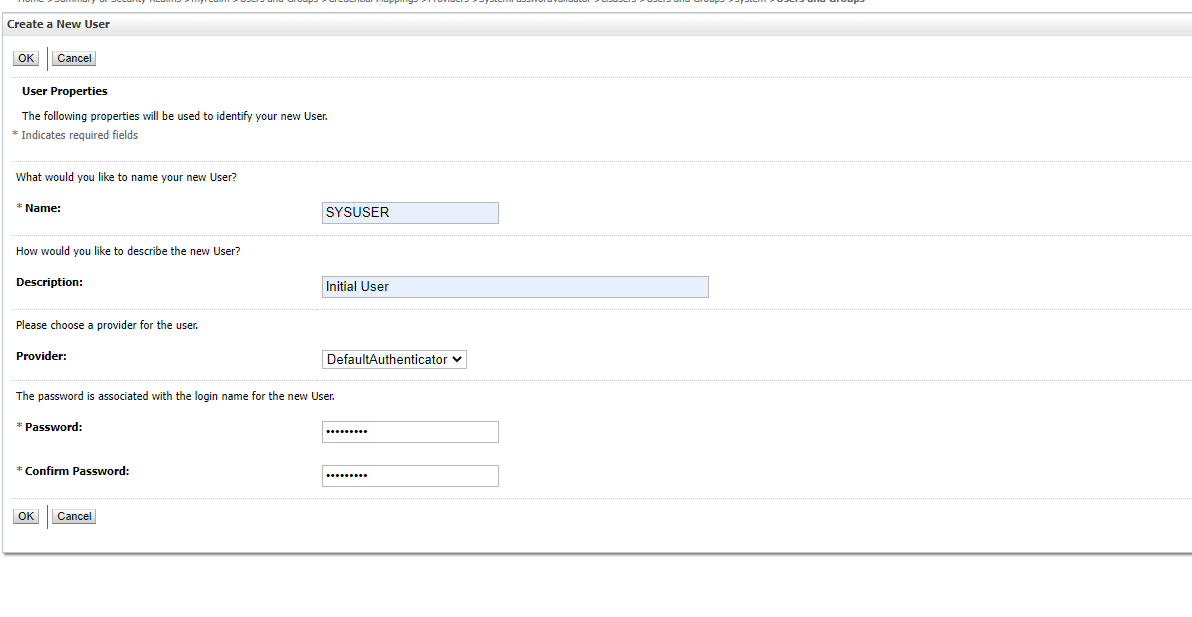
Add user to cisusers group

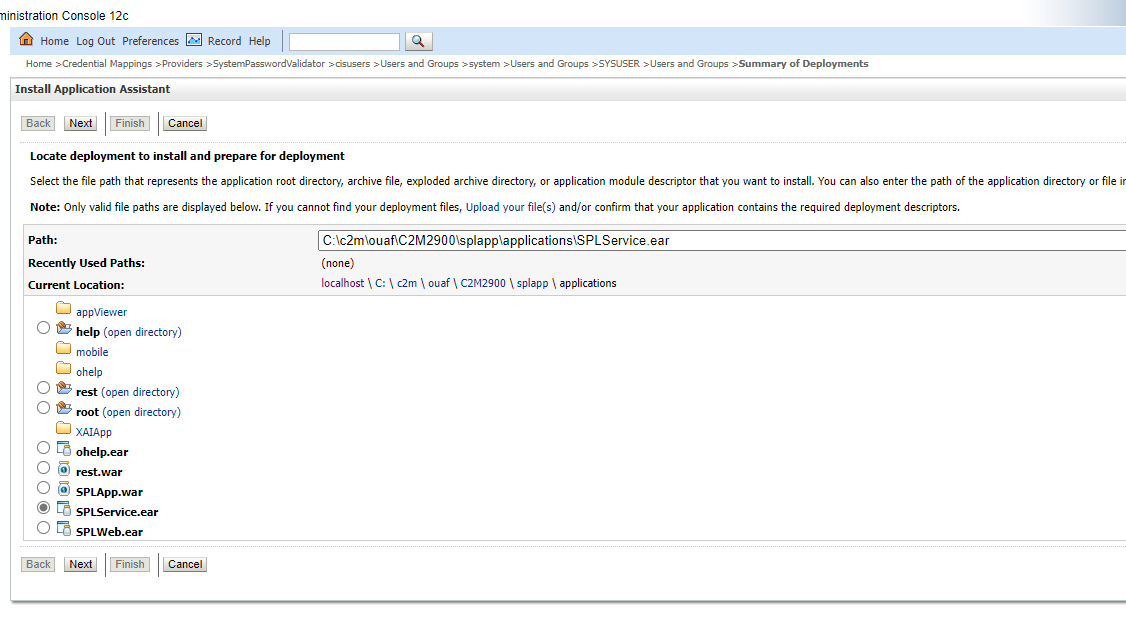
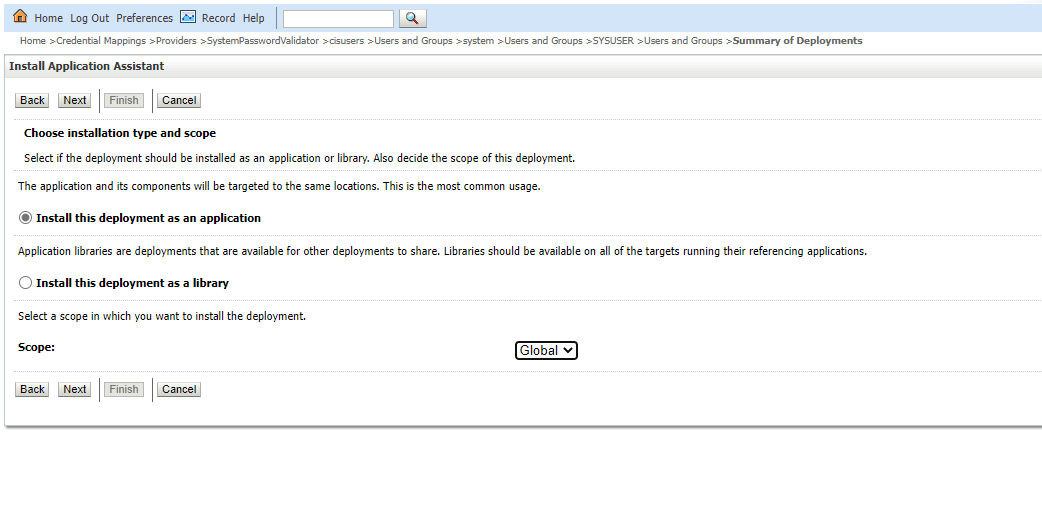
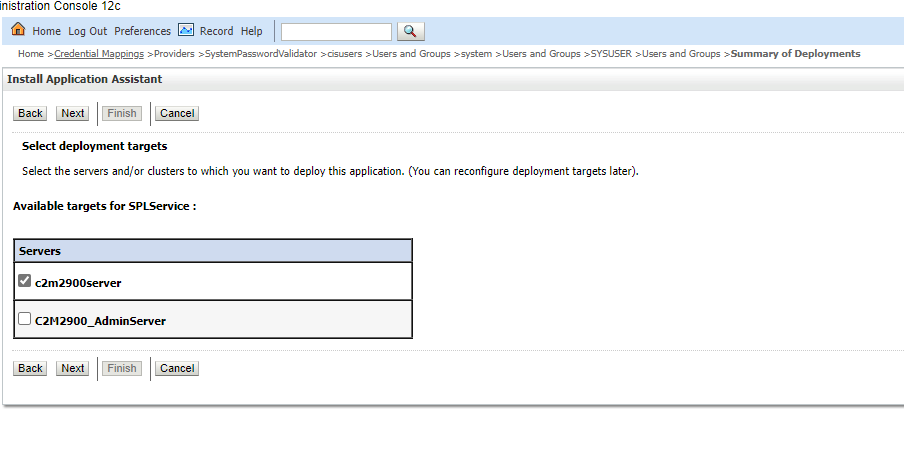
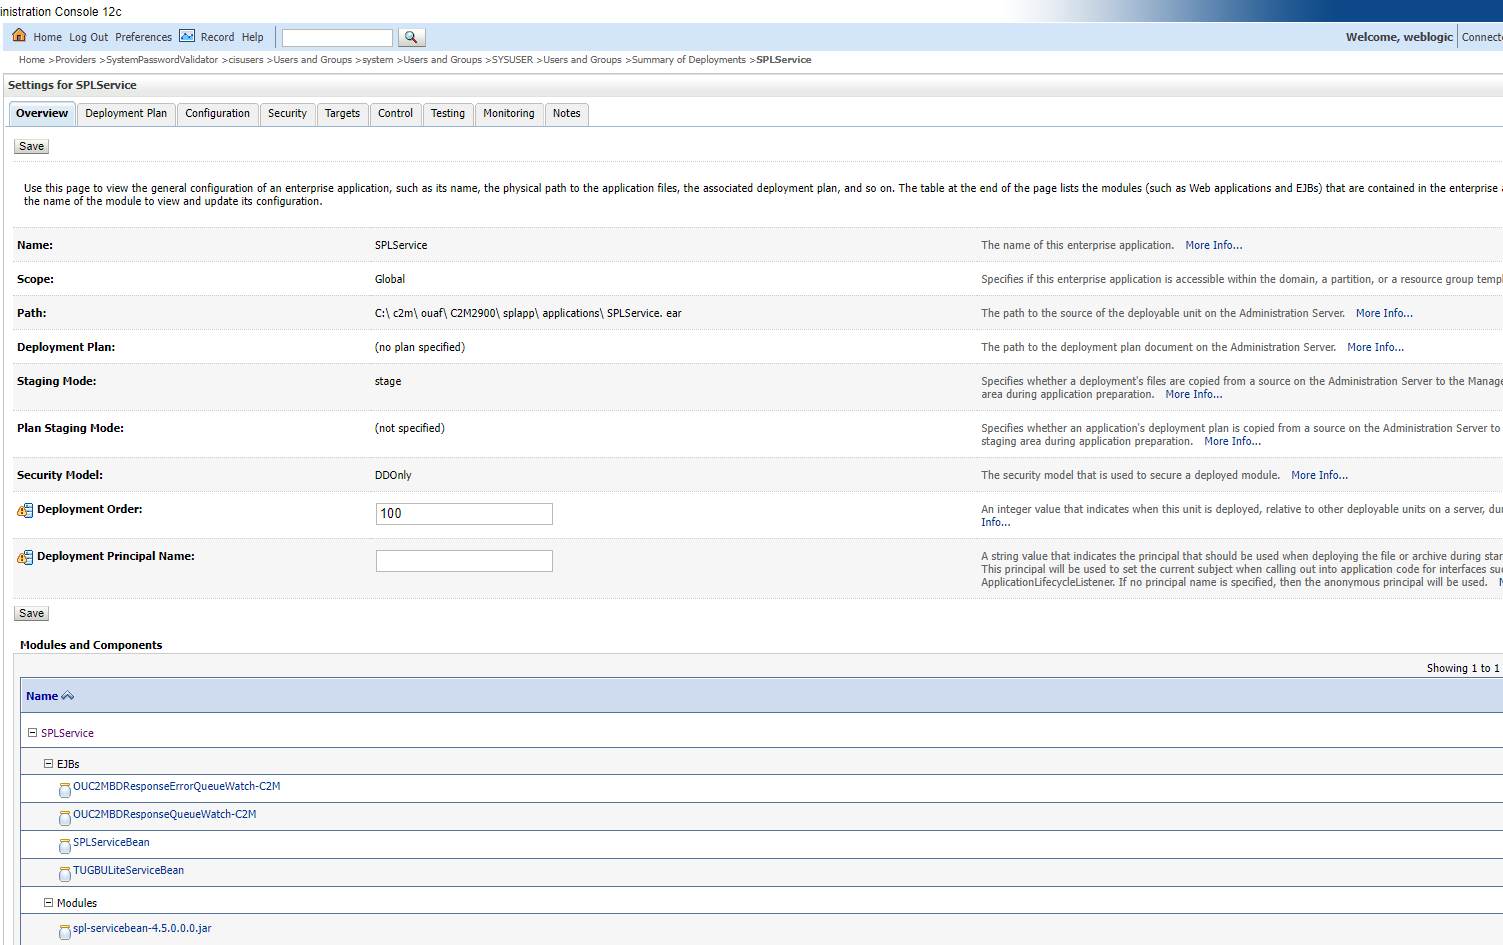
Next navigate to deployments and Install SPLService.ear
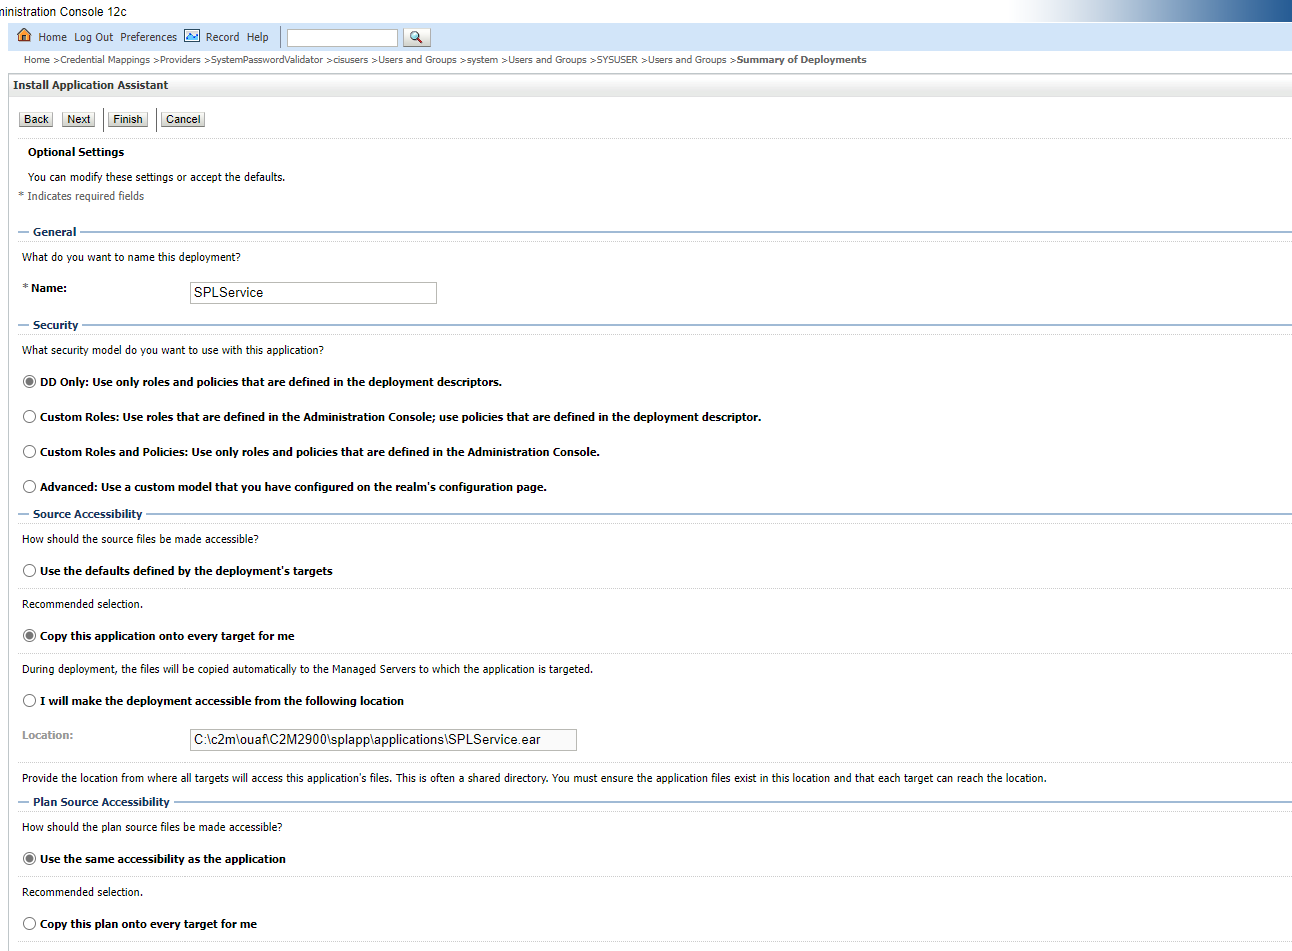

Set deployment order to 100
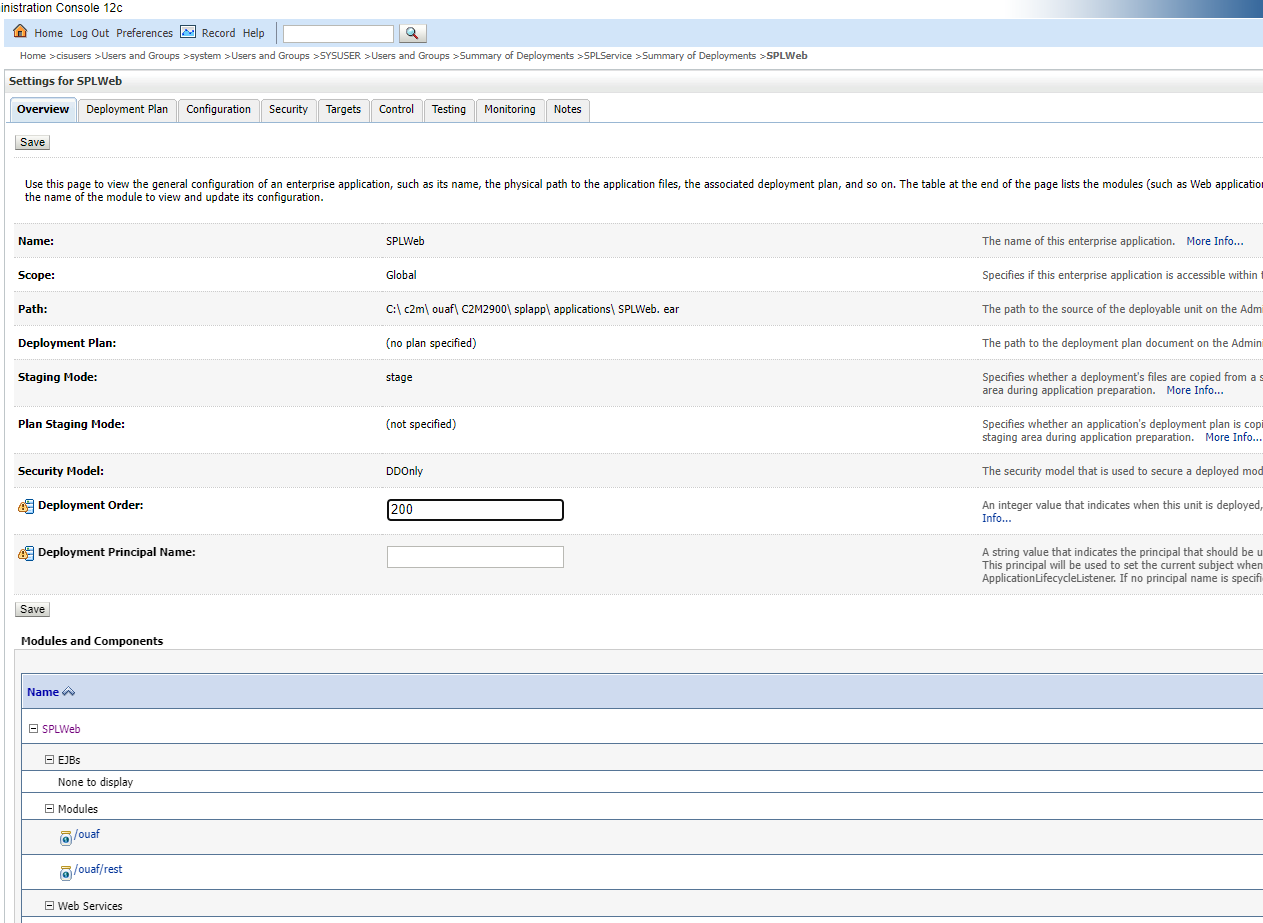
Next install SPLWeb.ear
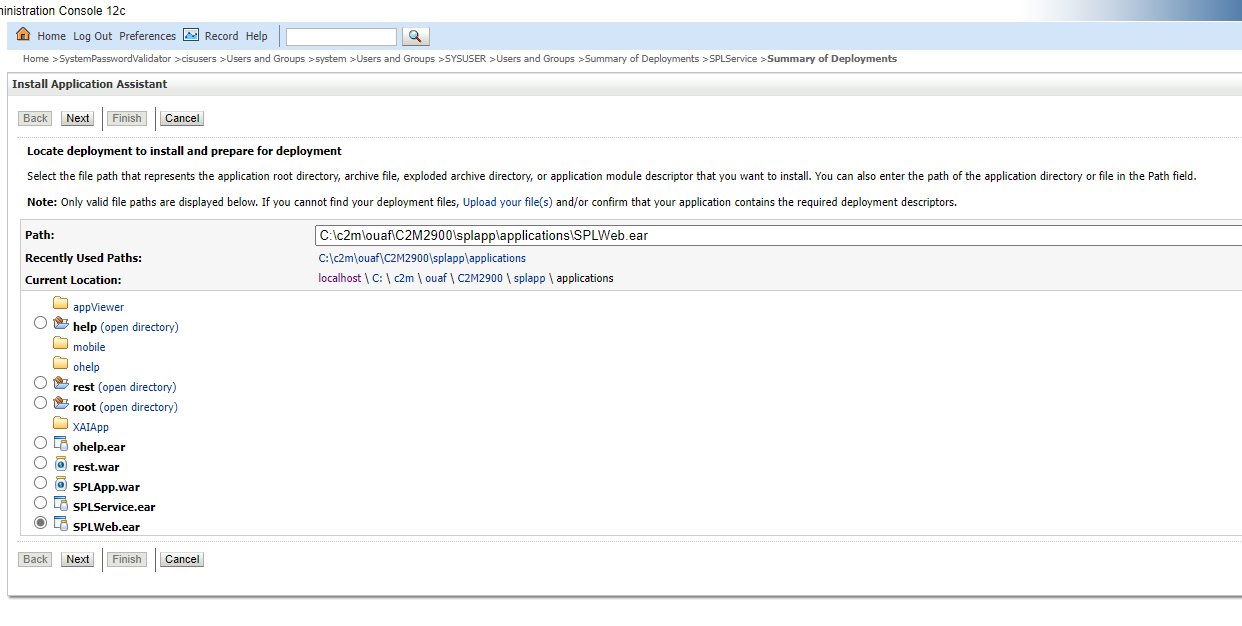
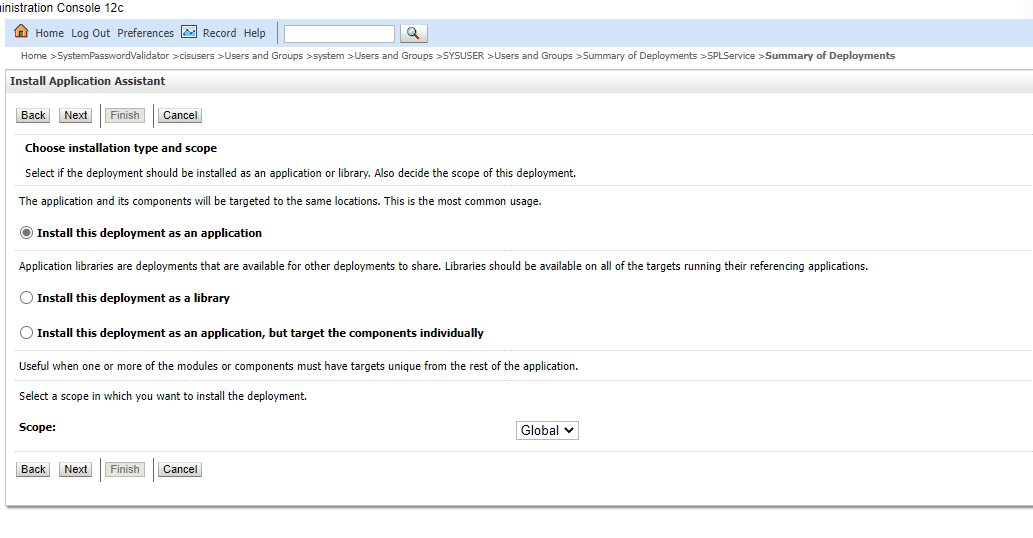
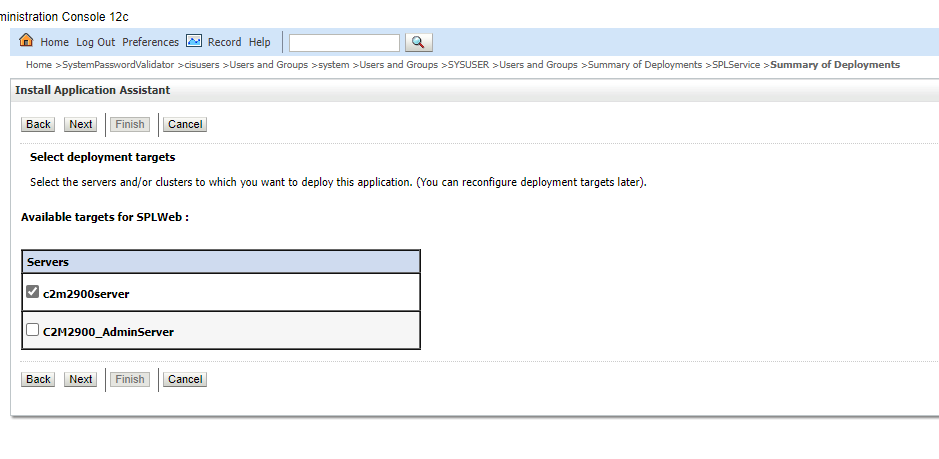


Set deployment order to 200

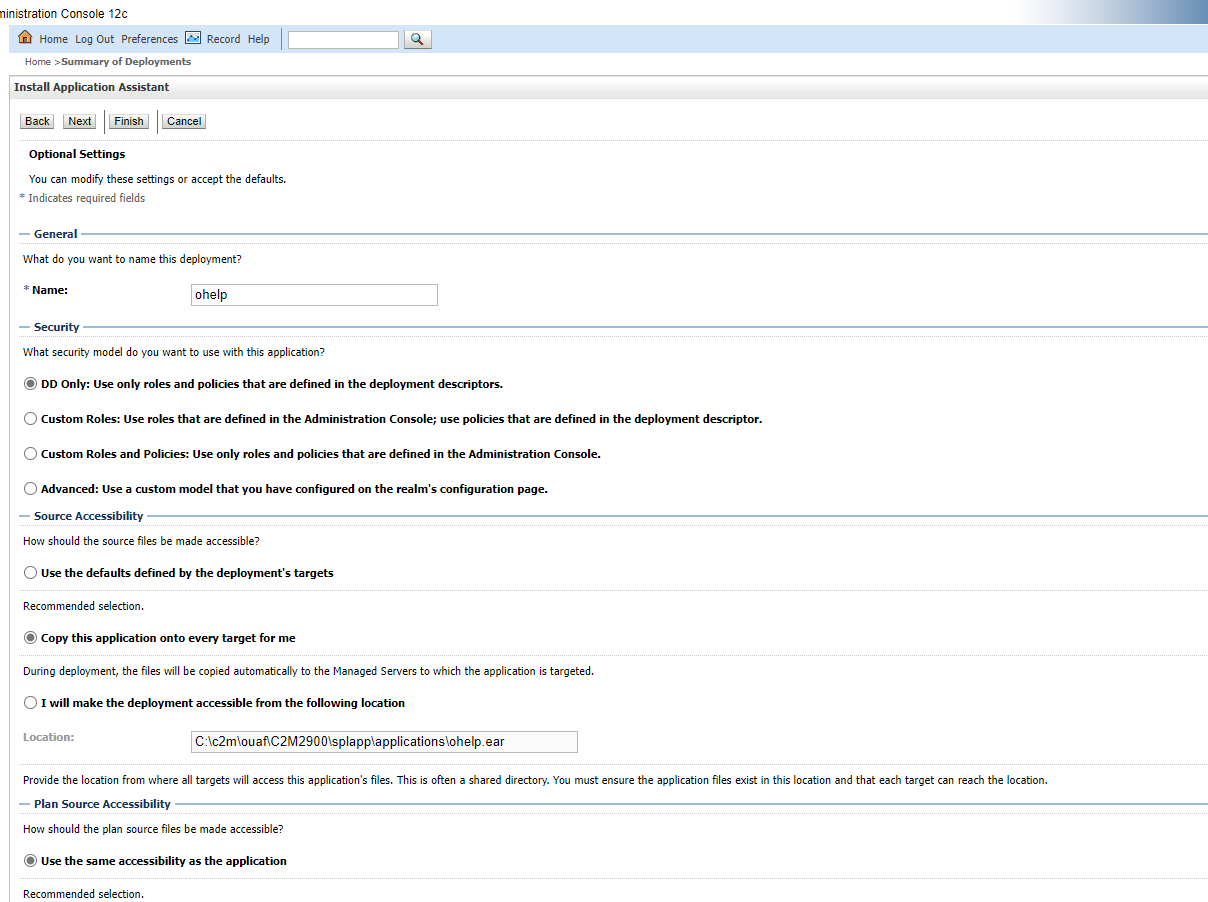
Next install ohelp.ear
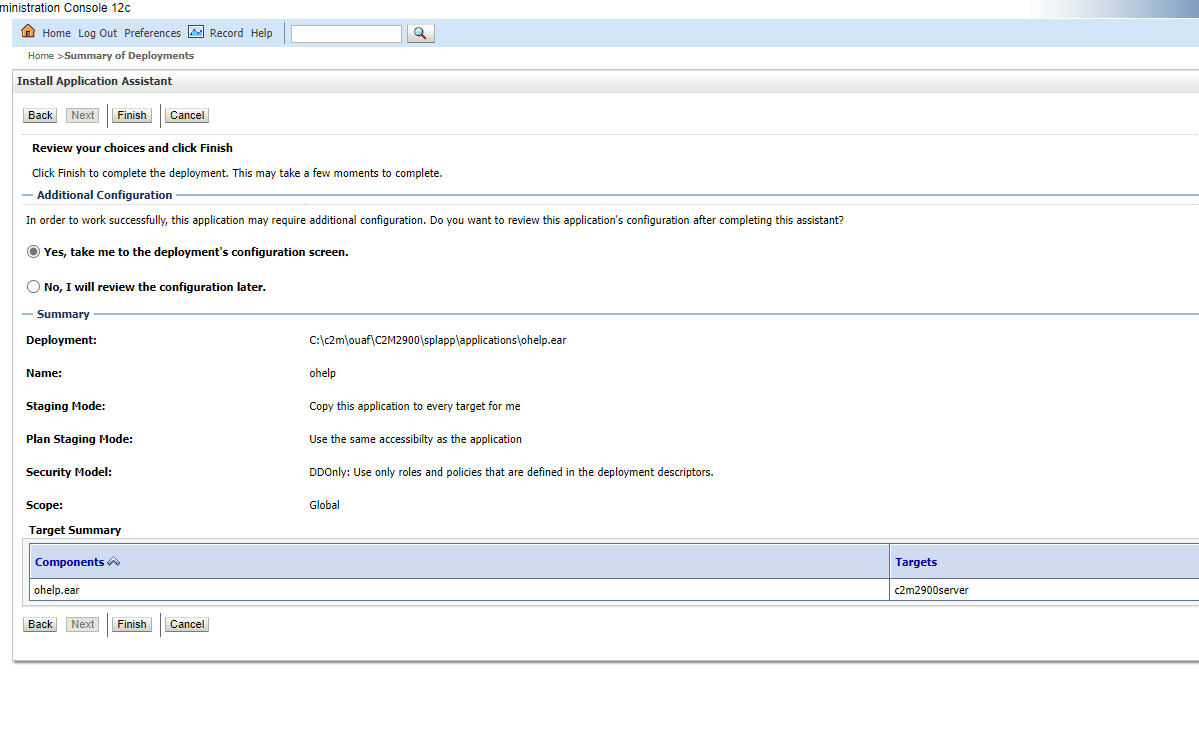

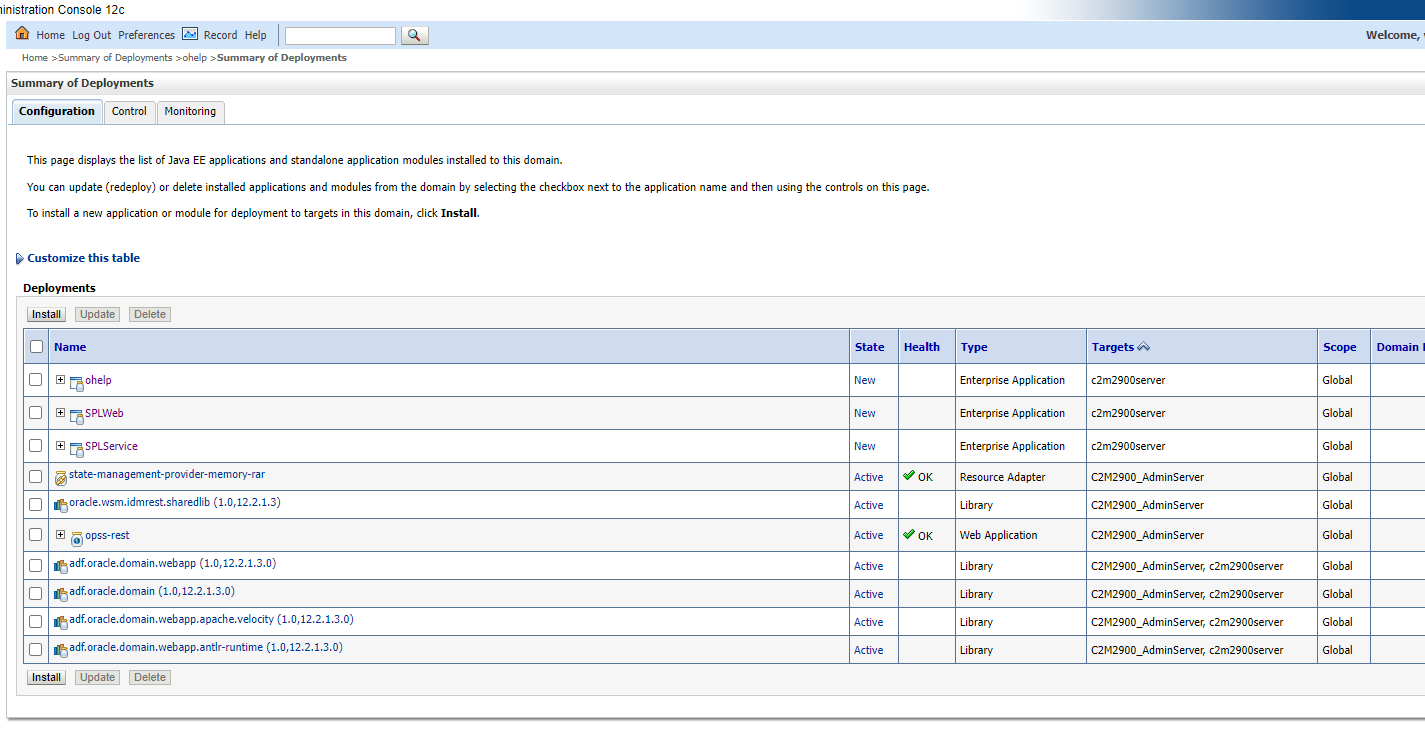
As seen below all there ear files SPLService.ear, SPLWeb.ear and ohelp.ear have been deployed
Now navigate to servers and start c2m2900server. Ensure you have started nodemanager below starting server.
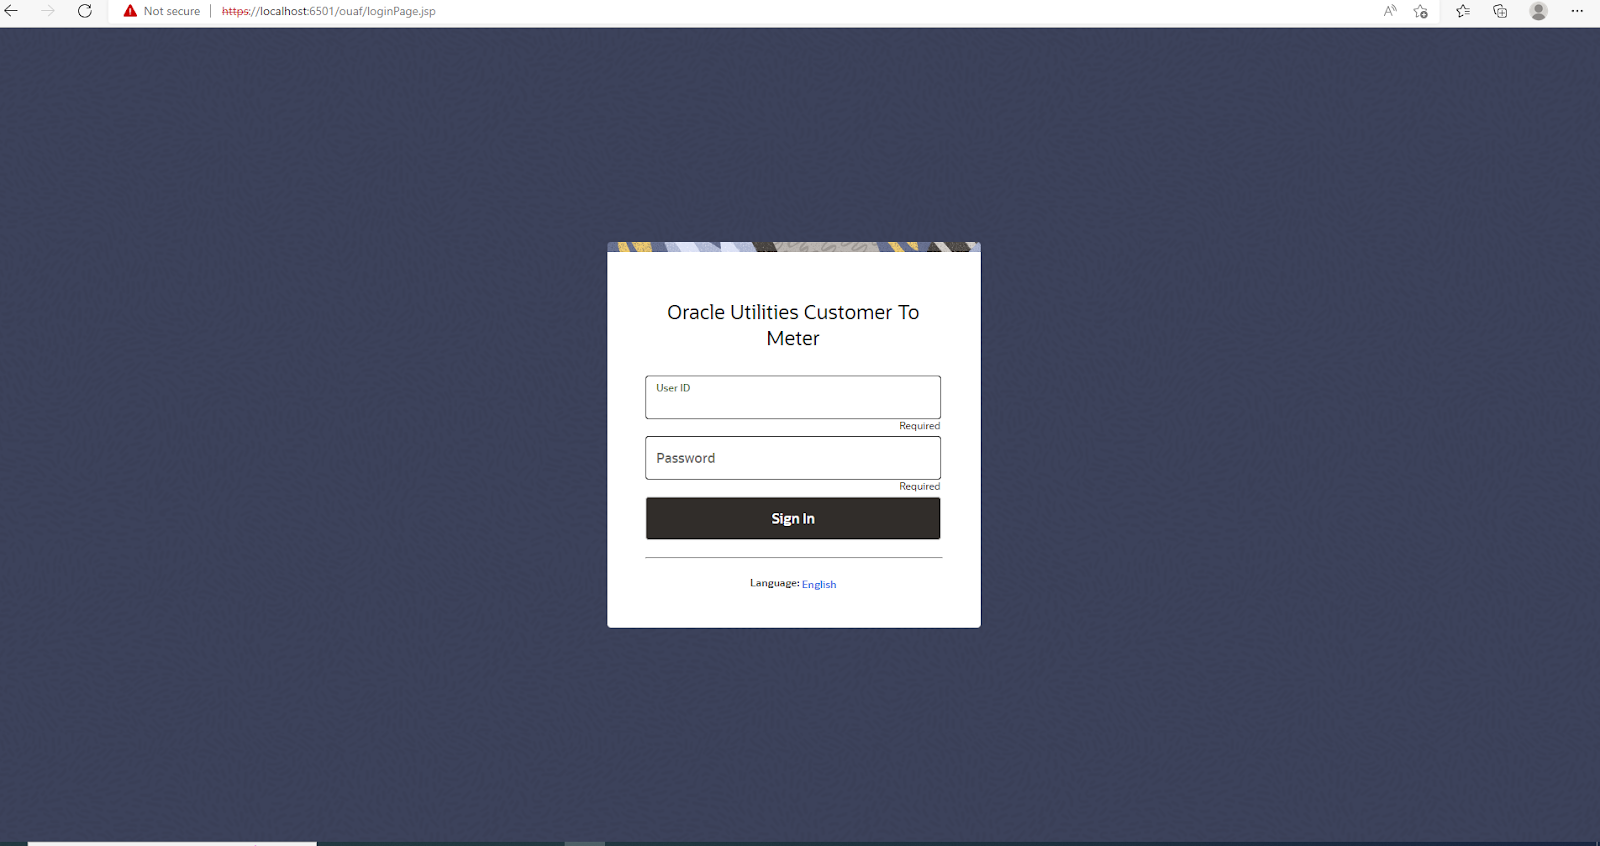
Next go to browser and enter the application URL
https://localhost:6501/ouaf/cis.jsp
If everything is proper, the login screen will open up. As seen below for 2.9 version, the new redwood UI has been defaulted.
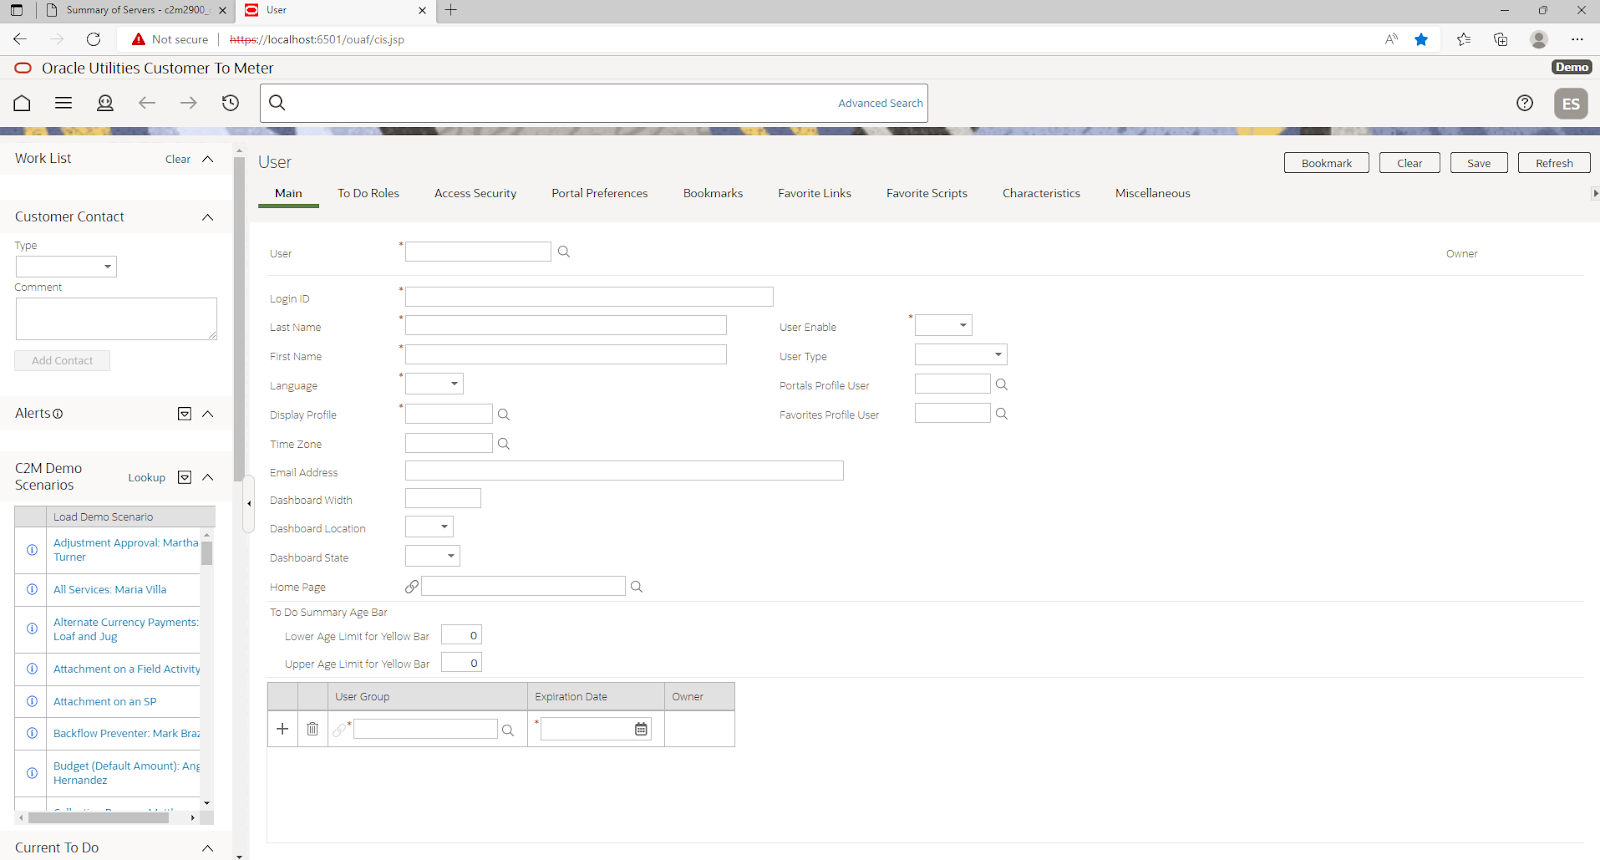
Login with SYSUSER and password as sysuser00
As seen below the main page loads up. This is how the C2M screen looks with the new Redwood UI.
IWS Deployment
Admin server and C2M server should be up and running.
In below command, 7001 port number is weblogic admin port number. Update the port number in the command with the port number configured in your system.
Connect to oracle database
Login as SYS user.
2. On the SQL prompt, run:
@?/rdbms/admin/userlock.sql
3. Grant permission.
grant execute on USER_LOCK to public;
Go to command prompt
Go to $WeblogicHome\oracle_common\common\bin
Run below commands
wlst.cmd
connect("weblogicuser","password","t3://localhost:weblogicAdminconsoleport")
storeUserConfig('$SPLBASE/etc/.wlsuserconfig',' $SPLBASE/etc/.wlsuserkey')
connect("weblogic","password","t3://localhost:7001")
storeUserConfig('C:/c2m/ouaf/C2M2800/etc/.wlsuserconfig','C:/c2m/ouaf/C2M2800/etc/.wlsuserkey')
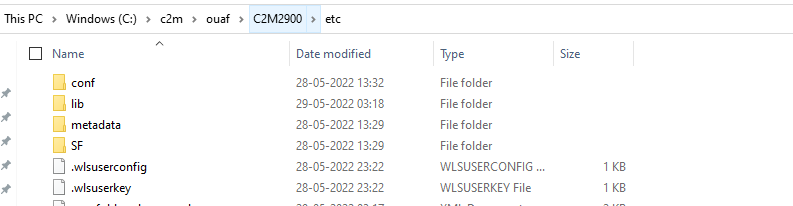
Navigate to etc folder as shown below, you can see that the .wlsuserconfg and .wlsuserkey files have got created.
Navigate to “C:\c2m\ouaf\C2M2800\splapp\iws” and update below file
iws-build-WLS.xml
<property name="web.admin.url" value="t3://localhost:7001" />
Navigate to below file and do the highlighted updates for Heap size
iws-build-common.xml
splenviron.cmd -e <ENV NAME>
Execute the following command in %SPLEBASE%\bin. Make sure the application
server is up and running.
iwsdeploy.cmd
Command should run successfully without any errors.
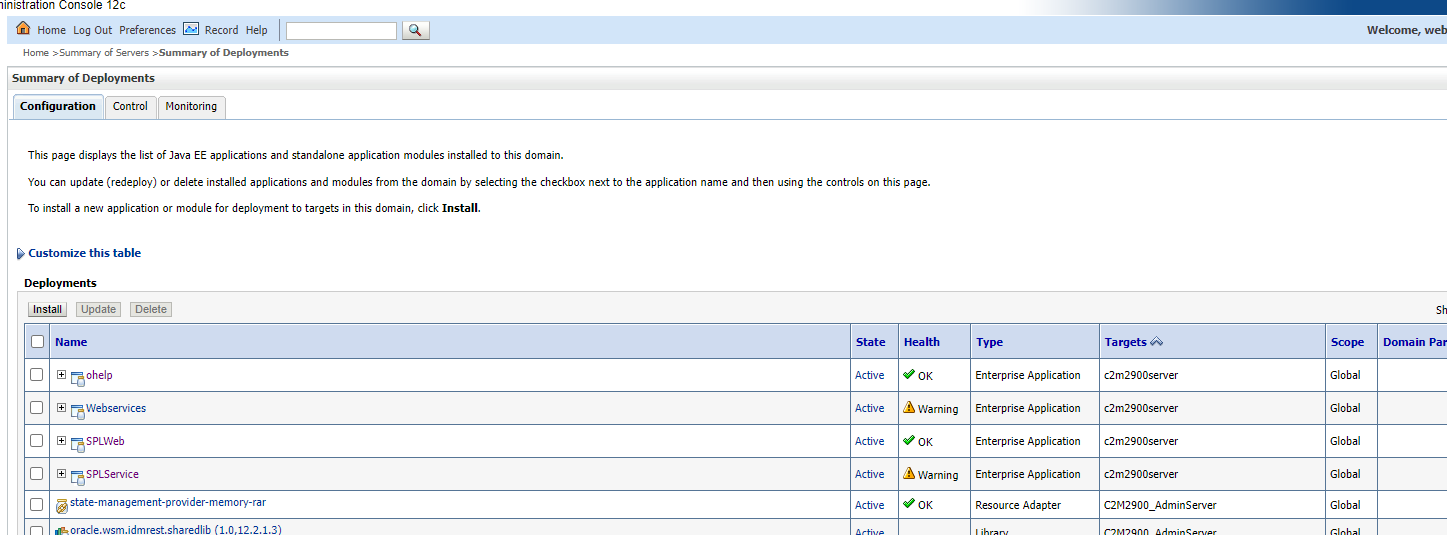
Next login to weblogic admin and go to deployments, you should see Webservice.ear deployed and Active.
Testing Webservice with SOAPUI.
Refer below steps for testing webservice is working after deployment
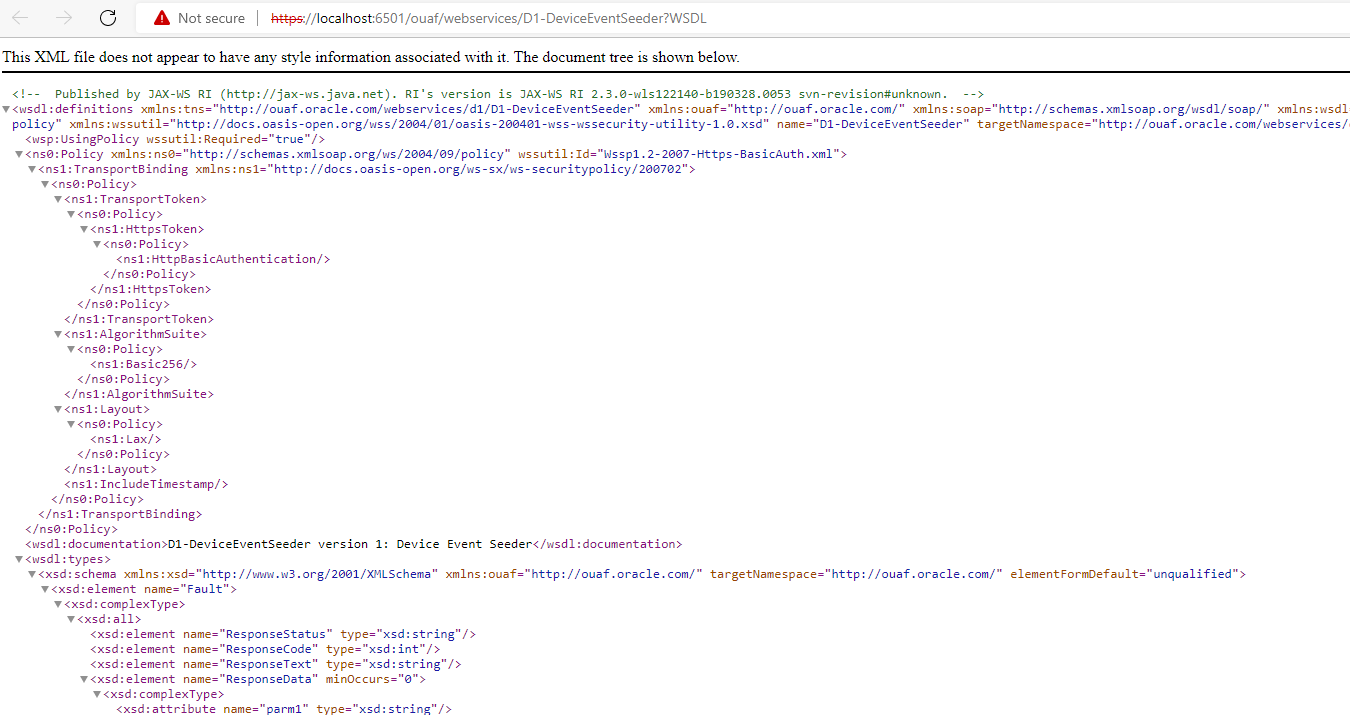
Open below OOB webservice and open its wsdl
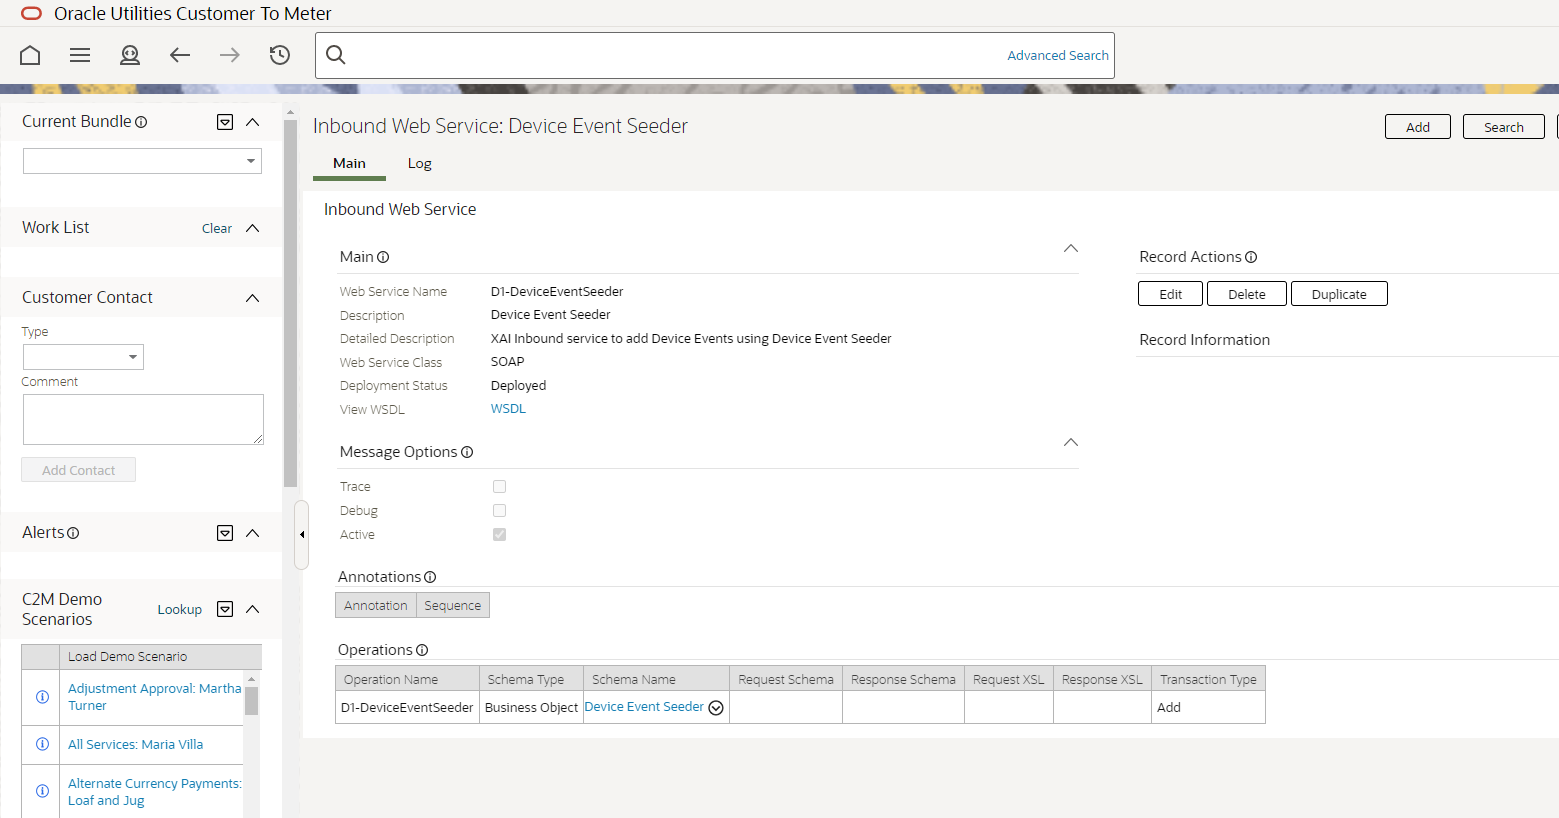
https://localhost:6501/ouaf/webservices/D1-DeviceEventSeeder?WSDL
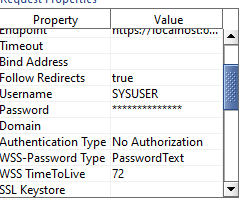
Open SOAP UI, open new SOAP project. Copy the WSDL URL here.

Sample xml below for reference
Update the username and password in the request properties. Set WSS-Password Type to ‘PasswordText’ and set WSS TimeToLive to ‘72’
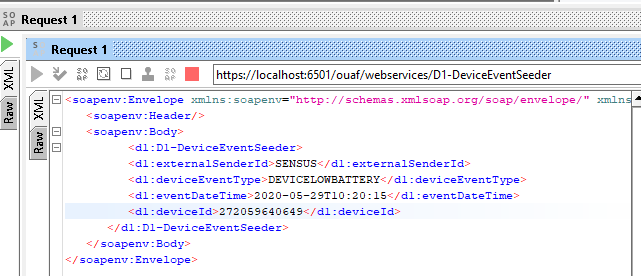
Now run the request, if the webservice deployment is proper, you should see a successful response as seen below.


